Description
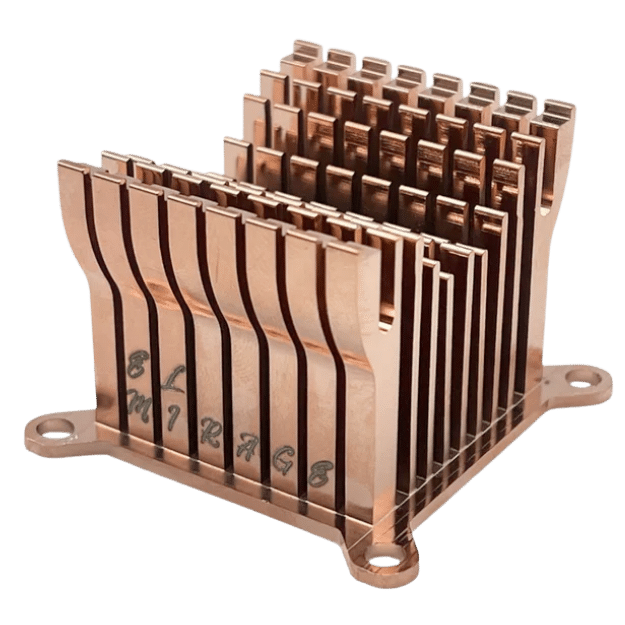
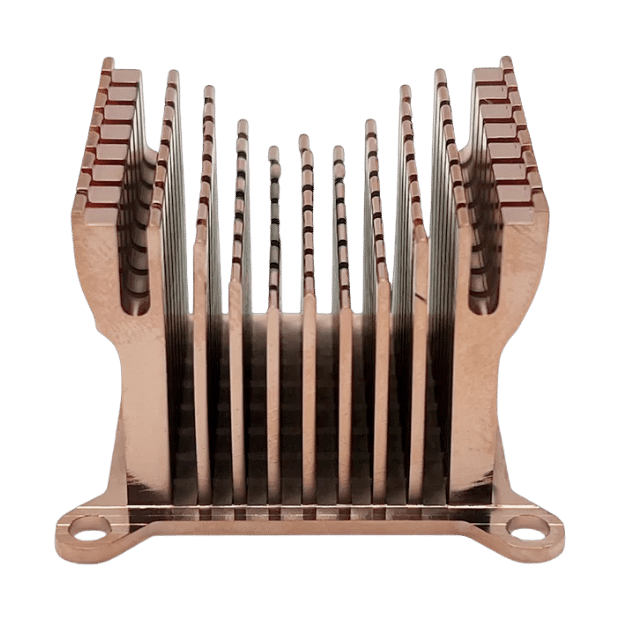
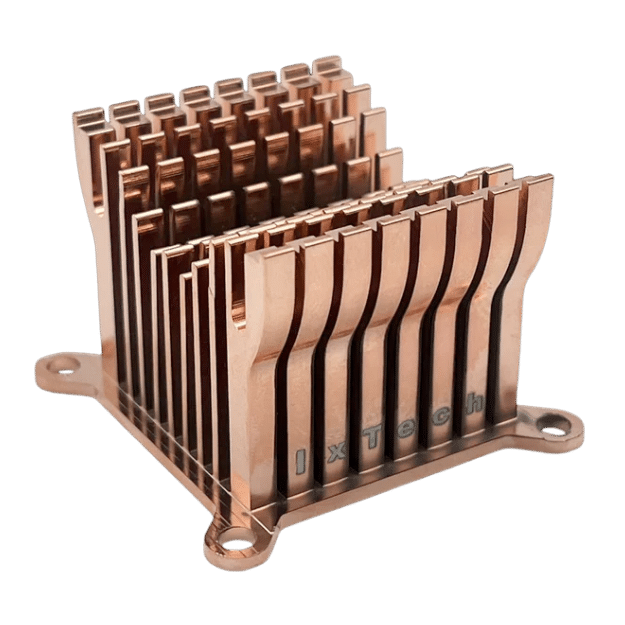
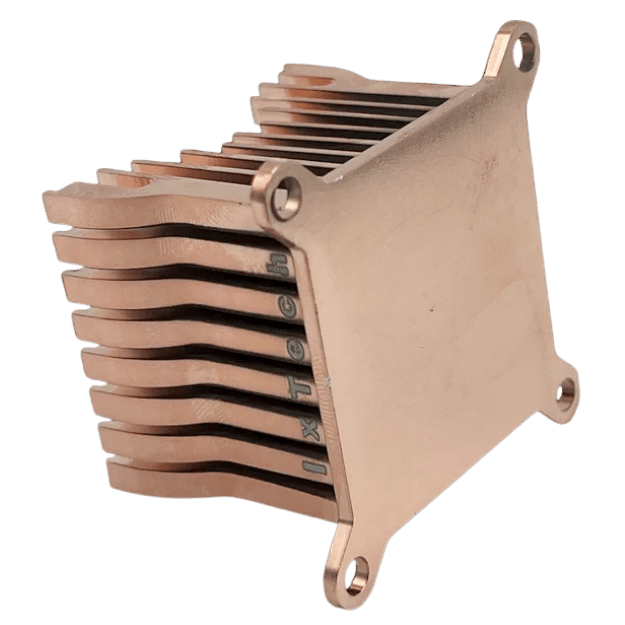
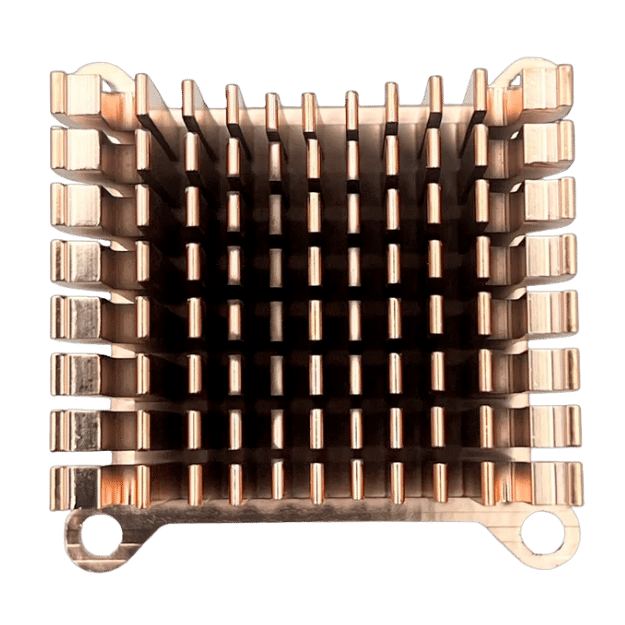
The Ix Tech El Mirage is a copper-plated aluminum heatsink upgrade for compatible Bitaxe and Nerdaxe boards. Its four-point M3 mounting system applies more even pressure than a two-pin clip, helping the base remain flat against the ASIC package when installed correctly.
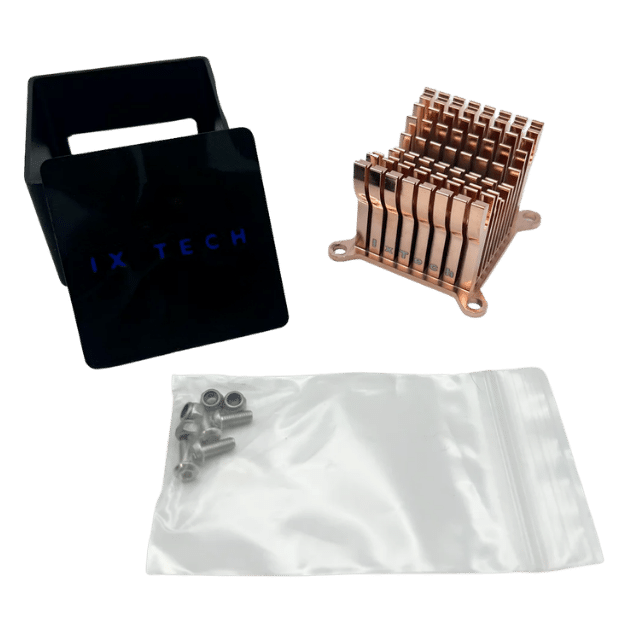
This listing offers the heatsink with or without a 2g tube of Thermalright TF7 thermal paste. The mounting hardware and fan holder are included with both variations; the miner and 40mm fan are not included.
El Mirage Specifications
| Specification | Details |
|---|---|
| Manufacturer | Ix Tech |
| Model | El Mirage |
| Construction | Copper-plated aluminum |
| Mounting | Four-point M3 screw pattern |
| Fan fit | Compatible with the standard 40mm Bitaxe fan format |
| Included hardware | 4 M3 machine screws, 4 locking nuts, and fan holder |
| Optional paste | 2g Thermalright TF7 when Yes is selected |
Compatible Miners
The El Mirage is designed around the established Bitaxe/Nerdaxe four-hole mounting pattern. Direct compatibility includes:
| Miner | Compatibility note |
|---|---|
| Bitaxe Gamma 600, 601, and 602 | Direct four-hole single-chip Bitaxe fit. |
| Bitaxe Supra | Direct single-chip Bitaxe fit. |
| Bitaxe Ultra and Max | Direct single-chip Bitaxe fit. |
| Bitaxe Gamma Duo 650 | Compatible Gamma Duo mounting layout; confirm fan and enclosure clearance. |
| Nerdaxe Gamma | Direct compatible Nerdaxe mounting pattern. |
| Nerdaxe Ultra | Direct compatible Nerdaxe mounting pattern. |
Not a direct-fit upgrade for: Bitaxe GT 801, Bitaxe Touch, Naja Duo, NerdQaxe++, Gamma Hex, BitForge Nano, or other boards with different ASIC spacing, mounting-hole patterns, cooler footprints, or enclosure clearance.
About the Benchmark Data
Solo Satoshi reference testing on one Bitaxe Gamma 602 held the reported ASIC temperature near 60°C across several elevated frequency and voltage settings. At the upper settings, voltage-regulator temperature rose substantially and became the practical thermal constraint.
These observations demonstrate one test unit, not a guaranteed result. ASIC quality, paste application, mounting pressure, fan performance, ambient temperature, board revision, power supply, firmware, frequency, and voltage all affect temperatures and stability.
Installation
- Shut down the miner, disconnect power, and let the board cool.
- Photograph fan orientation and cable routing before disassembly.
- Remove the fan, stock heatsink, and mounting hardware without flexing the PCB.
- Clean the ASIC package and heatsink base with high-percentage isopropyl alcohol and a lint-free material; let both dry.
- Apply a thin, complete layer of compatible thermal paste.
- Align the El Mirage over the ASIC and all four PCB mounting holes.
- Install the four M3 screws and locking nuts loosely, then tighten gradually in a diagonal pattern. Do not overtighten or bend the PCB.
- Install the fan holder and 40mm fan, reconnect the fan, and confirm that no cable touches the blades.
- Start at stock settings and verify fan operation, ASIC temperature, regulator temperature, errors, and stability.
What’s Included
- 1 × El Mirage copper-plated aluminum heatsink
- 4 × M3 machine screws
- 4 × M3 locking nuts
- 1 × fan holder
- 1 × Thermalright TF7 2g tube only when Thermal Paste: Yes is selected
Not included: miner and 40mm cooling fan.
Helpful Guides
Bitaxe Cooling Guide
Compare heatsinks, fans, airflow, mounting pressure, and voltage-regulator cooling.
Miner Maintenance Guide
Clean the board, replace paste, inspect the fan, and verify temperatures after service.
Bitaxe Overclocking Guide
Tune voltage and frequency gradually while monitoring ASIC and regulator limits.
Thermalright TF7 Paste
Add the optional 2g non-conductive paste used with the Yes variation.
Which miners fit the El Mirage heatsink?
Does it fit the Bitaxe GT, Touch, or Naja Duo?
Does it fit the NerdQaxe++?
Is the El Mirage solid copper?
Why does it use four mounting points?
Is a fan included?
Is thermal paste included?
What mounting hardware is included?
Will the El Mirage guarantee a lower ASIC temperature?
Can the voltage regulator become the cooling limit?
How tightly should I install the screws?
What should I check after installation?
Reviews
There are no reviews yet.