Description
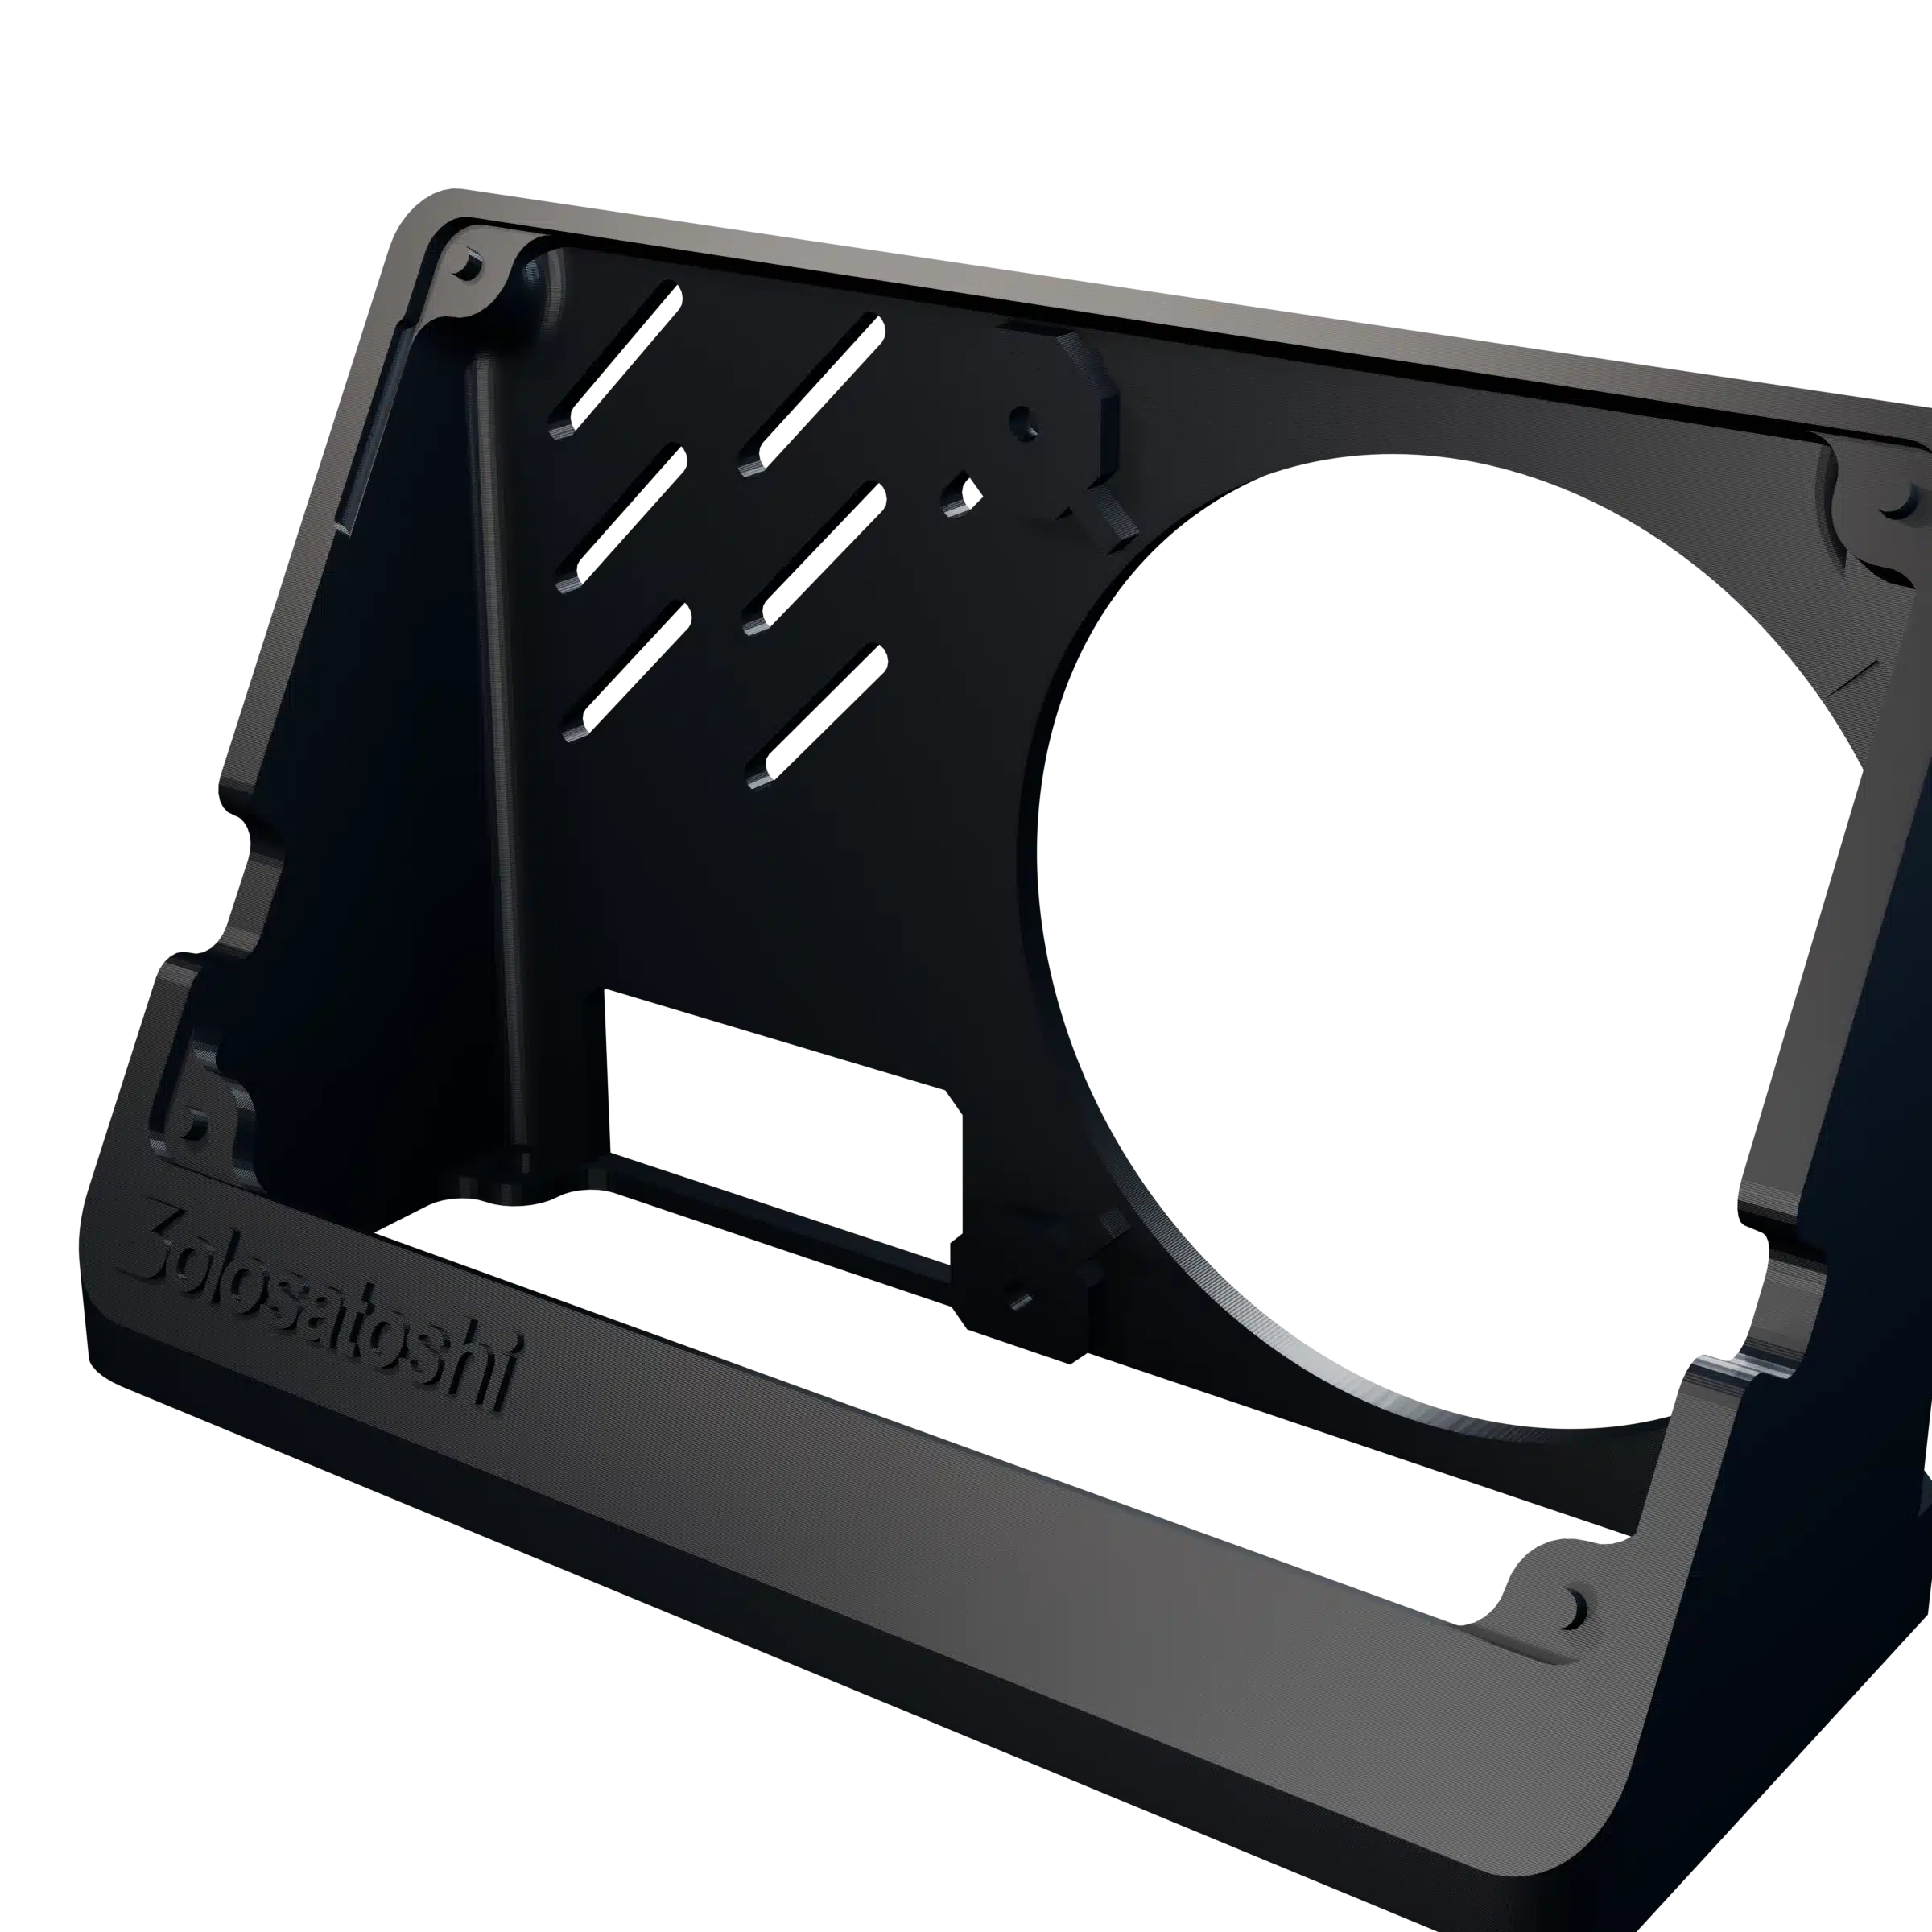
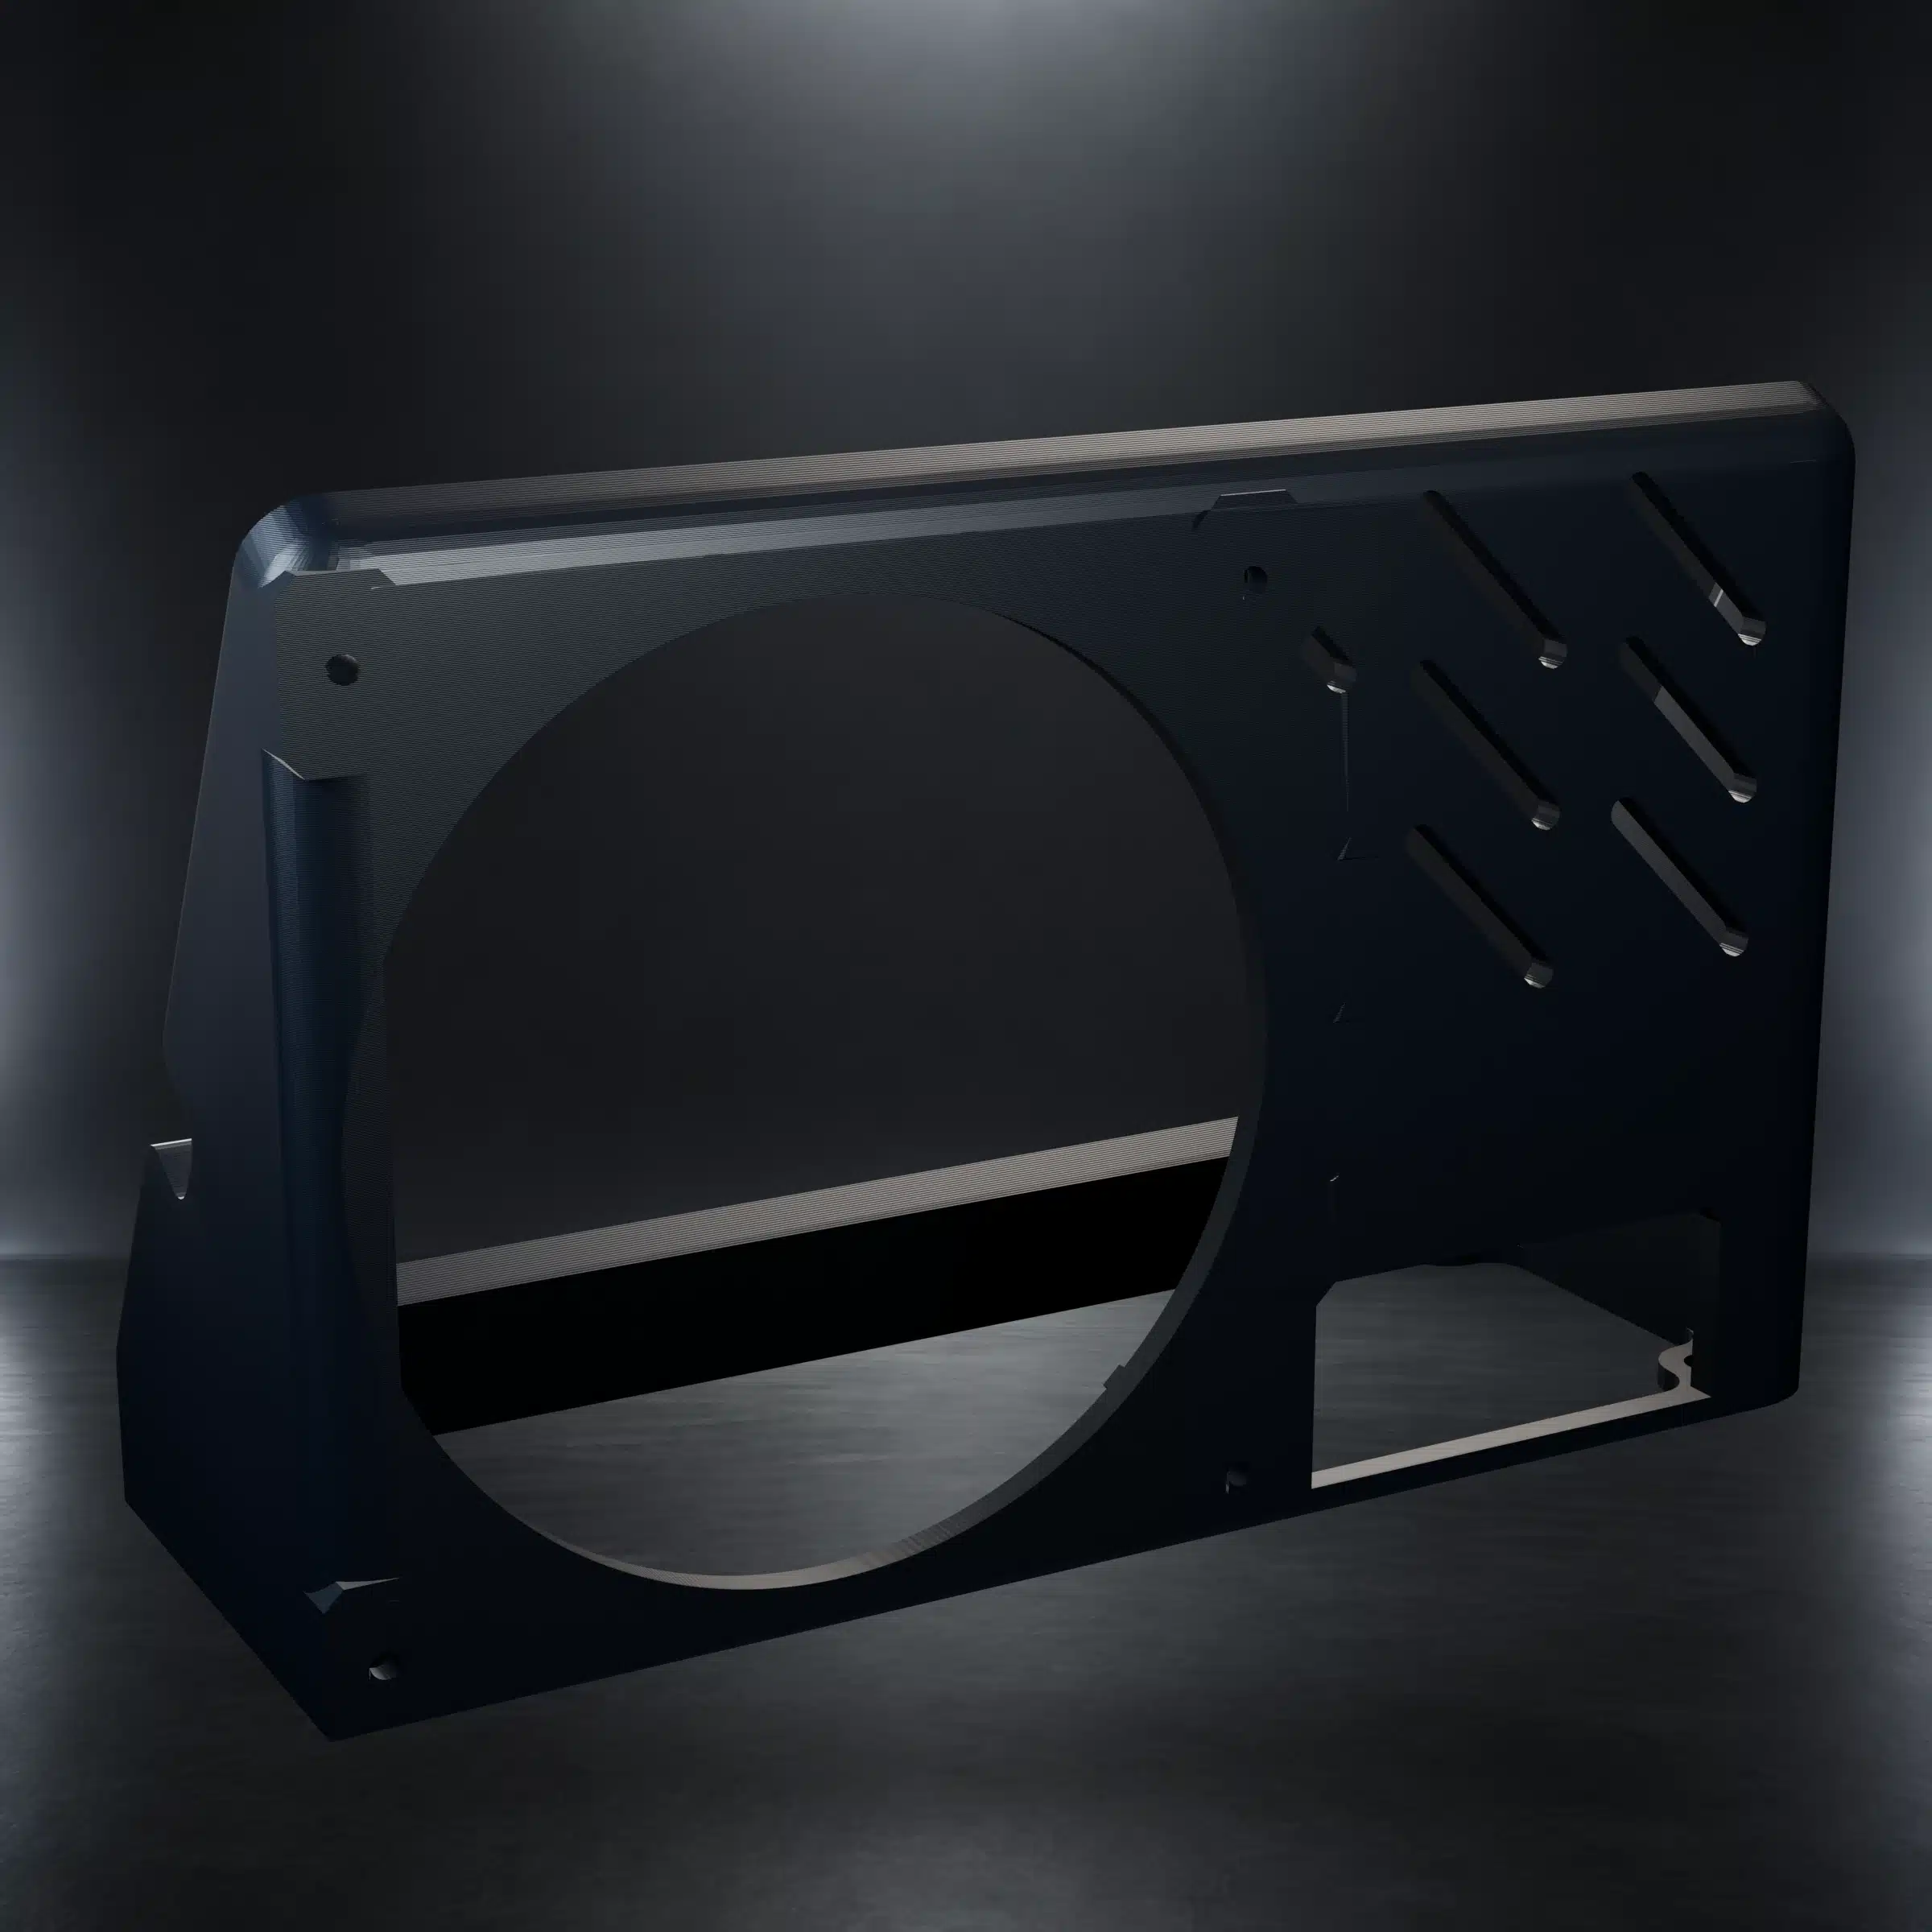
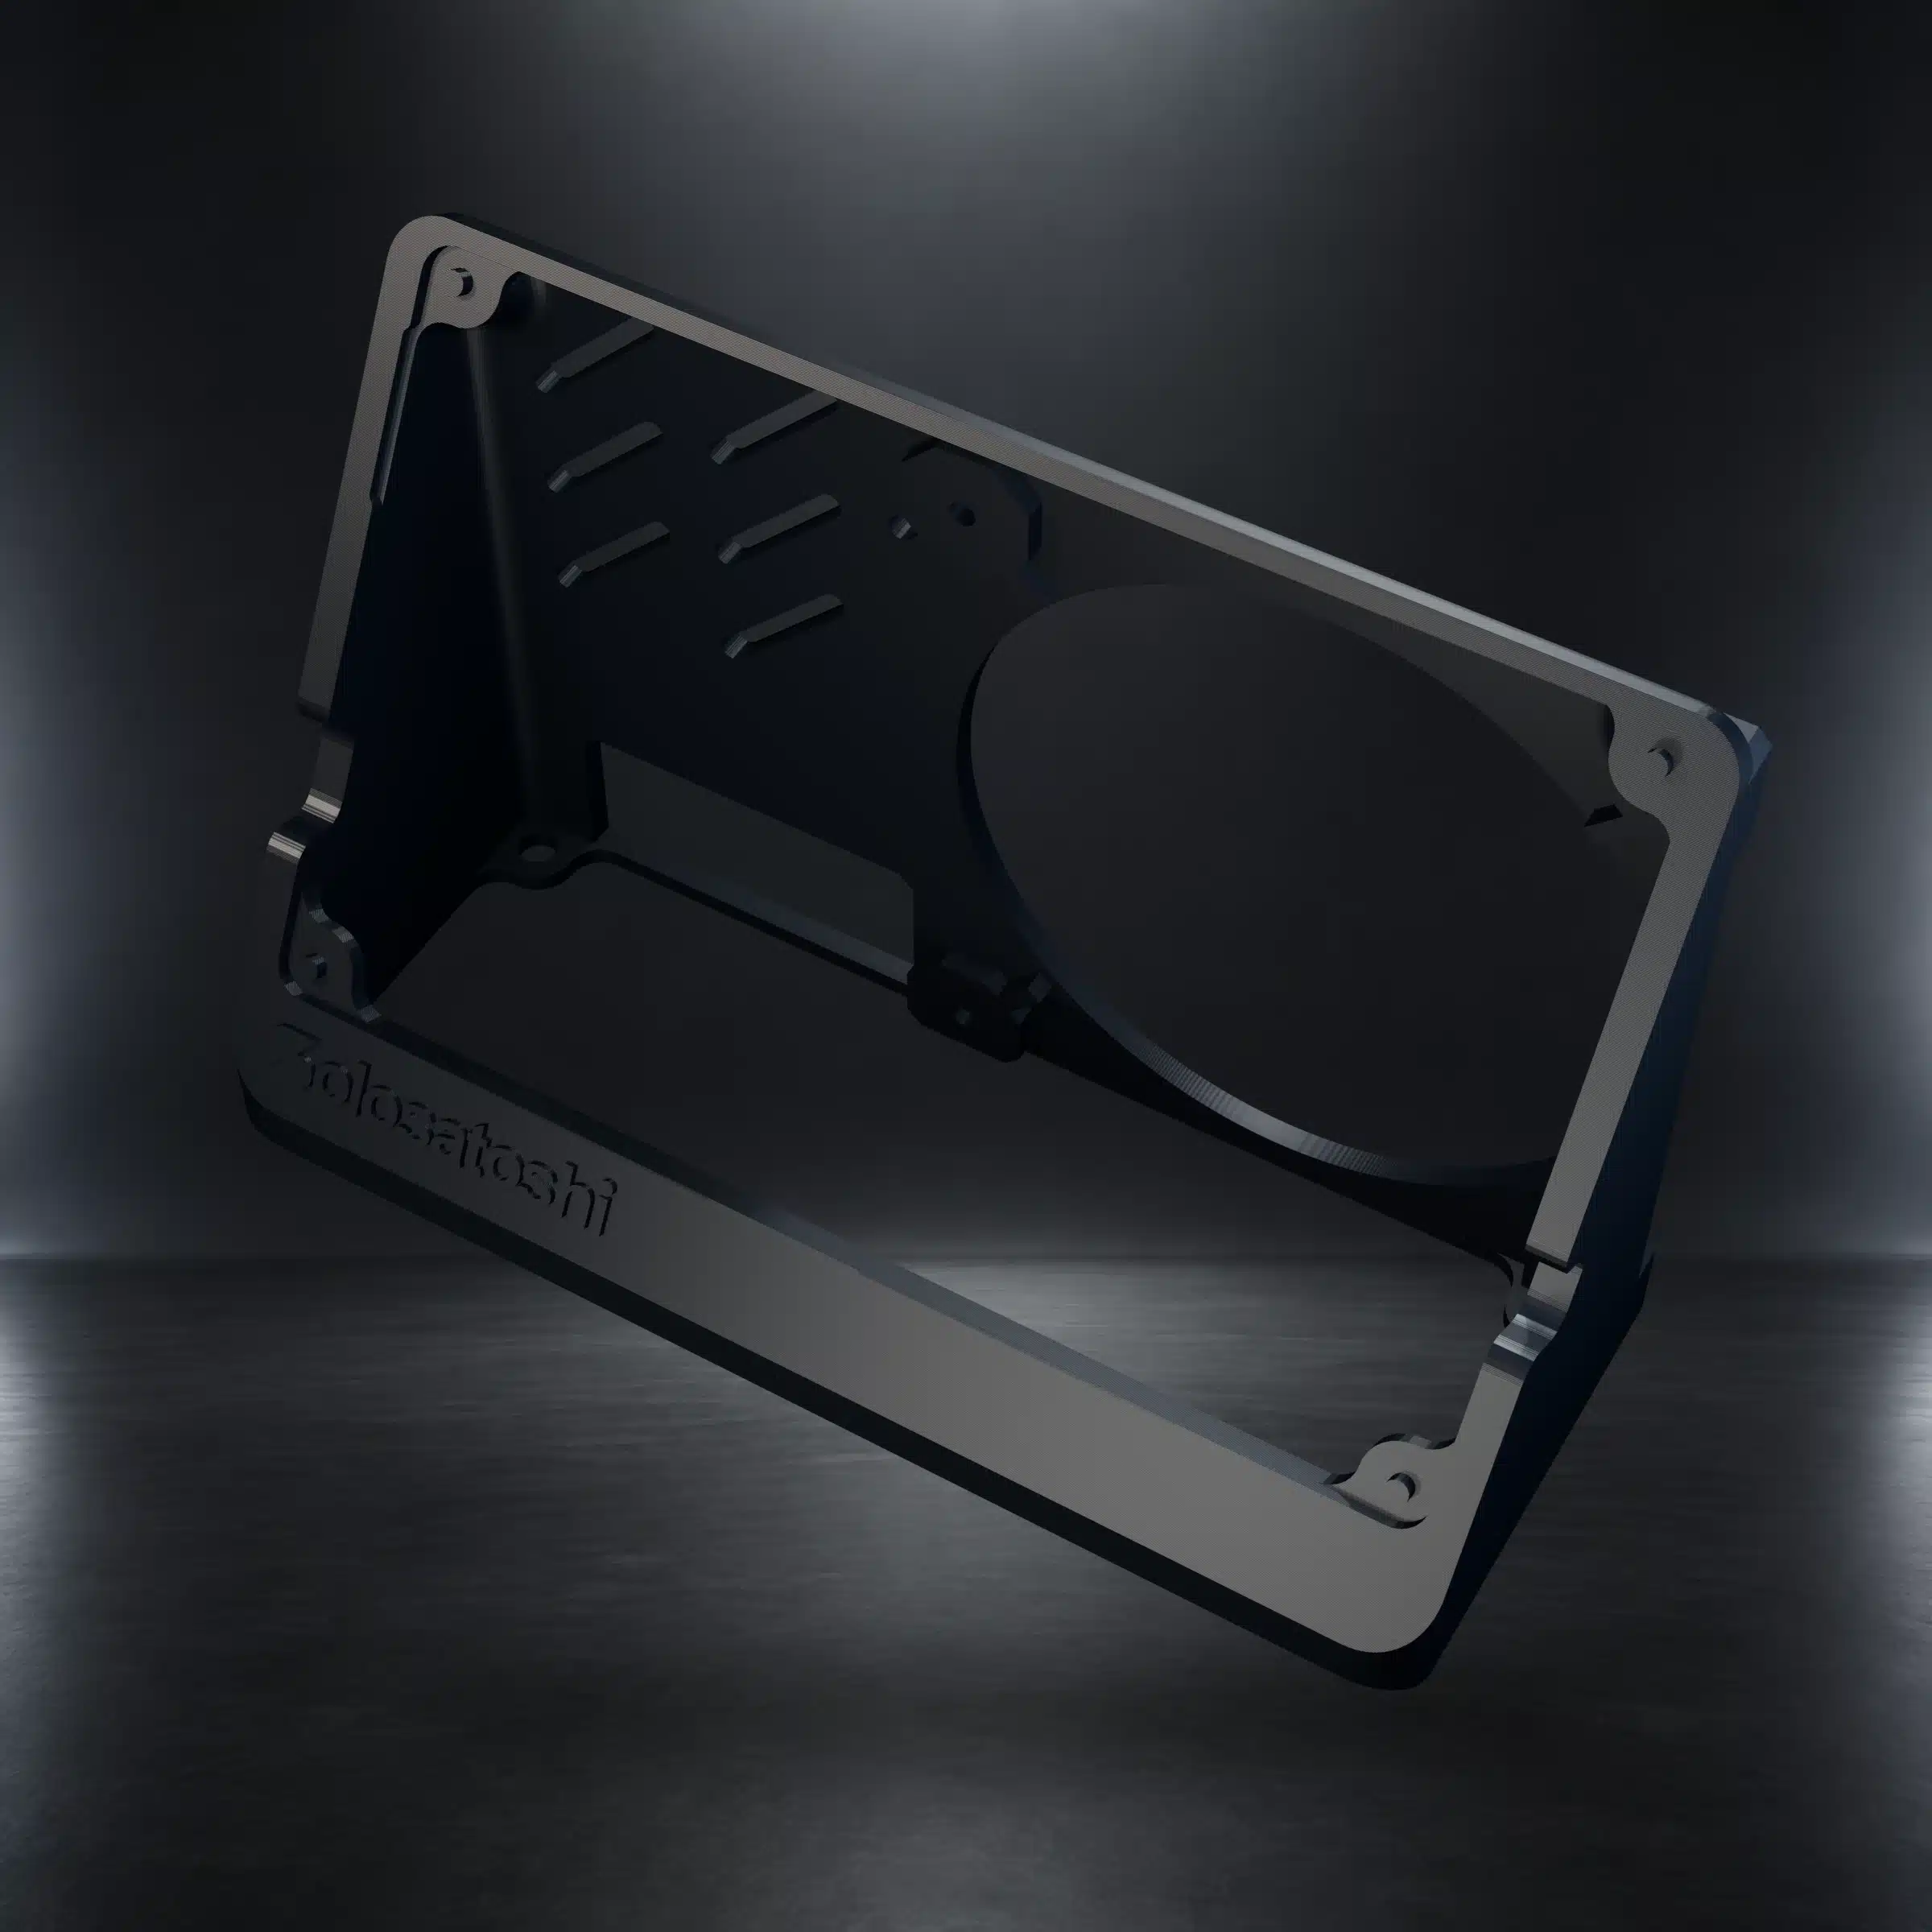
Download the free Naja Duo stand STL collection and print an angled desktop stand for compatible rear-mounted cooling fans. The current ZIP includes the version designed for the Thermalright TL-9015B 92 mm slim PWM fan, with a full circular airflow opening, M3-ready fan mounting points, diagonal ventilation slots, and a lower cable opening.
Current Download: TL-9015B Rear Fan Mount
This stand is designed around the Bitaxe Naja Duo 1201 Bitcoin solo miner and a rear-mounted Thermalright TL-9015B fan. The fan sits behind the stand panel so the full circular opening remains in the airflow path while the angled base supports a compact desktop presentation.
Compatibility is limited to the specified hardware geometry. Custom cases, fan guards, alternate coolers, oversized fasteners, cable adapters, or modified boards can change the required clearances.
Naja Duo Stand STL Specifications
| Specification | Details |
|---|---|
| Product type | Free digital 3D-printing download |
| Included file | One STL model supplied in one ZIP archive |
| Intended miner | Bitaxe Naja Duo 1201 |
| Rear fan compatibility | Thermalright TL-9015B 92 mm slim PWM fan |
| Fan mounting | Rear, flush-fit layout with M3-ready mounting points |
| Model bounding dimensions | Approximately 157 × 60.66 × 100.64 mm |
| Recommended starting scale | 100% |
| Physical item | Not included; nothing ships |
Rear Fan Mount and Airflow Features
- Full circular opening: keeps the primary fan area open instead of placing a decorative grille across the airflow path.
- Rear fan placement: positions the TL-9015B behind the stand rather than in front of the miner.
- M3-ready mounting points: provide locations for properly sized fan fasteners.
- Diagonal ventilation slots: provide additional openings in the rear panel.
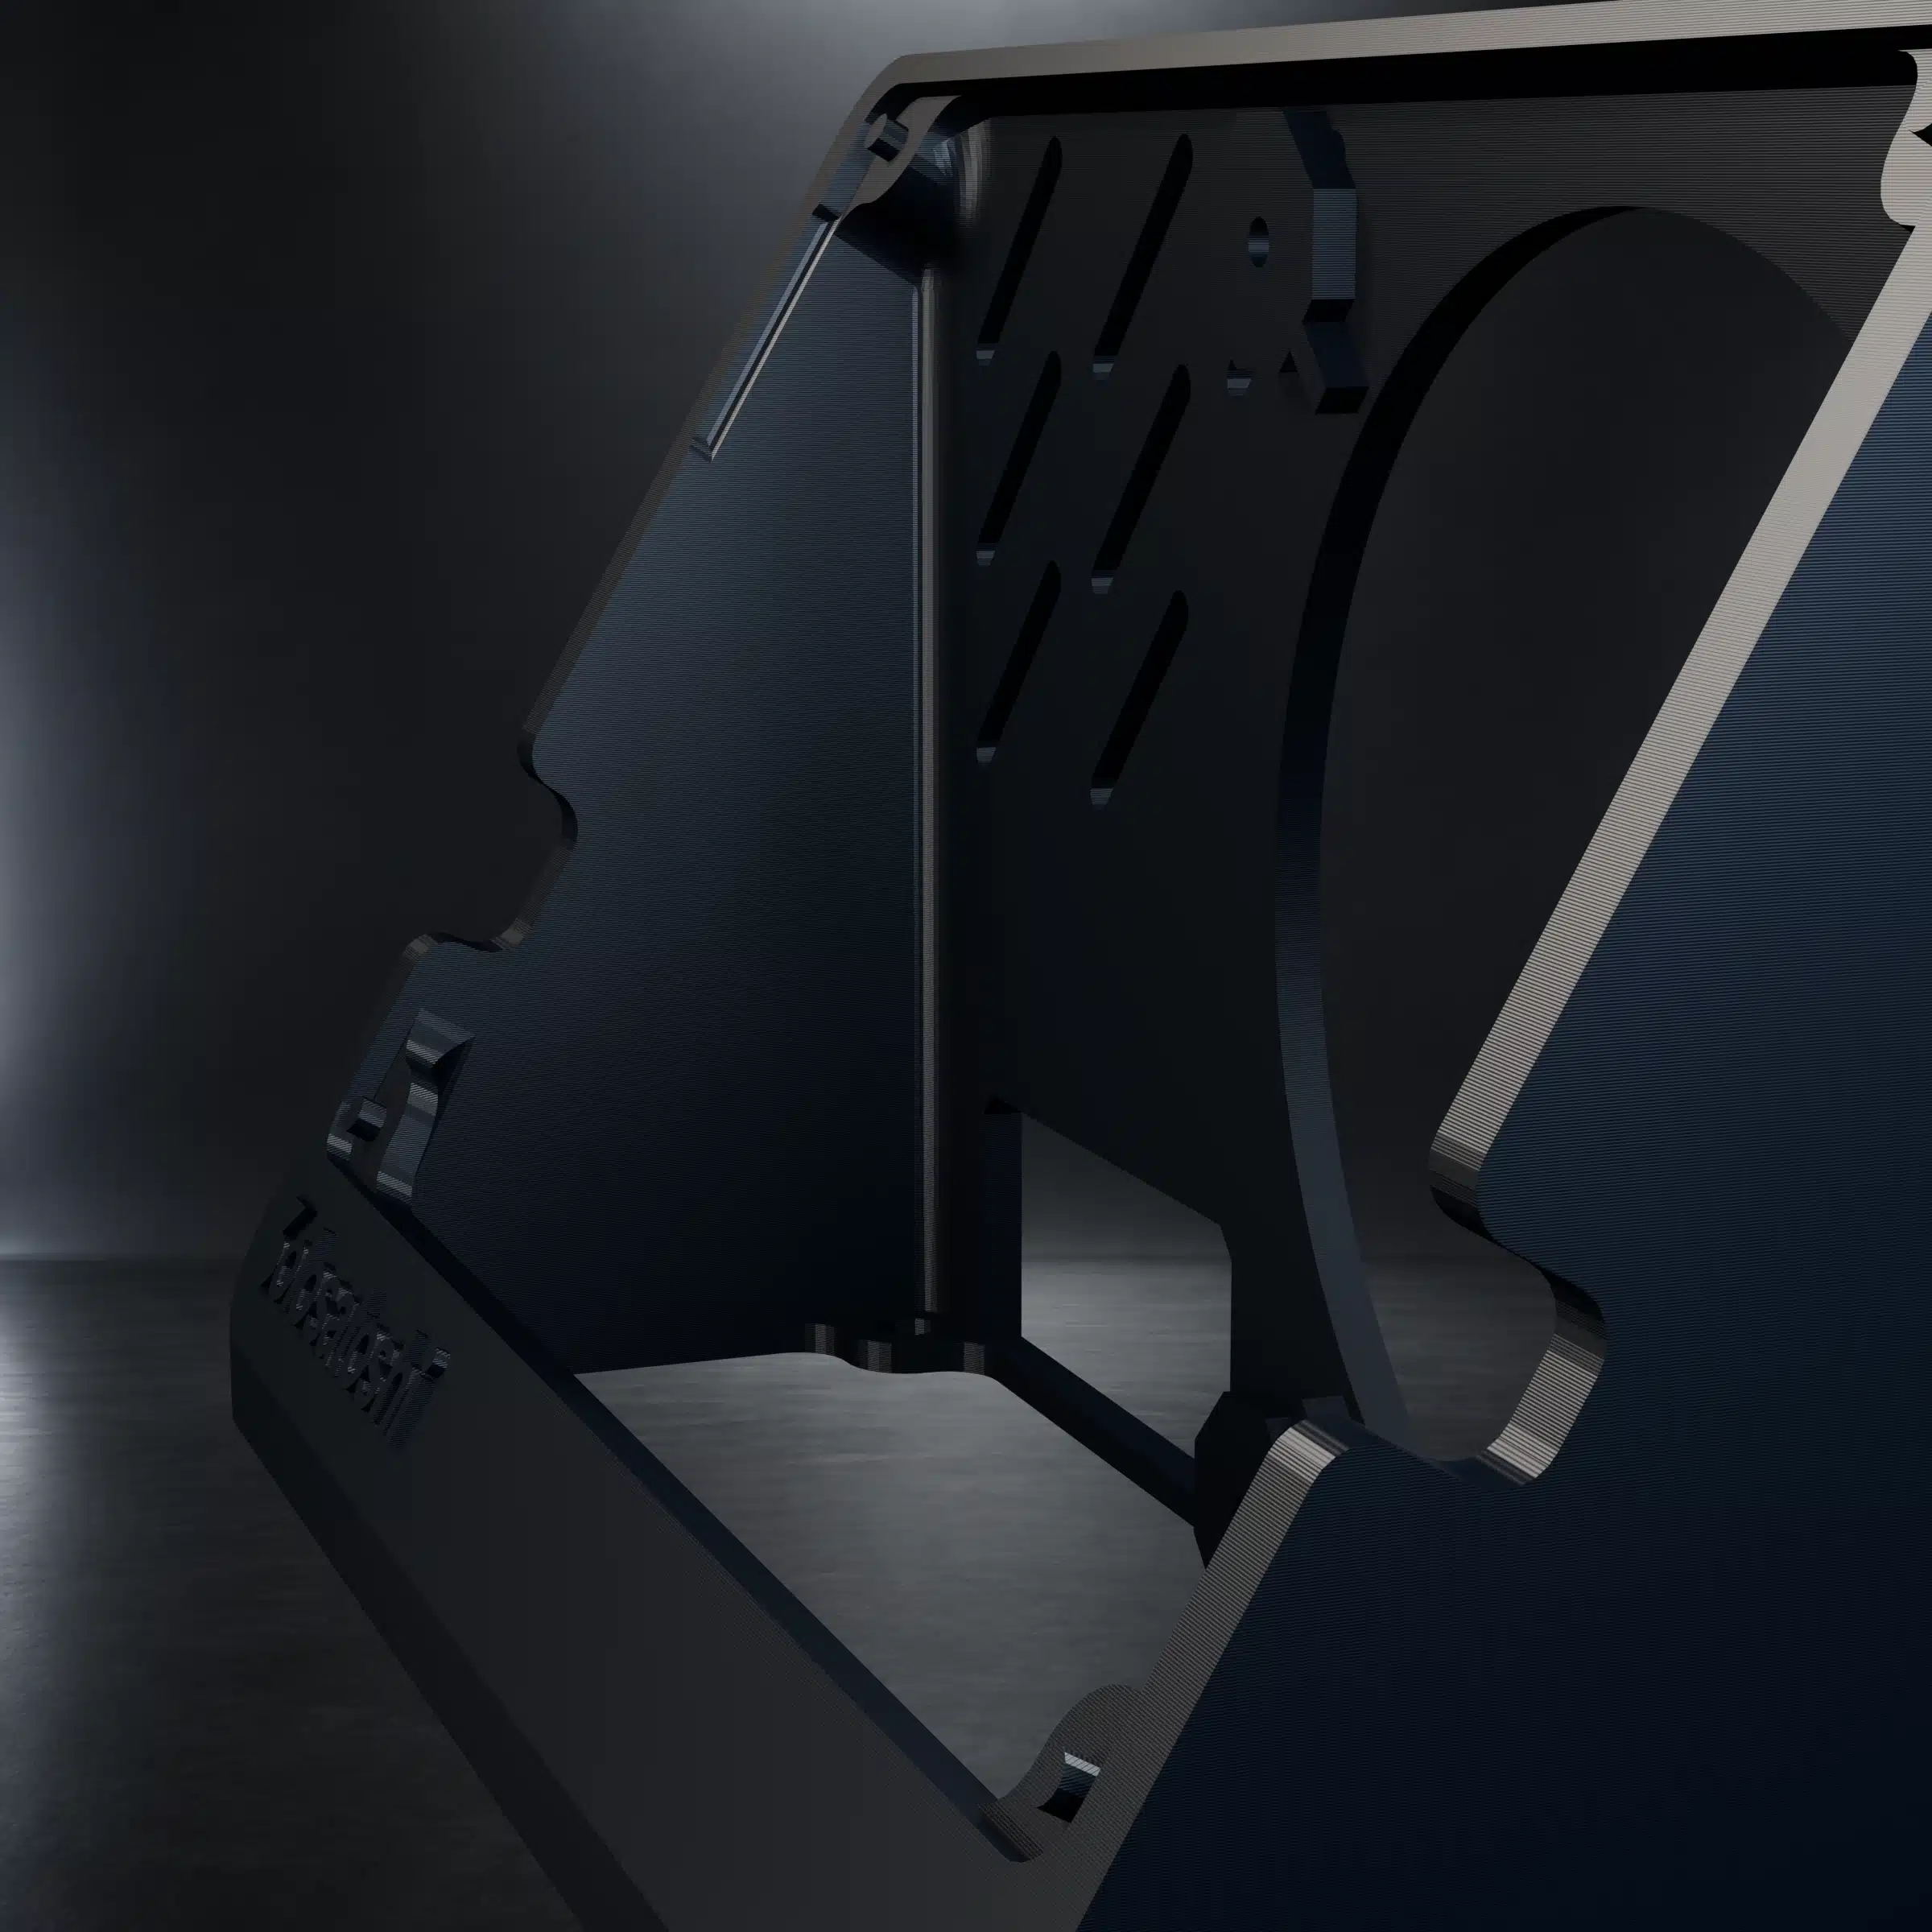
- Lower cable opening: creates a path for routing the PWM lead without placing it across the fan blades.
- Angled desktop base: supports a stable viewing angle and compact footprint.
Recommended Starting Print Settings
| Setting | Starting point |
|---|---|
| Scale | 100% |
| Layer height | 0.20 mm |
| Walls | 3 to 4 perimeters |
| Infill | 15% to 25% |
| Filament | PLA for normal indoor use or PETG for additional temperature tolerance |
| Supports | Determine from the chosen orientation and slicer preview |
| Mesh preparation | Run the slicer mesh-validation or repair tool, then inspect every layer before printing |
These values are starting points, not a universal printer profile. Nozzle size, extrusion calibration, material shrinkage, cooling, bridging, orientation, and slicer behavior can affect the finished dimensions and surface quality.
Before You Print
- Download and extract the ZIP archive.
- Import the STL into a current slicer using millimeters.
- Confirm the displayed dimensions are approximately 157 × 60.66 × 100.64 mm at 100% scale.
- Run the slicer’s model validation or repair function if it reports mesh issues.
- Select an orientation appropriate for your printer and inspect the support preview.
- Preview every layer, especially the fan opening, M3 mounting areas, ventilation slots, base, and cable opening.
- Print a small test or pause for an early dimensional check if your printer is not calibrated.
Installing the Miner and Rear Fan
- Allow the finished print to cool completely and remove all support material and loose filament.
- Inspect the stand for cracks, warped mounting points, blocked openings, or sharp edges.
- Power off and disconnect the Naja Duo before test-fitting it.
- Position the TL-9015B on the rear of the stand and use correctly sized M3 hardware.
- Tighten fasteners evenly and only until secure. Excess torque can crack a printed part or deform the fan frame.
- Route the PWM cable through a clear path and verify it cannot contact the fan blades.
- Install the miner without forcing the PCB, display, heatsink, connectors, or cables.
- After reconnecting power, confirm fan operation and monitor temperatures before changing performance settings.
What the Download Includes
- 1 ZIP archive
- 1 Naja Duo stand STL model
The Naja Duo, TL-9015B fan, M3 screws, printer, filament, slicer software, and printed stand are not included.
Download the Free Naja Duo Stand STL
Use the button below to download the locally hosted ZIP archive and begin preparing the model in your preferred slicer.
Helpful Guides and Compatible Hardware
Bitaxe Naja Duo Bitcoin Solo Miner
Review the compatible dual-chip miner, its cooling system, specifications, and setup requirements.
Thermalright TL-9015B 92 mm Slim PWM Fan
Choose the rear fan this stand was designed to support with its full circular opening and M3-ready mount.
Thermalright AXP90-X47 Full Copper Heatsink
Review the compatible full-copper heatsink and cooling assembly used with supported Naja Duo configurations.
How to Set Up a Bitaxe
Configure Wi-Fi, a mining pool, and initial operating settings after the physical installation is complete.
AxeOS Guide
Monitor fan behavior, temperature, power, hashrate, efficiency, and pool status after installation.
Naja Duo Efficiency Overview
Learn how the Naja Duo design, cooling, and dual BM1373 architecture fit together.
Is this a physical Naja Duo stand?
Which miner is this stand designed for?
Which fan fits the rear mount?
Is the TL-9015B fan included?
What size is the STL model?
Should I print the stand at 100% scale?
What mounting hardware does the stand use?
What filament should I use?
Does the model require supports?
What should I check before printing?
Does the stand guarantee lower miner temperatures?
How do I install the miner safely?
What is included in the download?


Reviews
There are no reviews yet.