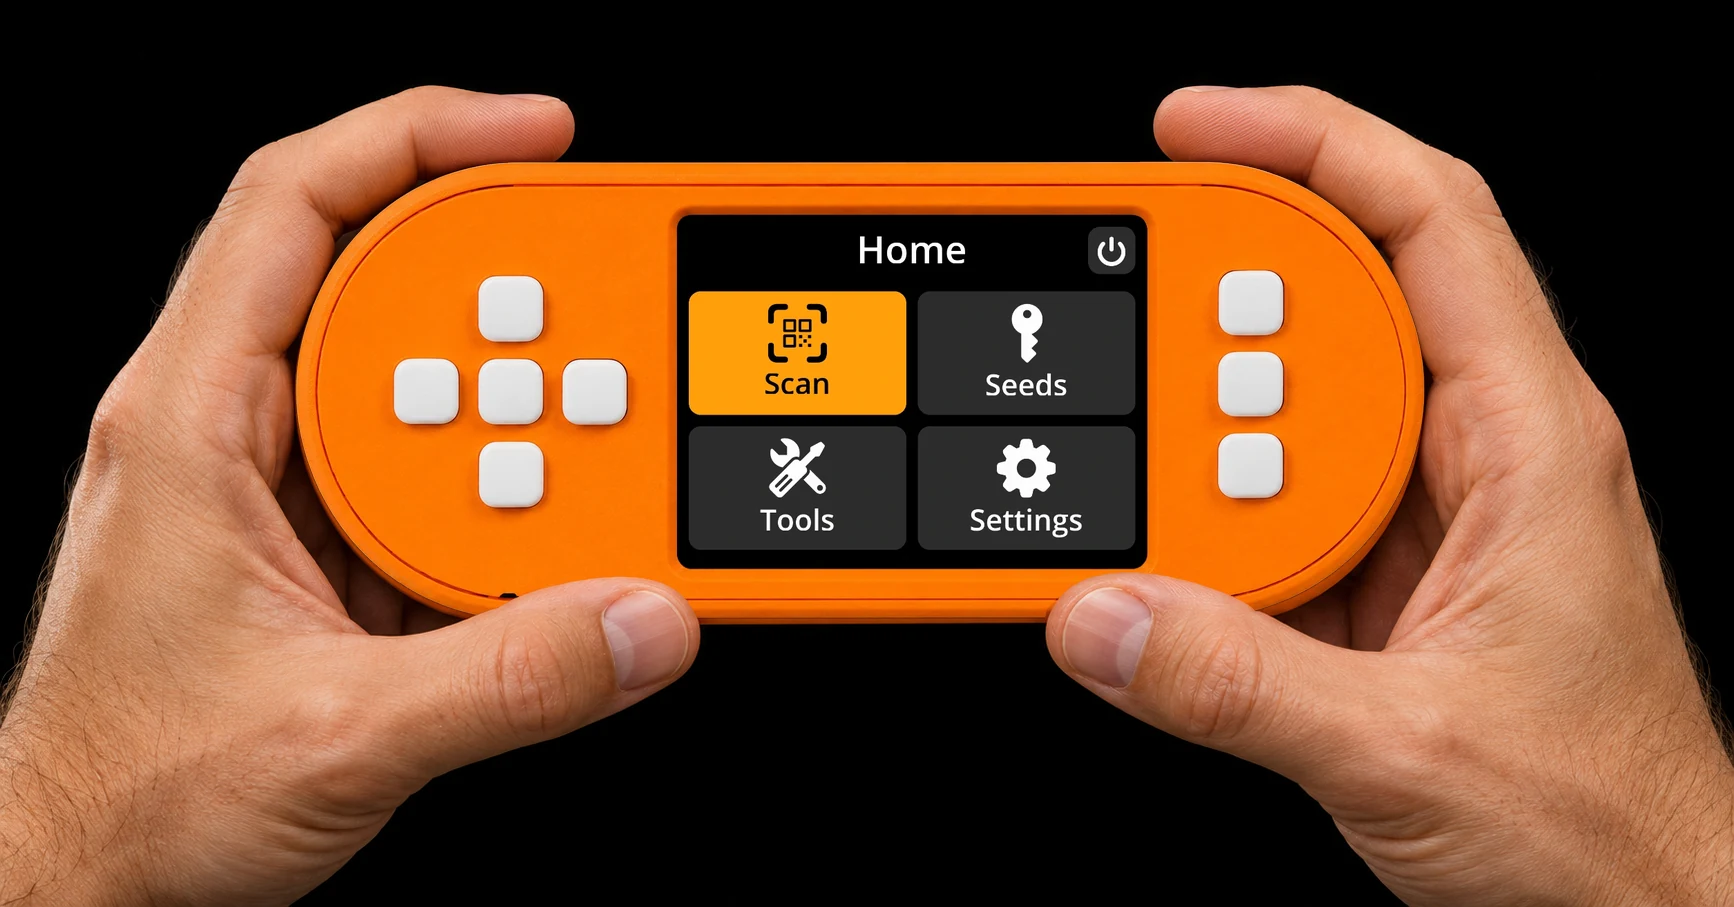
Set up SeedSigner+ by writing the verified SeedSigner OS image to a microSD card, selecting the ST7789 320×240 display, creating or loading a seed, and exporting its public wallet information to a coordinator such as Sparrow. The signer stays offline: QR codes carry wallet information and transactions between the devices.
This guide covers the standard SeedSigner+ kit with a Raspberry Pi Zero v1.3, a 2.8-inch display, and a USB-C power port. Menu examples use SeedSigner 0.8.7, the latest stable release checked on November 14, 2026. Hardware variants and future releases can differ.
Quick overview
- Install verified software: the standard Pi Zero v1.3 SS+ uses the official
pi0.imgimage. Authenticate the signature and checksum, then write the image with Etcher or Raspberry Pi Imager through a card reader. - Fill the larger display: select Settings → Advanced → Hardware → Display type → st7789 320×240. Save Persistent settings with the card inserted if you want this preference remembered.
- Choose the right seed method: camera and dice flows generate new phrases. The manual calculator completes independently randomized BIP39 words with coin bits, word-selection bits, or zeros; BIP85 derives reproducible children from a parent. Restoring words or scanning SeedQR reloads an existing seed.
- Protect and test recovery: keep the complete ordered phrase, any passphrase, and required wallet configuration. SeedQR is an unencrypted secret backup. Restore the backup and verify an address before receiving funds.
- Use Sparrow for network activity: export public wallet information by QR, verify receiving addresses on the physical SS+, and review outputs and fees before signing. Sparrow tracks balances and broadcasts the completed transaction.
- Practice before using funds: the browser simulator supports interactive menus and practice flows, but has no Pi camera. Never enter real secrets or fund simulator keys. The guide also covers multisig, Electrum restoration, message signing, SettingsQR, and troubleshooting.
Seed-method navigation: Camera · Dice · Manual BIP39 · BIP85 · Restore words · Restore SeedQR · Restore Electrum
What Is SeedSigner+?
SeedSigner+ is an offline Bitcoin signing device with a larger display and D-pad controls, running the open-source SeedSigner software. It temporarily loads a seed to derive keys and sign transactions, while a separate wallet application tracks balances, creates transactions, and broadcasts them.
The standard kit’s Pi Zero v1.3 has no Wi-Fi or Bluetooth hardware. USB-C provides power rather than a wallet data connection. Your computer therefore does not need to recognize the assembled signer as a USB storage device.
“Stateless” means the software is designed not to retain seed material after power is removed. It does not replace a recovery backup, make an exposed SeedQR safe, or eliminate the need to trust the hardware and verify the software you install. Bitcoin remains on the blockchain; the seed controls the keys that authorize spending it.
| Part | Standard SeedSigner+ | What it means during setup |
|---|---|---|
| Computer board | Raspberry Pi Zero v1.3 | Choose the official Pi Zero pi0 image, not the Zero 2 W image. |
| Display | 2.8-inch ST7789, 320×240 in landscape | The default 240×240 setting leaves part of this screen unused. |
| Controls | D-pad, center select, and three action buttons | Move the highlight with the D-pad and select with the center button. Follow screen-specific button prompts. |
| Camera | Pi Zero camera module | Reads supported QR formats from paper and other displays. |
| USB-C | Power-only port | Use a separate card reader to write the microSD. |
| microSD | Boot image and optional settings | At least 64 MB is required. A larger card can show mostly unused capacity after flashing. |
Try the SeedSigner+ Simulator
Use the white device buttons to explore SeedSigner 0.8.7 menus, practice seed generation, backups, wallet exports, and settings.
Practice only: never enter a real seed or passphrase, or use simulator-generated keys for funds. The simulator starts on Testnet, clears its session when restarted or reloaded, and has no Pi camera or broadcasting capability.
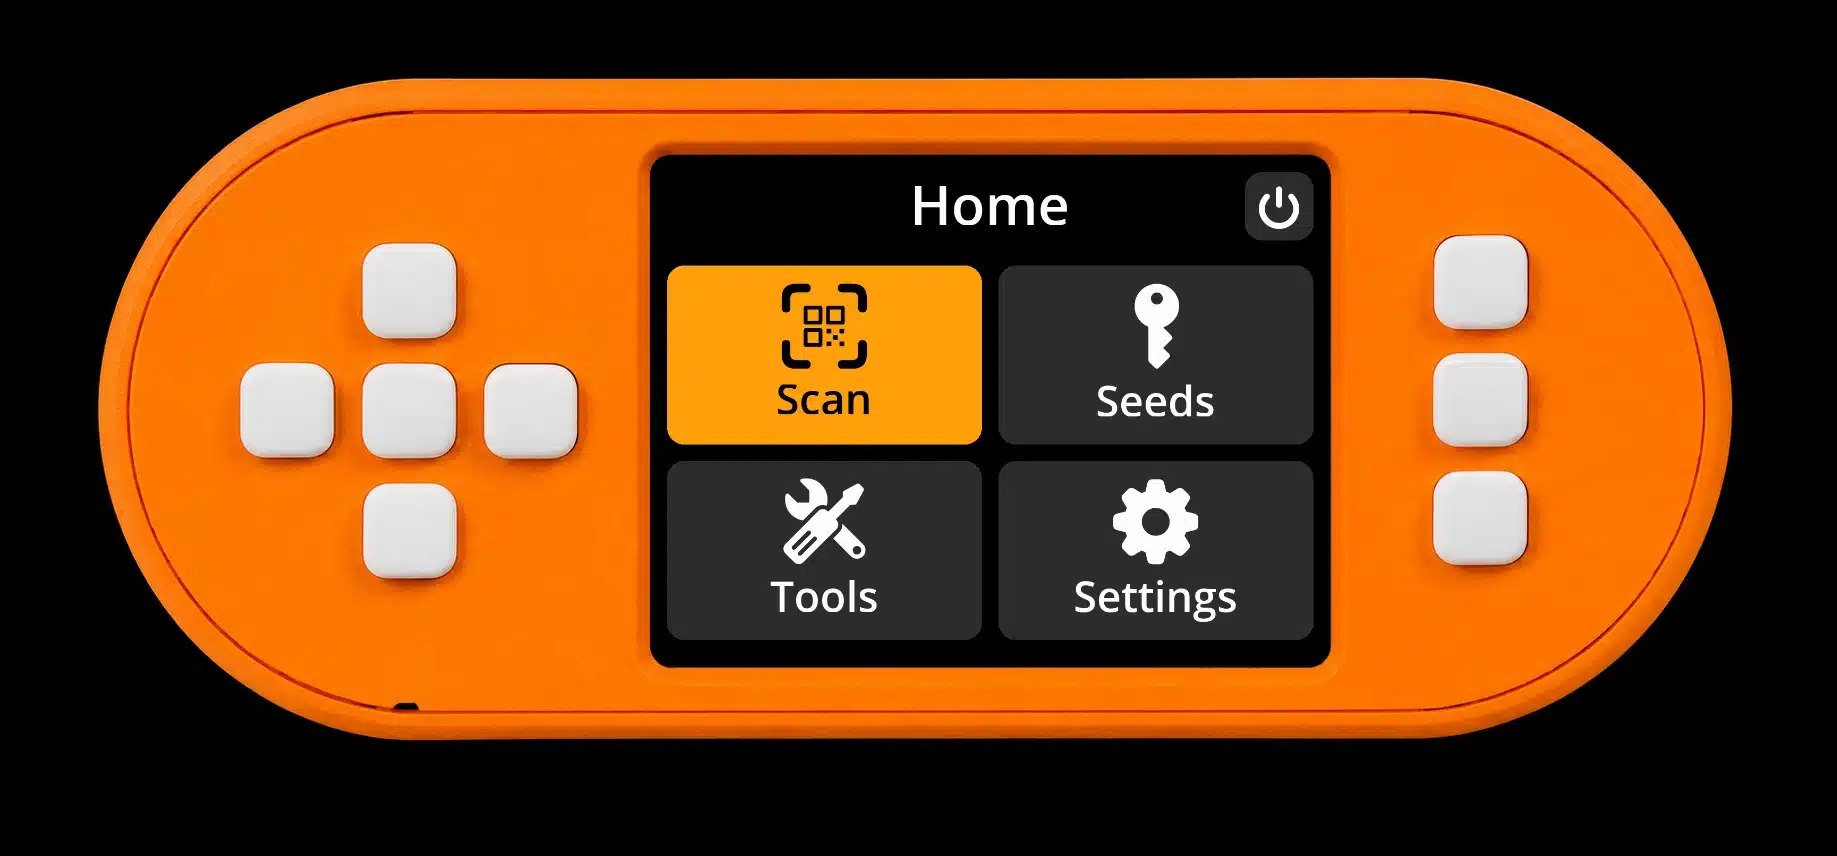
Use the white buttons, or arrow keys, Enter, and 1, 2, and 3. Practice only: never enter a real seed or passphrase, or use the simulator’s keys for funds. Pi camera hardware is unavailable.
Illustrations show a white-button SeedSigner+ product view with screens rendered from SeedSigner 0.8.7. Displayed words, QR codes, and transaction details use public demonstration data and must never be used for funds. The camera confirmation illustration uses a sample pattern, not a real seed-generation photograph.
What You Need Before Setup
Prepare the equipment below and a private place where other cameras cannot record your seed words.
- SeedSigner+ and power: the assembled signer, a compatible USB-C cable, and a reliable 5 V USB power source.
- microSD card and reader: connect the card directly to your computer. The SS+ USB-C port supplies power only.
- Computer: Windows, macOS, or Linux, with the appropriate image-writer build. An M-series Mac uses the Apple Silicon build.
- Backup materials: a durable written seed backup and, optionally, a SeedQR grid of the correct size.
- Coordinator: Sparrow on your computer for wallet tracking and transaction preparation.
- For dice generation: a physical six-sided die and a way to track each roll accurately.
Practice with a disposable seed first: create it, back it up, reload it, and verify a receiving address before repeating the process for a wallet you intend to fund.
1. Download, Verify, and Flash SeedSigner OS
The standard Pi Zero v1.3 kit uses the pi0.img release. Authenticate the download before writing it to the microSD card.
Download the release files
Open the official SeedSigner releases, select the stable release, and expand Assets. For the 0.8.7 example, download these three files:
seedsigner_os.0.8.7.pi0.imgseedsigner.0.8.7.sha256.txtseedsigner.0.8.7.sha256.txt.sig
Keep them together with their original filenames for the commands below. A kit with a different Pi board needs its corresponding image.
Verify the signature and checksum
Authenticate the checksum file with GPG, then compare the image’s SHA-256 with its entry in that file. Verifying the signature against the project’s key authenticates the manifest; the checksum checks the image against it.
Follow the project’s software-verification instructions. If gpg is unavailable, install it using the official GnuPG download resources.
Open Terminal on macOS or Linux, or PowerShell on Windows, in the download folder. Run:
gpg --fetch-keys https://keybase.io/seedsigner/pgp_keys.asc
gpg --verify seedsigner.0.8.7.sha256.txt.sig seedsigner.0.8.7.sha256.txt
Confirm a good signature, then match the signing-key fingerprint to the SeedSigner Keybase profile and its linked identity proofs. A good signature from an unrelated key is insufficient. A keyring trust warning differs from a bad signature; still verify the fingerprint.
Calculate the image hash on macOS or Linux:
shasum -a 256 seedsigner_os.0.8.7.pi0.imgOr in Windows PowerShell:
Get-FileHash .\seedsigner_os.0.8.7.pi0.img -Algorithm SHA256Compare the entire hash with the pi0.img entry in the authenticated manifest. Stop if the signature or checksum fails. For another release, update all versioned filenames together.
Flash the microSD card
Write the verified image with an image-writing tool. Flashing erases the selected card, so confirm its identity and capacity before starting.
- Connect the card reader. Disconnect the signer’s power, remove its microSD, and insert the card into the computer’s reader.
- Select the image. Open balenaEtcher, choose Flash from file, and select the verified
.imgfile. - Select the microSD and flash. Check the target’s name and capacity, then start writing. Approve the operating system’s disk-access prompt when requested.
- Wait for validation and eject. Allow writing and verification to finish, then safely eject the card. Cancel any Windows prompt to format an unfamiliar partition.
No manual file deletion is needed. A small visible boot partition on a larger card is normal; do not reformat it to recover the unused space.
Raspberry Pi Imager is an alternative: select the custom-image option, choose the verified image and card, and complete writing and verification. Do not apply Raspberry Pi OS Wi-Fi, SSH, or user-account customization.
2. Boot the SS+ and Set the Correct Display
Select st7789 320×240 to fill the SS+ screen. The default 240×240 setting leaves part of the larger panel unused.
- Boot the signer. With power disconnected, insert the flashed microSD. Connect USB-C power and allow about a minute for startup.
- Select the display. Open Settings → Advanced → Hardware → Display type → st7789 320×240. Do not select the square 240×240 option or the ILI9341 driver.
- Save the setting (optional). With the card inserted, choose Settings → Persistent settings → Enabled. Restart without a real seed loaded and confirm the display choice is retained.
- Check the controls and camera. Use Settings → I/O test for buttons, and scan a supported nonsecret QR to check the camera. Change Camera rotation only if the view needs correcting.
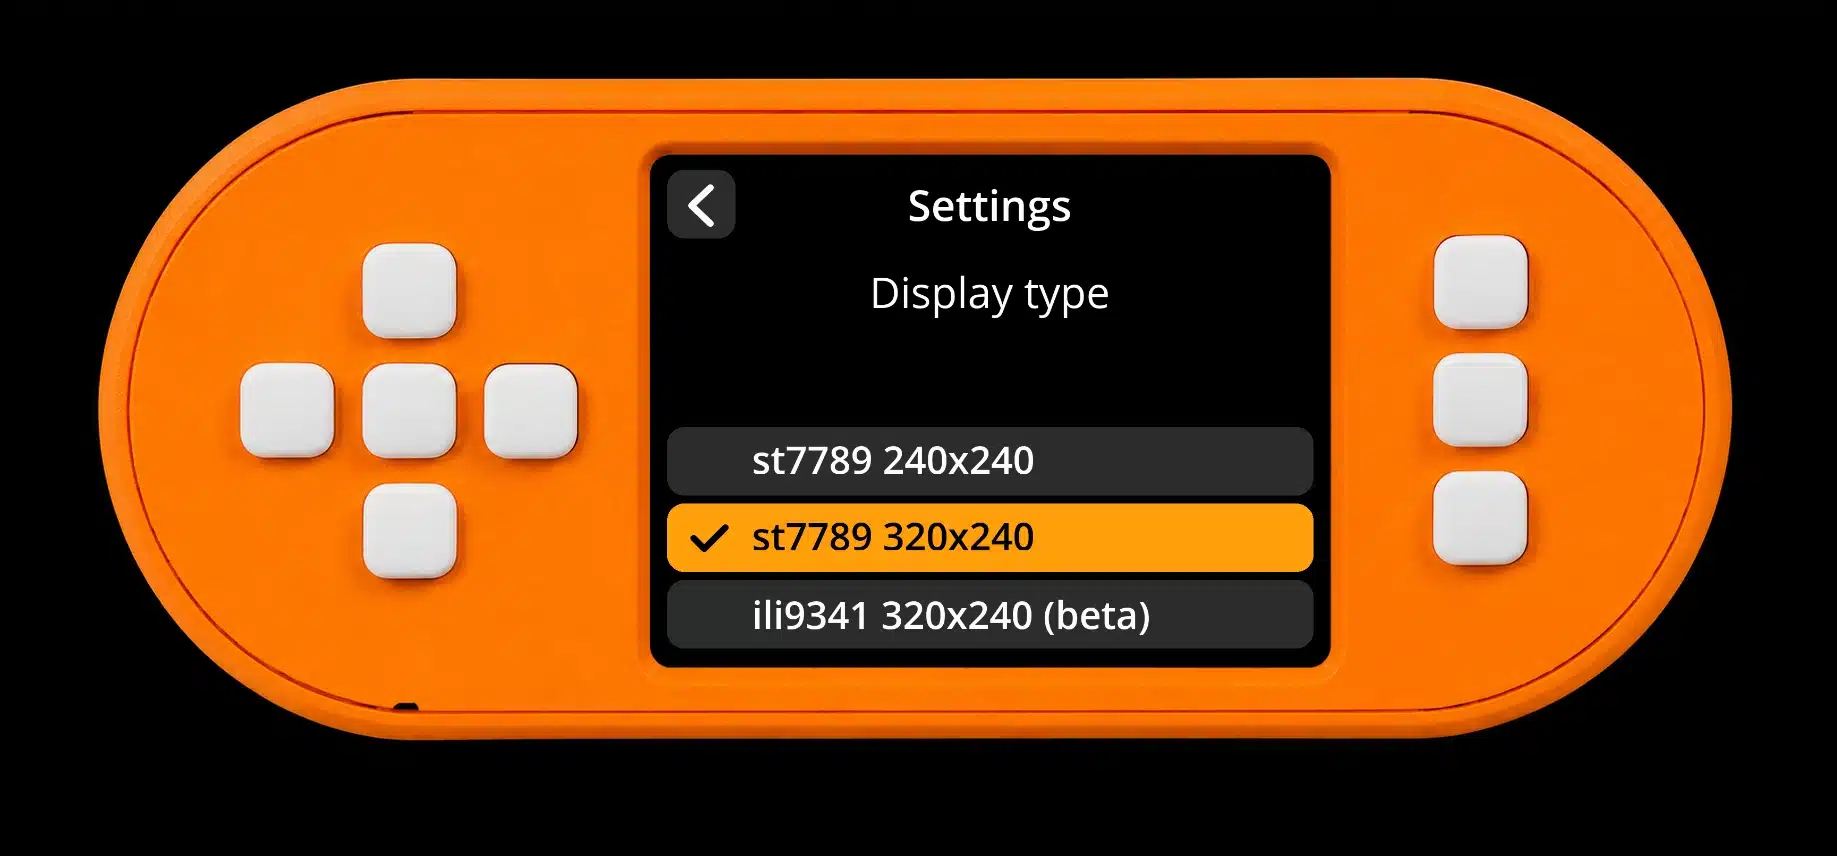
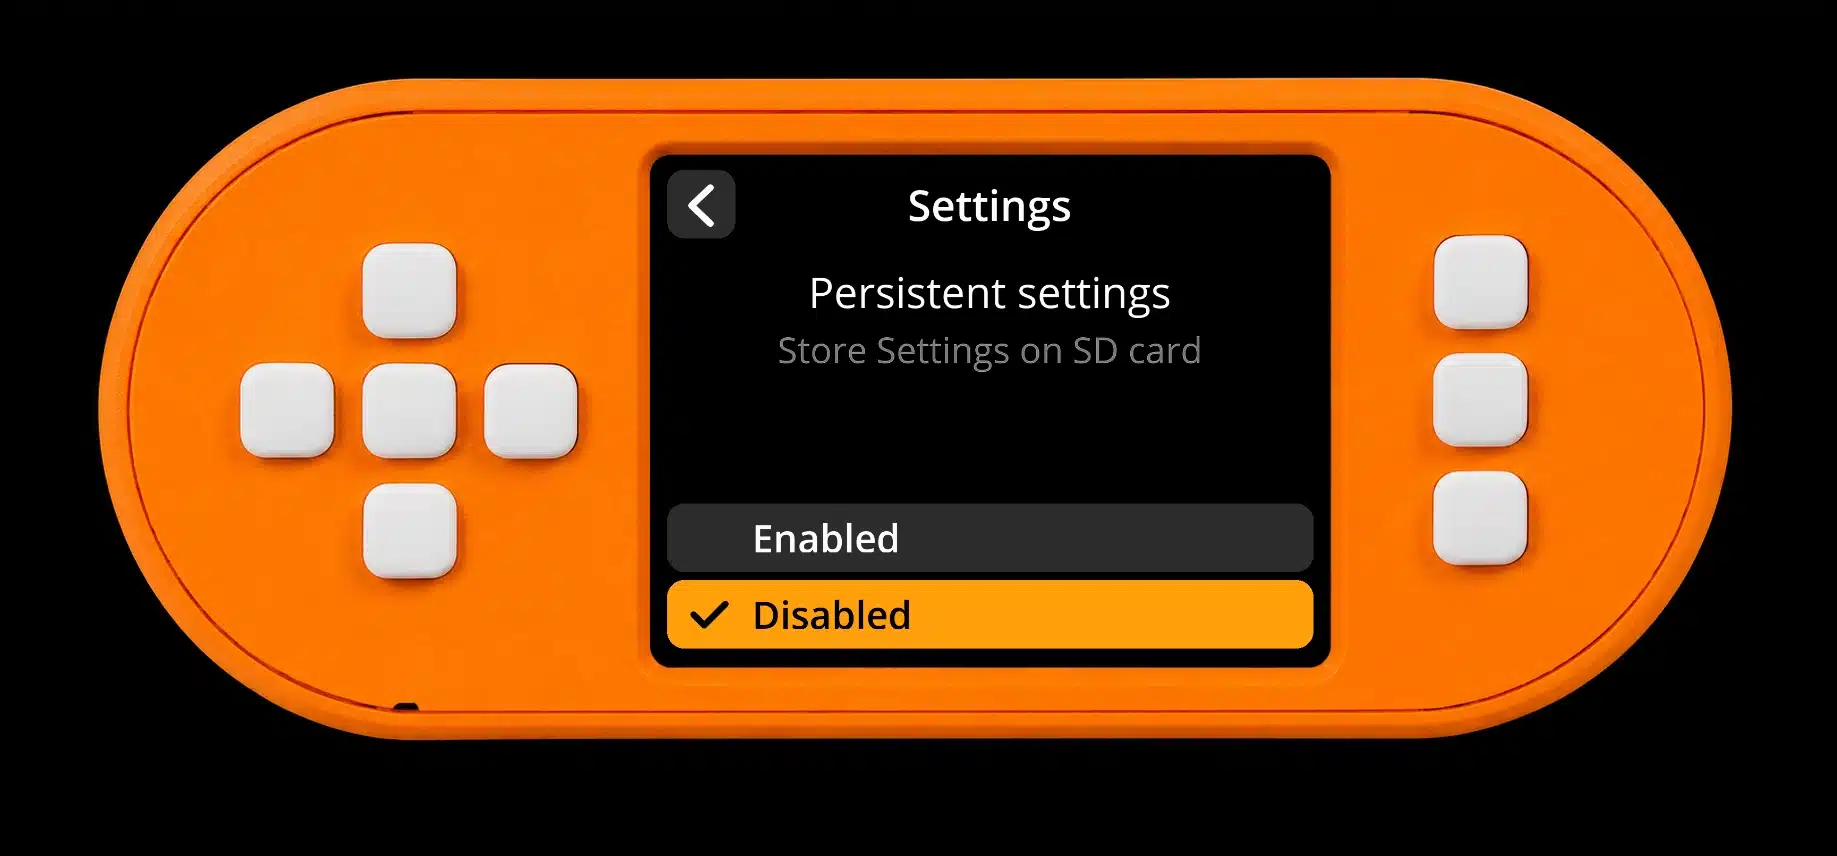
Persistent settings store preferences, not seeds. If you leave persistence disabled, reselect the display after startup or apply a SettingsQR. You can remove the card after boot; save preferences first and keep it available for the next cold boot.
3. Understand the Home Screen and Controls
Home has four main destinations: Scan, Seeds, Tools, and Settings. Use the D-pad to move the highlight, the center button to select, and the on-screen back arrow to return.
- Scan: recognizes supported transaction, address, seed, wallet-configuration, and settings QR formats.
- Seeds: loads a seed or lists seeds currently in memory by fingerprint. A fingerprint is an identifier, not a password or a complete wallet backup.
- Tools: creates seeds from camera entropy or dice, calculates a final mnemonic word, explores addresses, and verifies addresses.
- Settings: controls language, persistence, display preferences, network, QR compatibility, and optional features.
The three side buttons have screen-specific functions. Follow the on-screen prompts; they are not fixed Back or Next buttons.
4. Generate a New Seed or Restore a Phrase
SeedSigner 0.8.7 can create a fresh seed from camera images or dice rolls, complete a manually randomized BIP39 phrase with its final-word calculator, or derive a child phrase from an existing parent through BIP85. Restoring words, scanning a SeedQR, and adding a passphrase serve different purposes; none is a substitute for fresh, unpredictable entropy.
A mnemonic is the ordered recovery phrase, usually called the seed words. The BIP39 specification converts entropy into words and includes checksum bits to catch some entry errors. A valid checksum does not prove that the words were generated securely, and a longer phrase cannot rescue predictable inputs.
| Method | Where to start | What it does | What to preserve |
|---|---|---|---|
| Camera entropy | Tools → New seed, camera icon | Hashes camera preview frames, a captured image, and additional device/time inputs into a new 12-word or 24-word mnemonic. | The resulting ordered words and any passphrase. The photograph is not the recovery backup. |
| Dice entropy | Tools → New seed, dice icon | Hashes 50 die results for 12 words or 99 for 24 words into a mnemonic. | The resulting ordered words and any passphrase. |
| Manual BIP39 completion | Tools → Calc 12th/24th word | Completes independently randomized first words using coin flips, a selected word, or zero bits for the final word’s remaining entropy. | The complete phrase with the calculated final word, not just the initial inputs. |
| BIP85 child seed | Enable BIP-85 child seeds; open a supported loaded seed | Derives a reproducible 12-word or 24-word child from the parent. It introduces no fresh randomness. | The parent and its passphrase if used, child length, and child index; or a separate complete child backup. |
| Existing BIP39 phrase or SeedQR | Seeds → enter words or scan a SeedQR | Restores an existing seed. Scanning the same backup does not create a new wallet. | The original words, any passphrase, and wallet configuration. |
| Electrum SegWit phrase | Enable Electrum seeds; choose Enter Electrum seed | Loads the supported Electrum seed format, which differs from BIP39. | The Electrum backup and original wallet details. SeedQR export and BIP85 are unavailable for this seed type. |
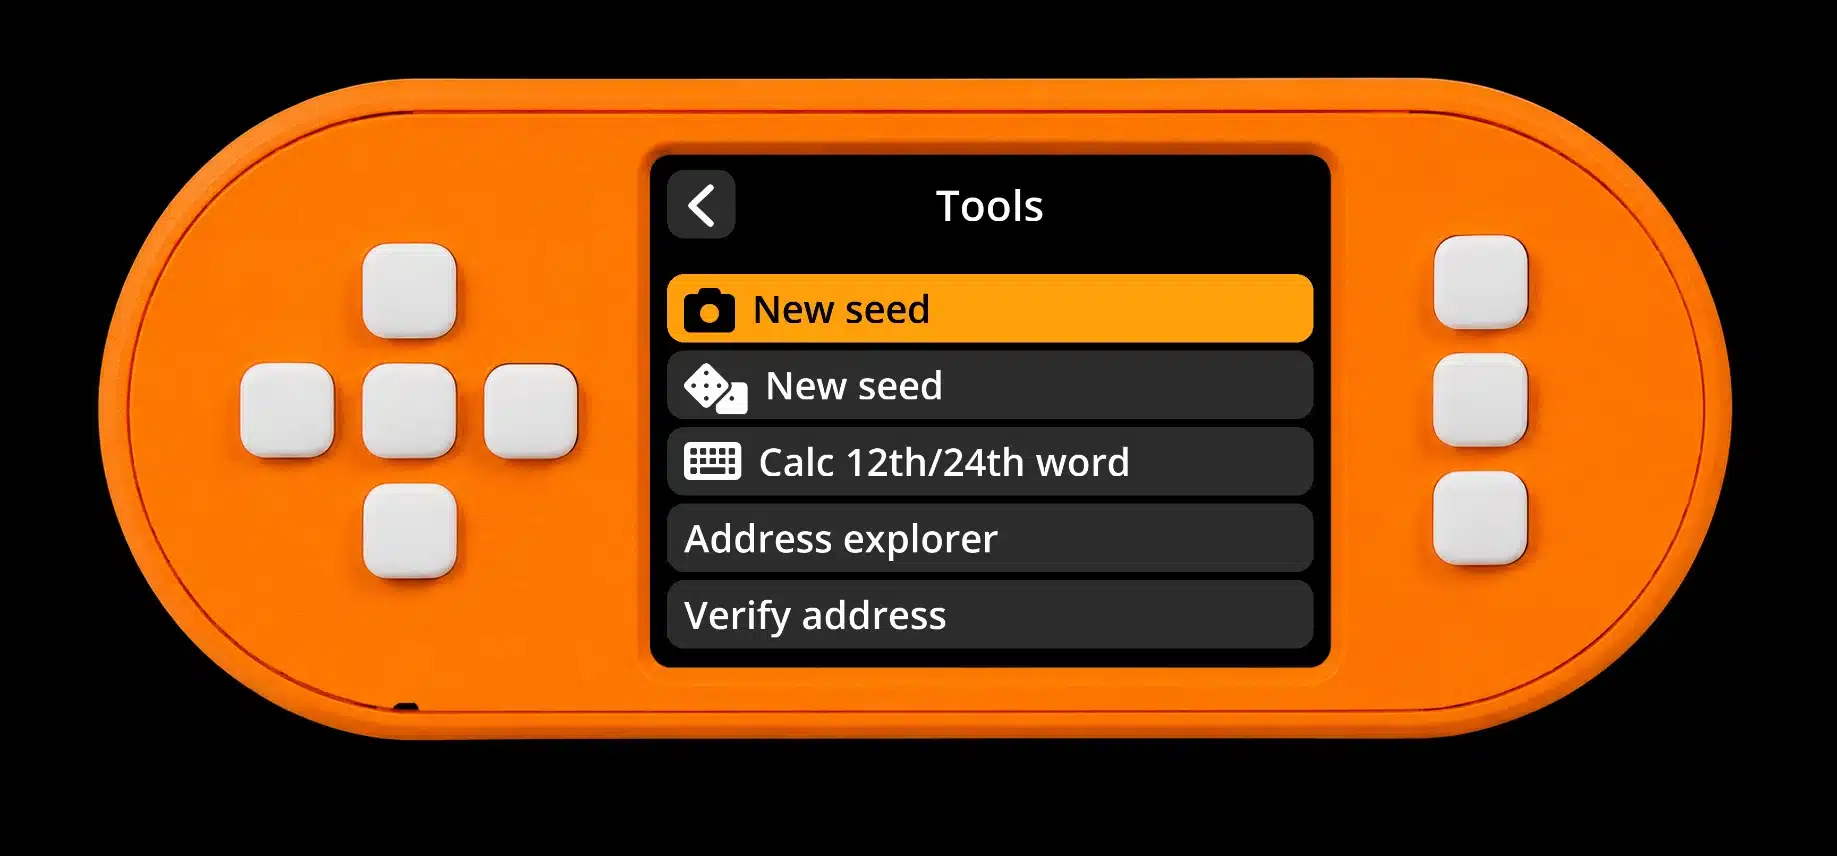
For a first wallet: choose the dedicated camera or dice flow on a trusted physical signer. The manual calculator and BIP85 require additional understanding. Never use a phrase supplied by a seller, a tutorial, this simulator, or someone offering setup assistance.
Method A: Generate a seed with the camera
The camera method creates a new 12-word or 24-word BIP39 phrase from captured image data and other inputs. The preview frames and final photograph contribute to the calculation; keeping or recreating a photograph is not the recovery procedure.
- Open the camera seed tool. From Home, choose Tools → New seed with the camera icon. The other New seed entry has a dice icon.
- Choose a private, varied scene. Point the physical camera at a visually complex scene and vary the view during the preview. Avoid a blank wall, a covered lens, or deliberately repeating a tutorial’s example.
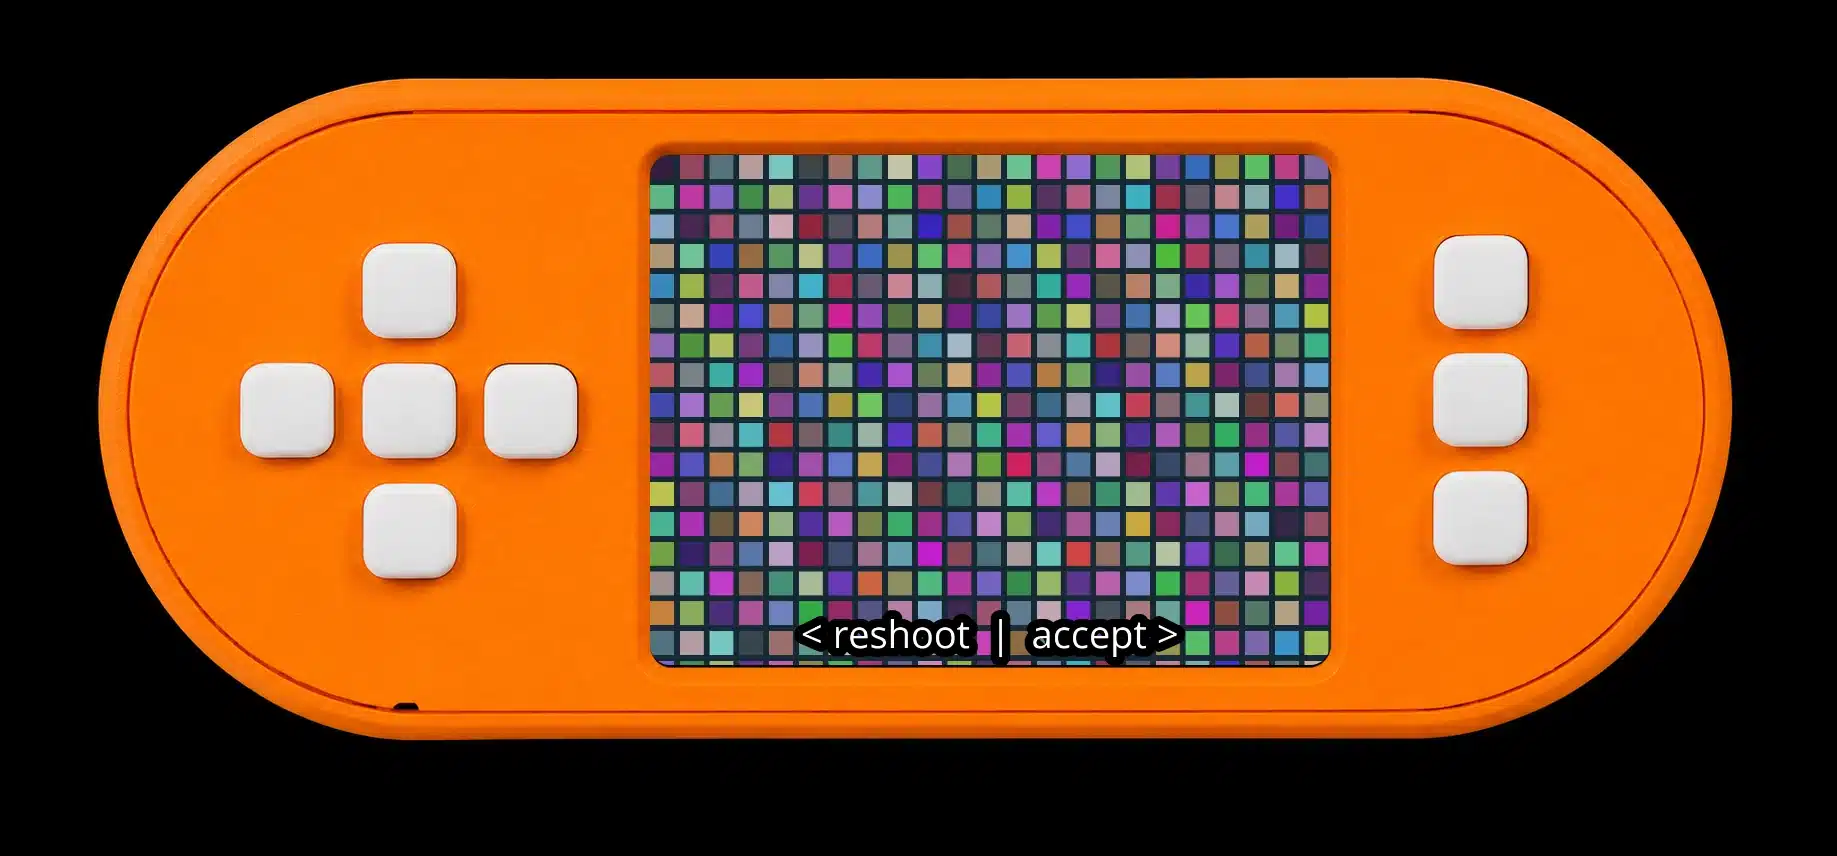
- Capture the image. Press an action button when ready. On the confirmation screen, use left to reshoot or right/an action button to accept.
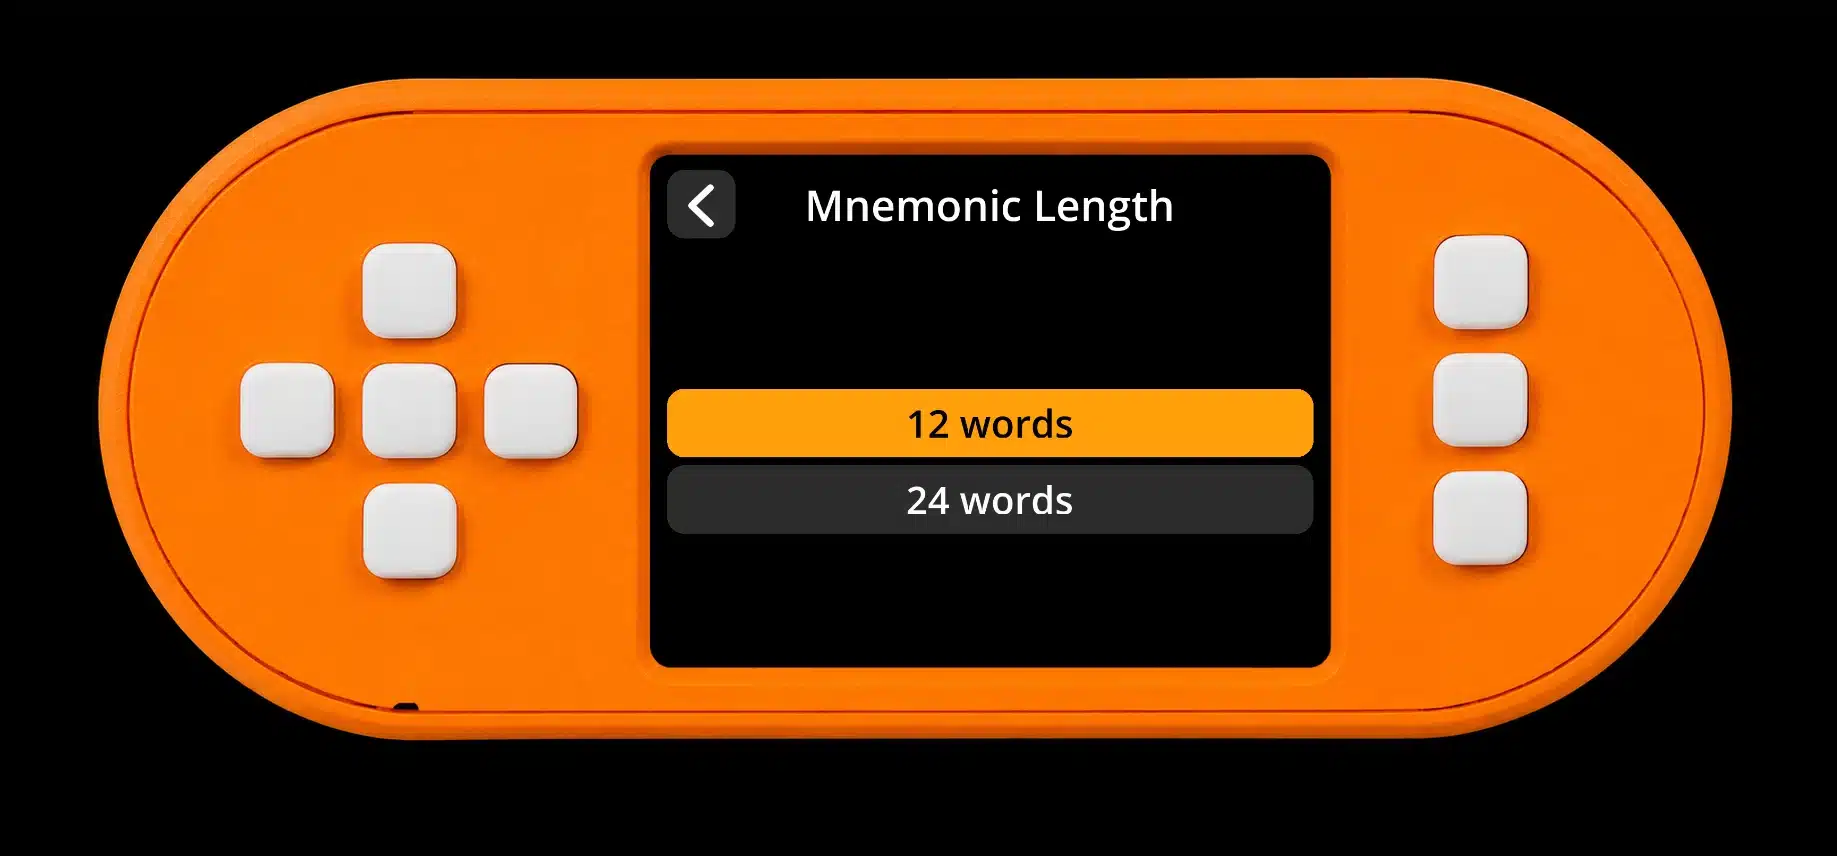
- Select the phrase length. Choose 12 words or 24 words and allow the calculation to finish.
- Record and test the backup. Read the privacy warning, write every word in order, and complete the backup test. Review all pages before continuing.
- Finalize the session. Add an optional BIP39 passphrase if you intend to use one, then choose Done. Restore the backup and verify a receiving address before funding the wallet.
The software hashes the original image data; the contrast-adjusted picture on the confirmation screen is for viewing. The code also incorporates preview frames, device serial information, and time. These additional inputs do not justify using a deliberately predictable scene or assuming a camera test proves hardware security.
Camera practice: the browser simulator has no Raspberry Pi camera, so use the physical signer for this workflow. The sample scene in the illustration explains the controls only.
Method B: Generate a seed with dice
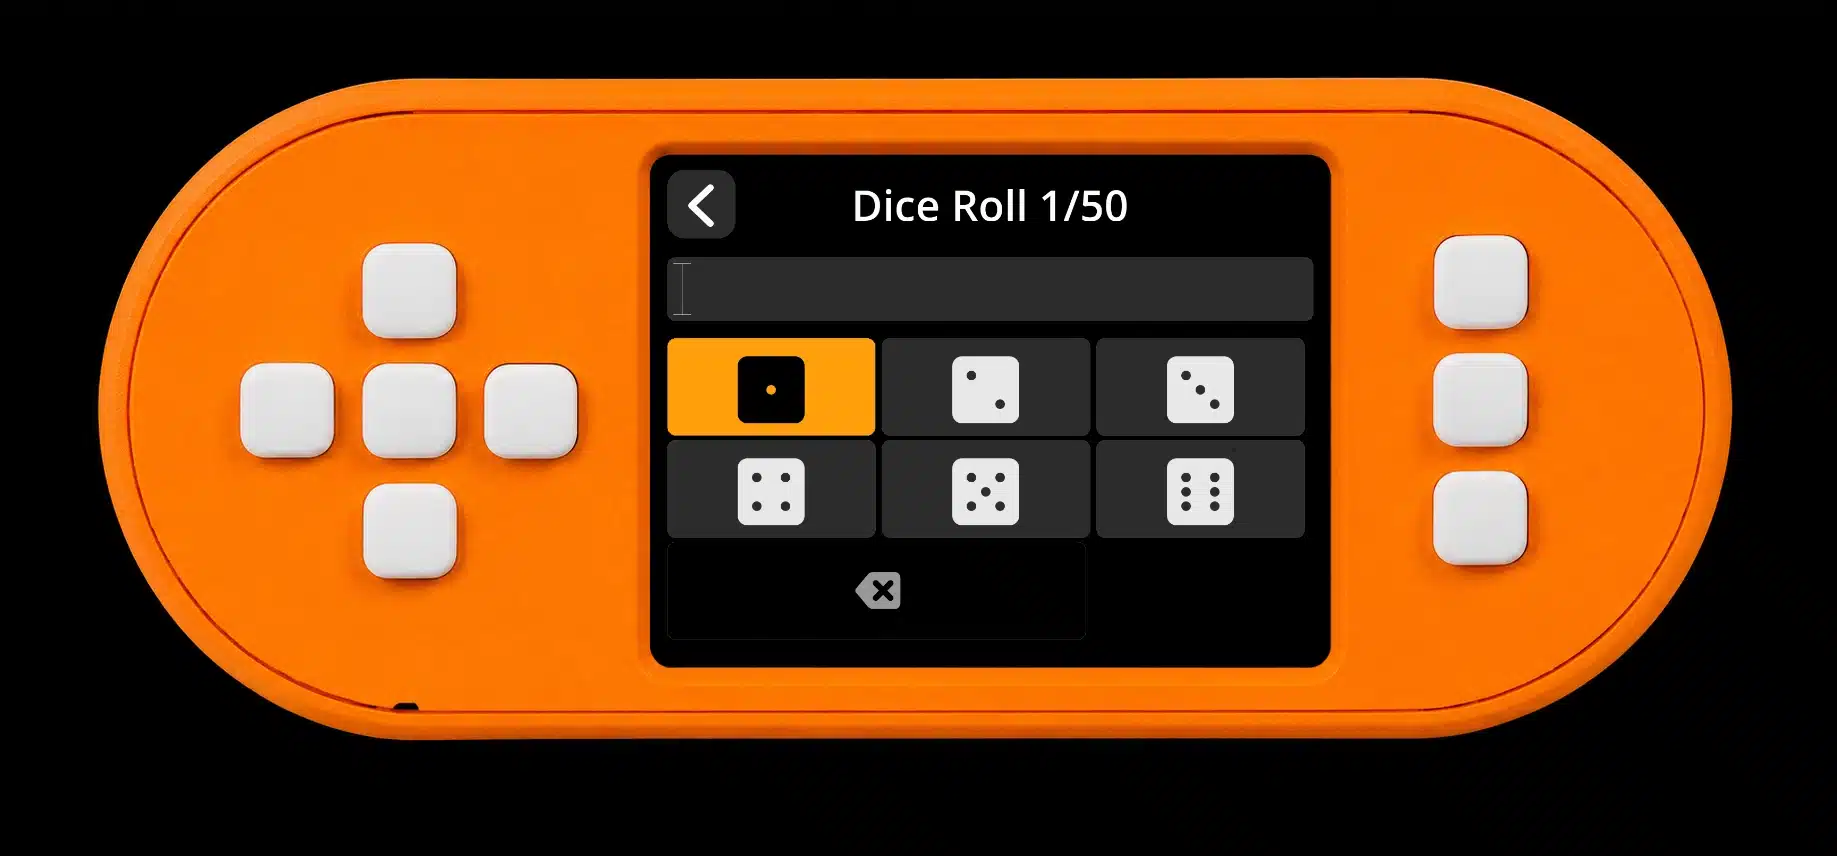
The dice method requests 50 physical rolls for 12 words or 99 rolls for 24 words. SeedSigner hashes the ordered string of results and converts it into the mnemonic; the software does not make invented or biased outcomes unpredictable.
- Open the dice seed tool. Choose Tools → New seed with the dice icon.
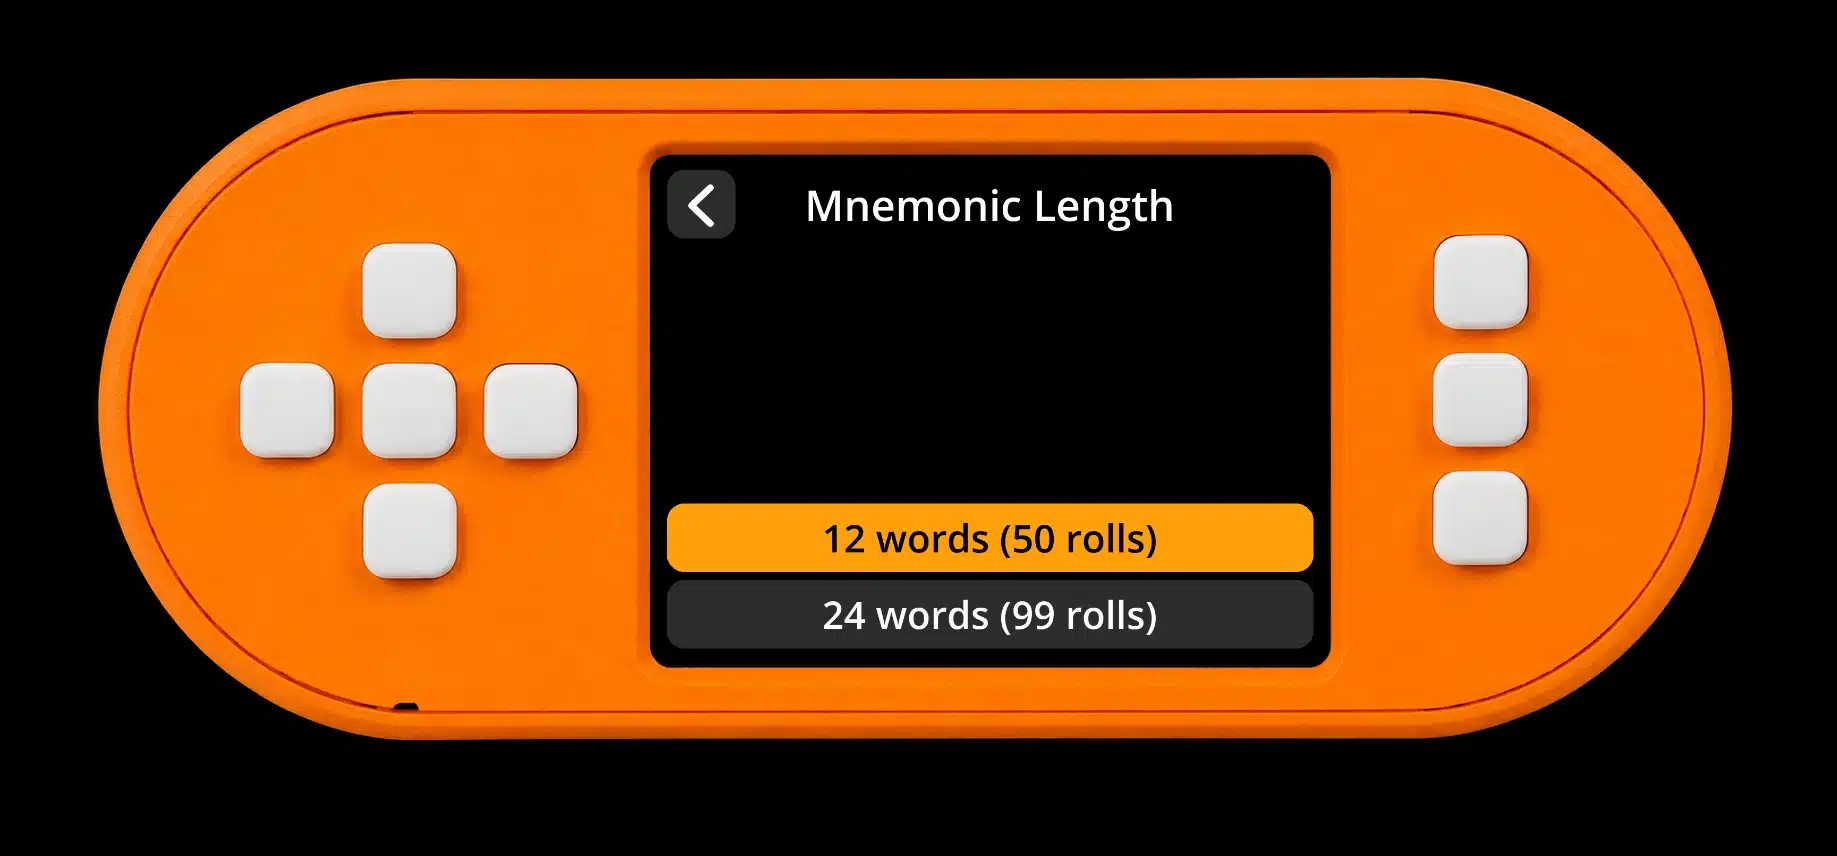
- Select the phrase length. Choose 12 words (50 rolls) or 24 words (99 rolls).
- Roll and enter each result. Use a fair six-sided die, roll it physically, and select the matching number once. Keep the rolls in their original order. If your count becomes uncertain, restart rather than filling gaps by guessing.
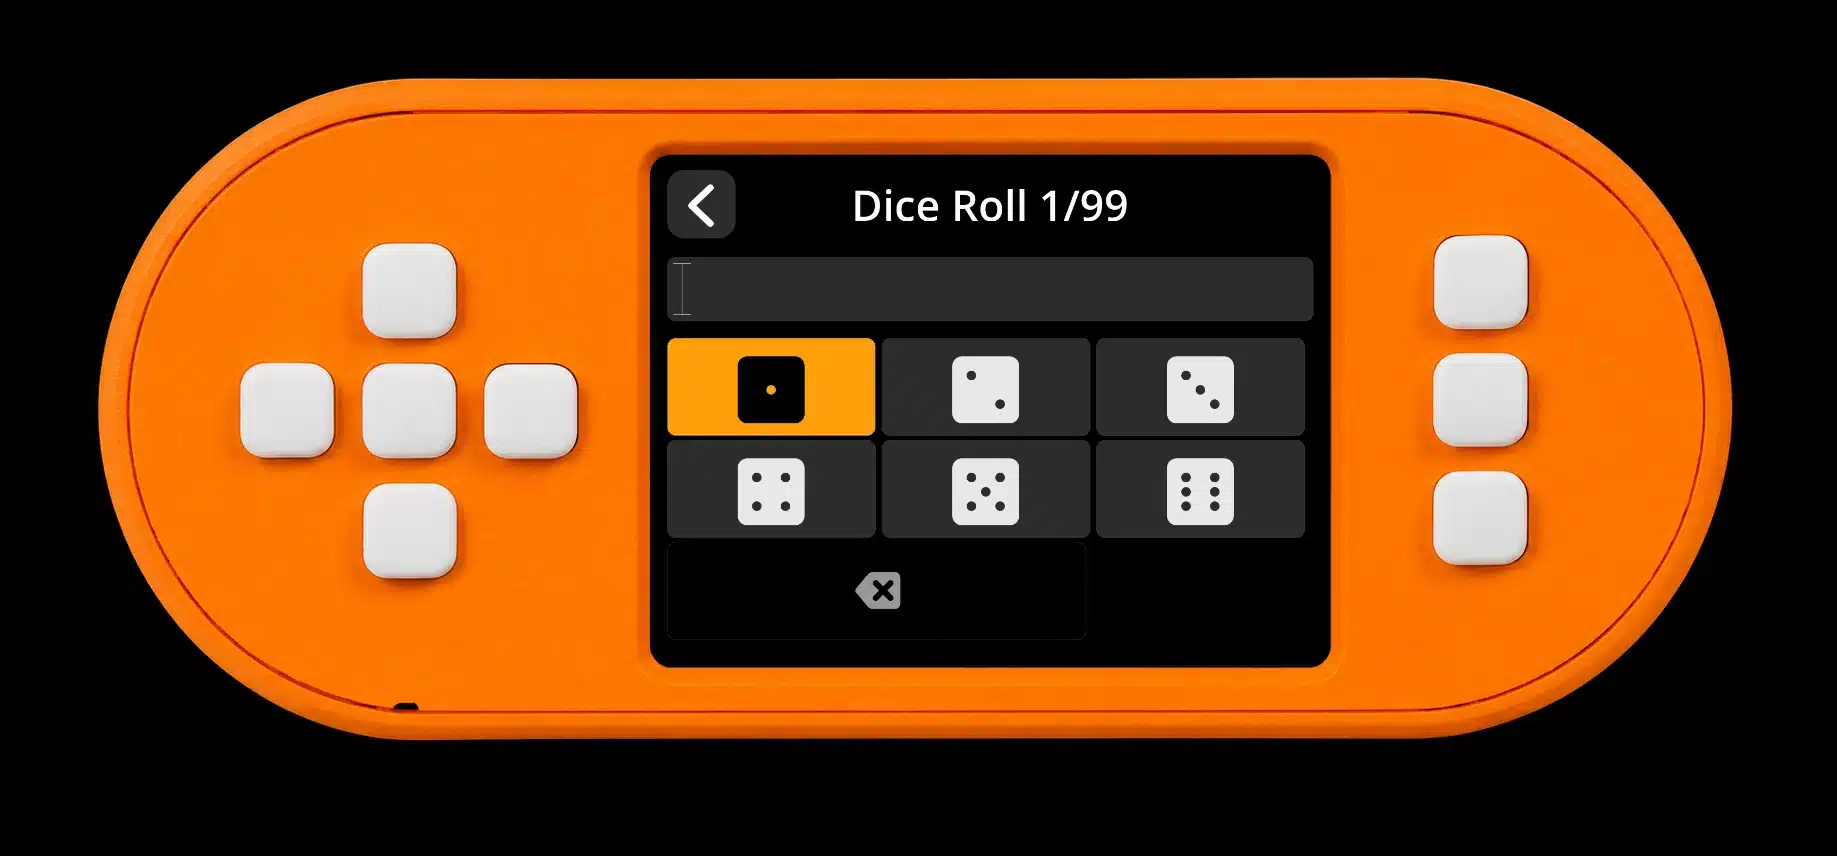
- Record the generated words. After the final roll, follow the privacy warning, copy all word pages in order, and take the backup test.
- Finalize and check recovery. Add any intended passphrase, choose Done, then restore the backup and confirm a receiving address before using the wallet.
The counts above describe this release’s input flow, not a guarantee about the quality of a physical die. A 24-word output does not mean a biased or predictable sequence contained 256 bits of randomness. For background, see seed phrase entropy.
For independent verification with disposable data, the project documents its dice-to-mnemonic calculation. Its SHA-256 conversion differs from treating the rolls directly as a base-6 number, so different tools and modes can produce different phrases from the same rolls. Never enter a funded wallet’s entropy or words into an online verification page.
Method C: Complete a manually randomized BIP39 phrase
Calc 12th/24th word combines your independently randomized first 11 or 23 words with the final entropy bits and a calculated checksum. It offers three ways to supply those last entropy bits: Coin flip entropy, Word selection entropy, and Finalize with zeros.
This tool is for deliberate offline seed construction. It is not a brainwallet generator, an assurance that human-chosen words are secure, or a way to identify a lost original last word uniquely. Multiple checksum-valid final words can follow the same first 11 or 23 words.
- Prepare the earlier words independently. Use a documented unbiased physical-randomness procedure and the English BIP39 wordlist. Do not choose words for meaning, memorability, or apparent variety.
- Open the calculator. Choose Tools → Calc 12th/24th word and the intended complete phrase length.
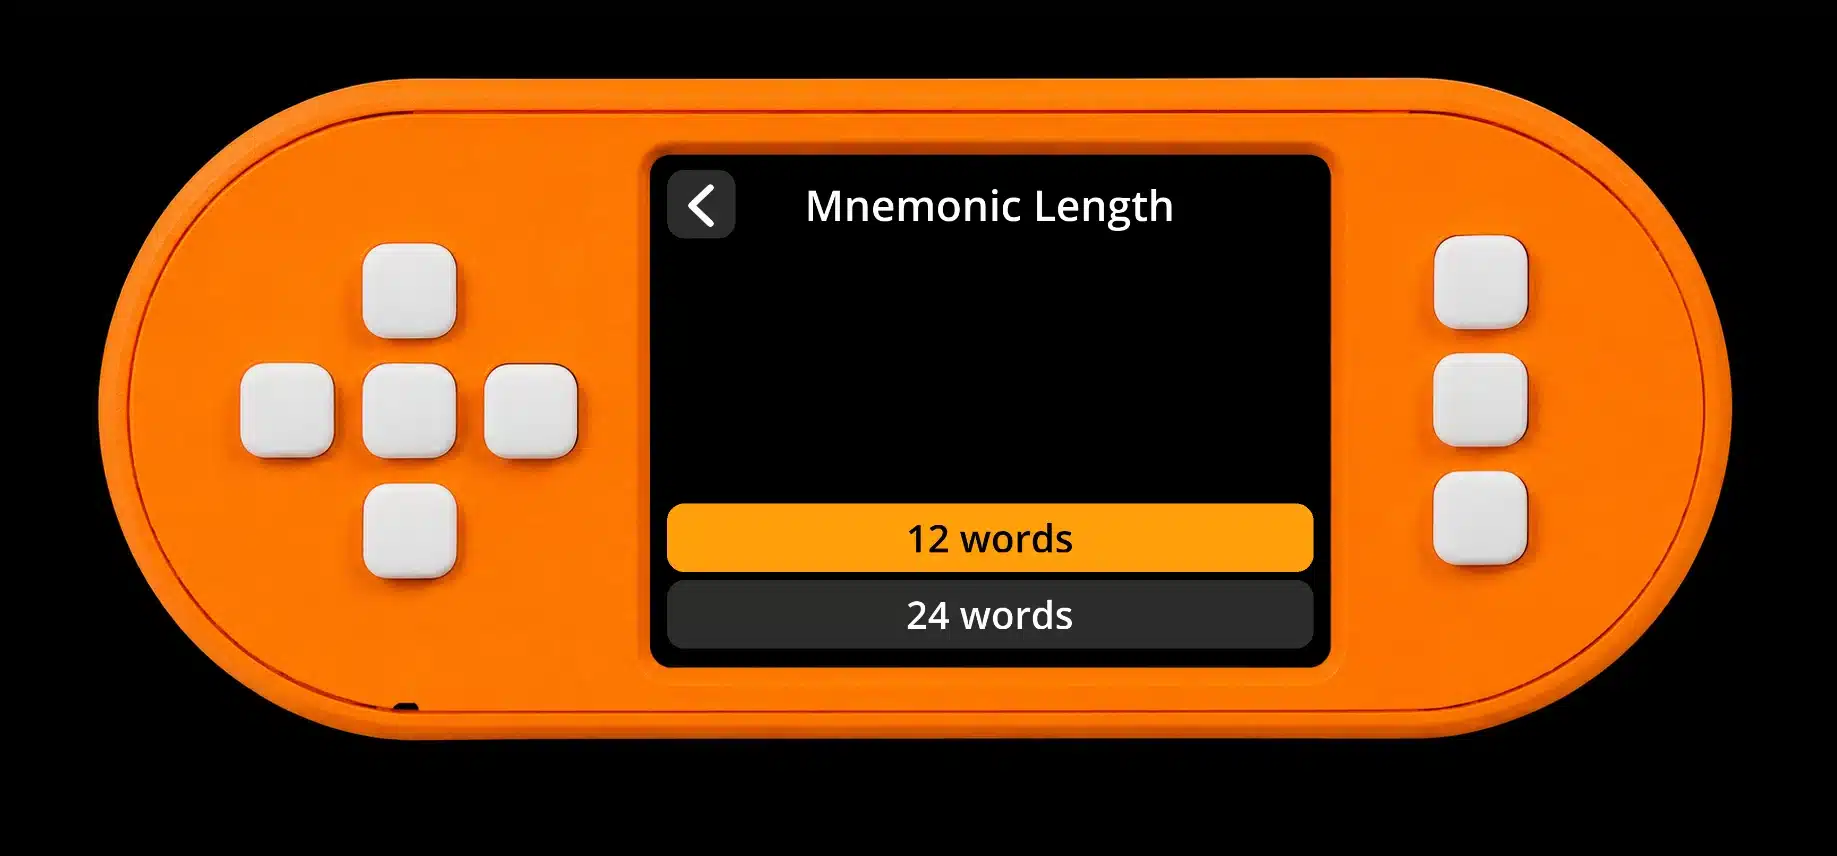
- Enter the first 11 or 23 words. Keep their exact order. The word-entry controls filter the available wordlist as you type.
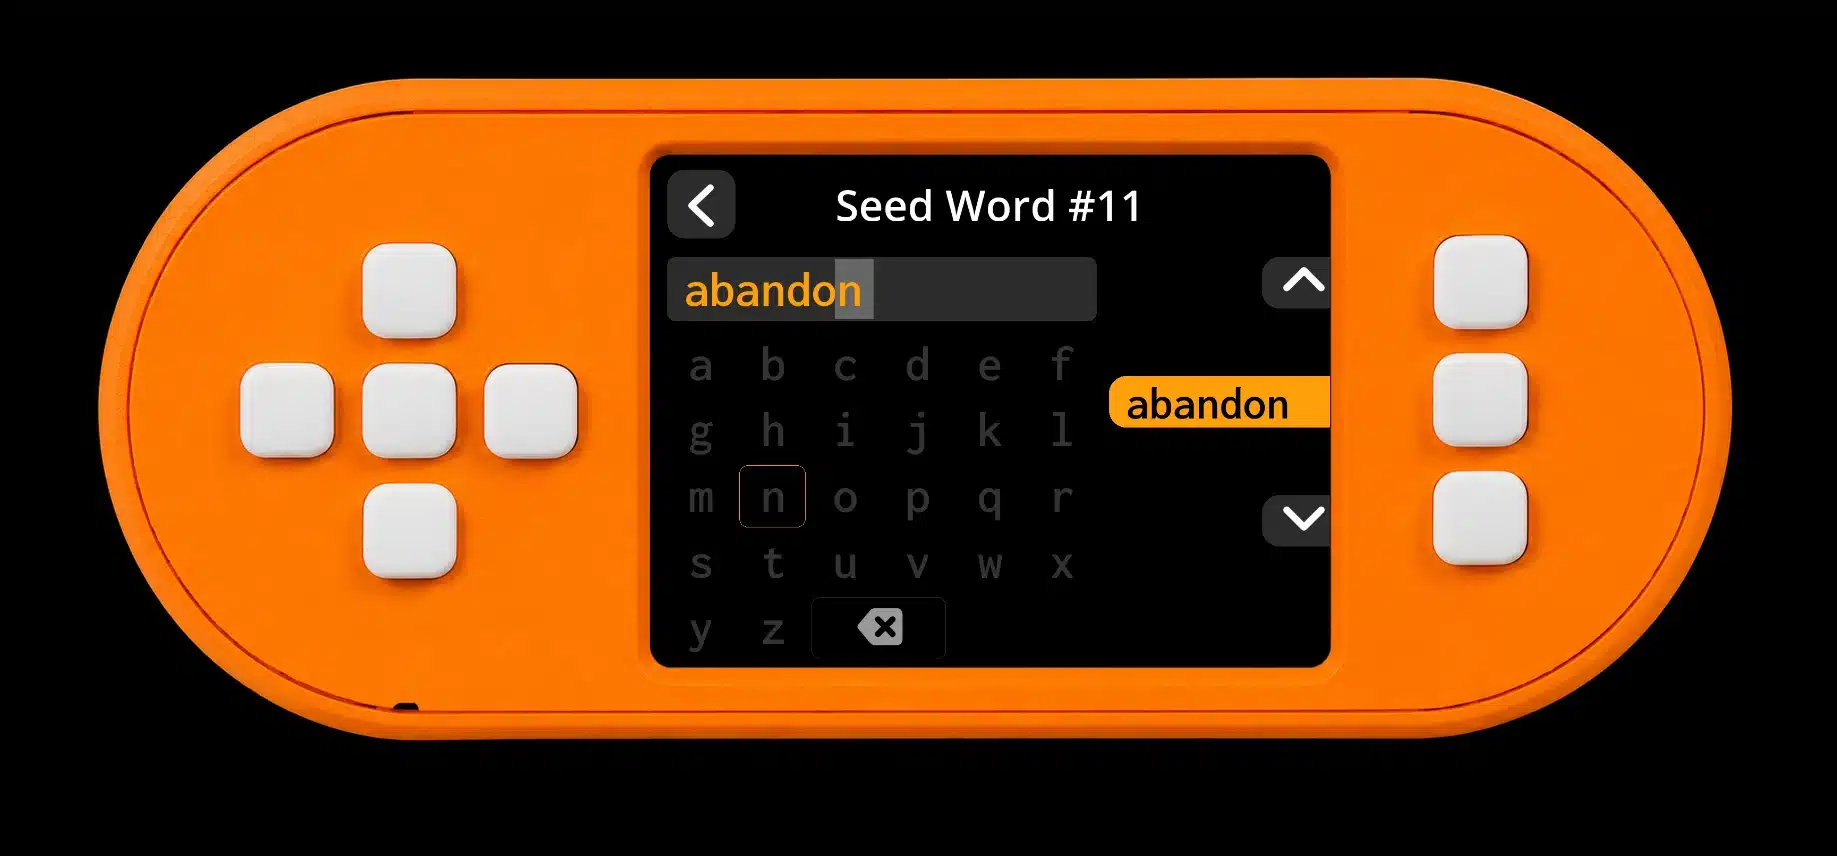
- Choose how to finish. Select one of the three final-word options below.
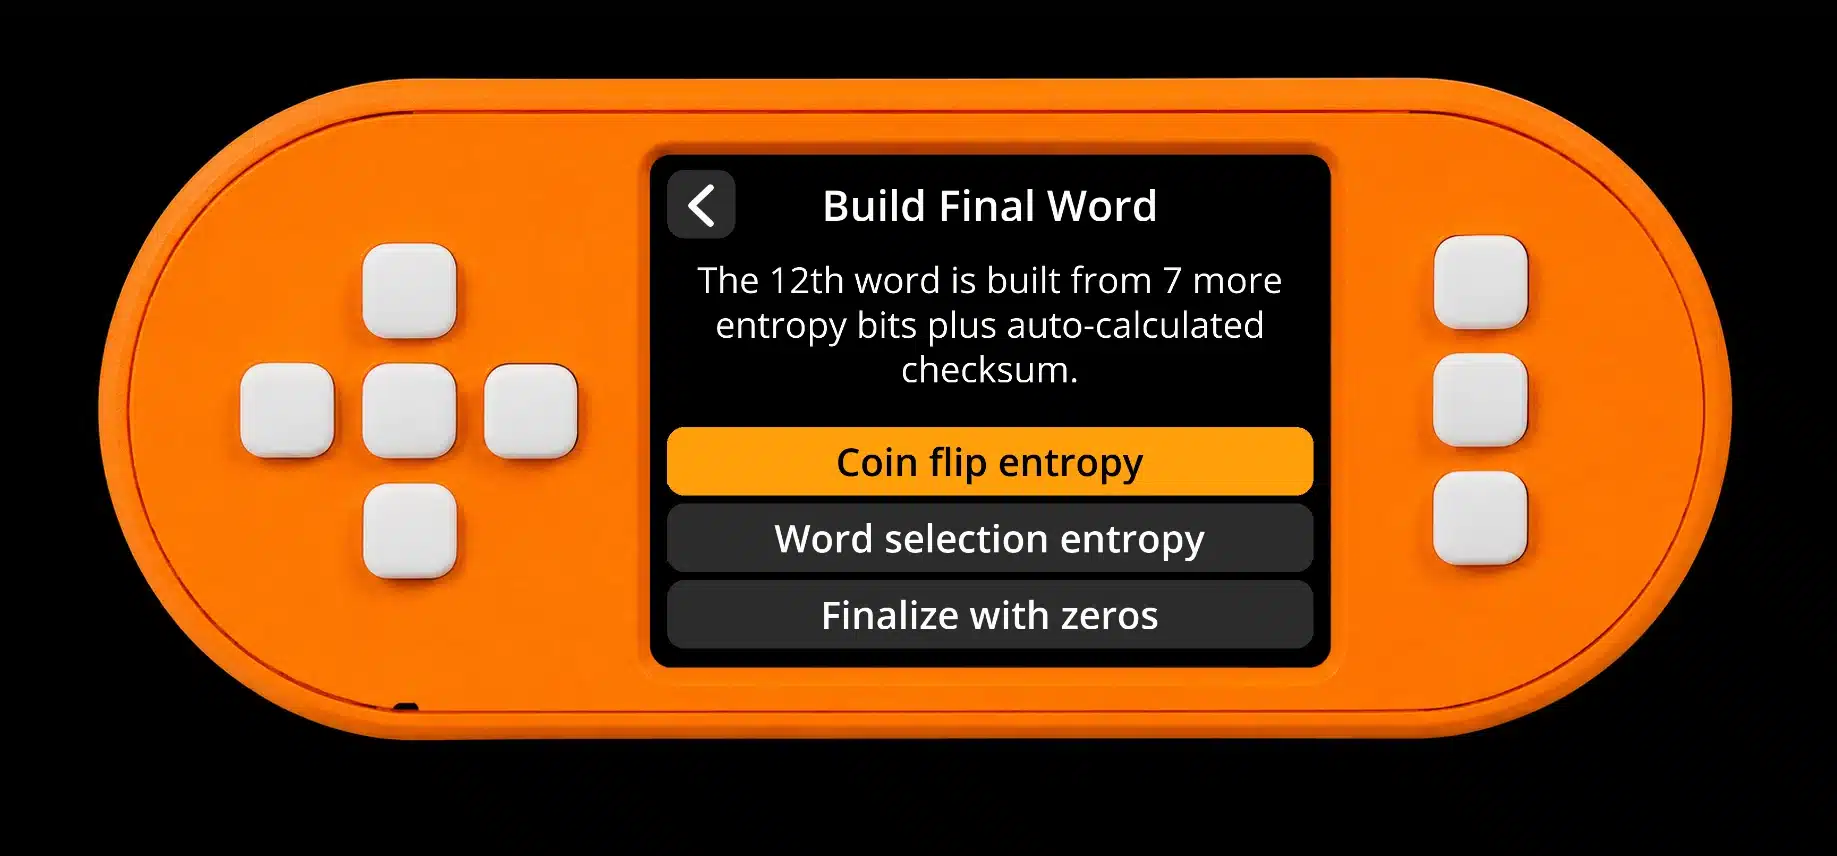
Option 1: Coin flip entropy
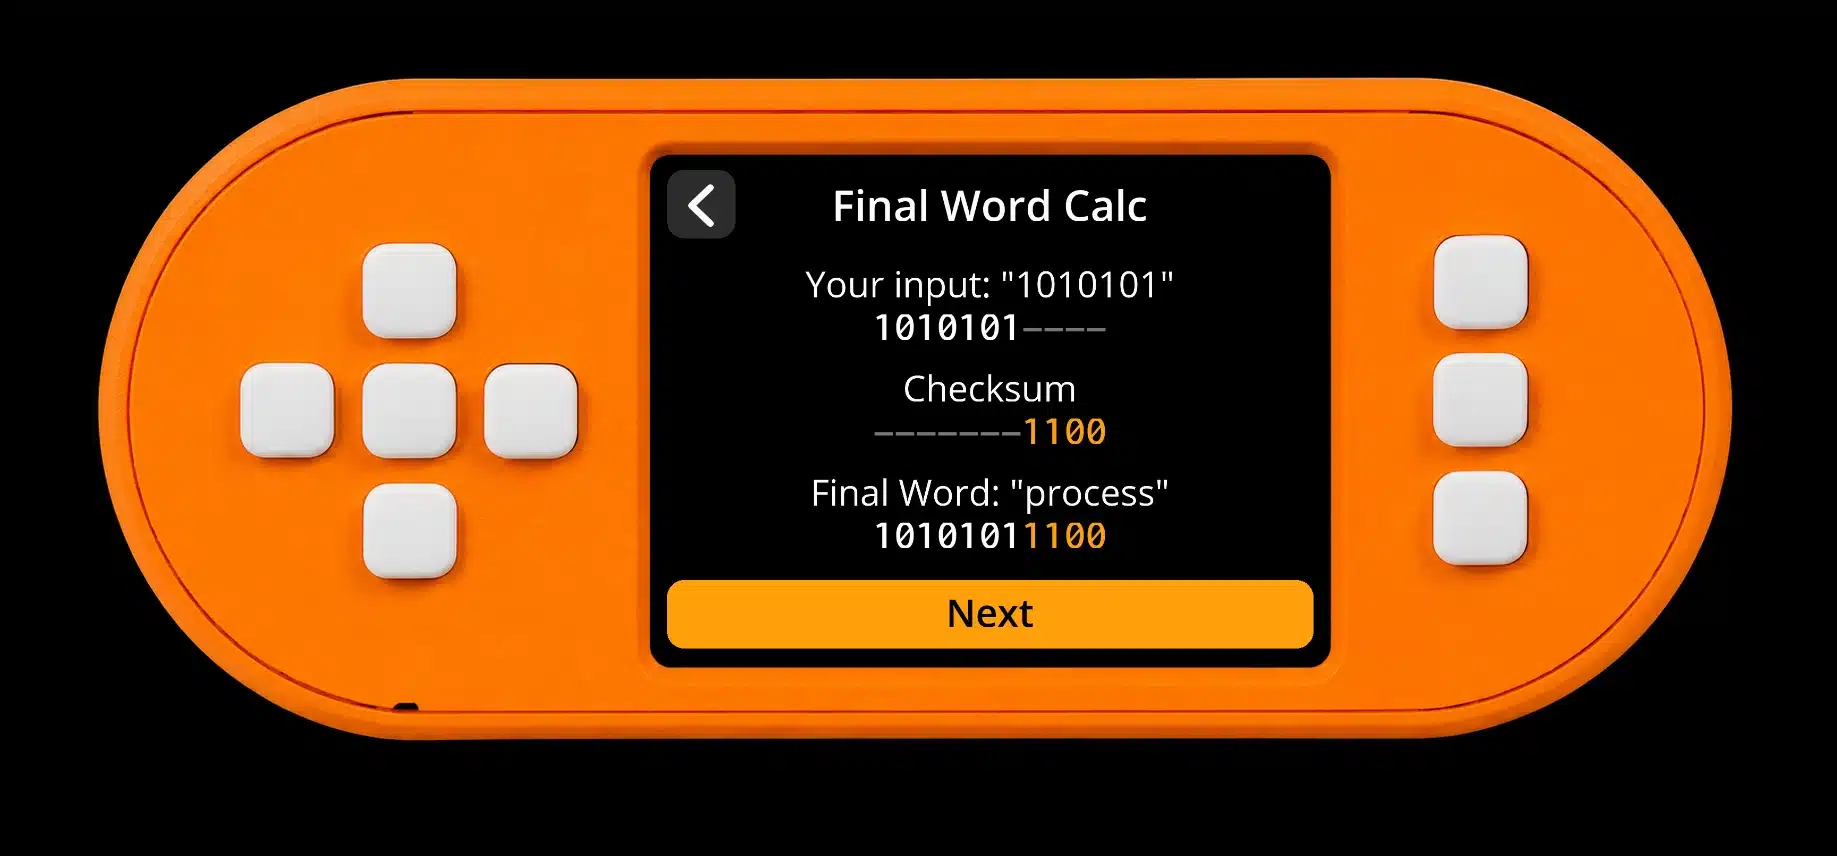
Flip a physical coin 7 times for a 12-word phrase or 3 times for a 24-word phrase, then enter heads as 1 and tails as 0. These flips fill only the remaining entropy bits of the final word, after the preceding words have already supplied most of the phrase’s entropy.
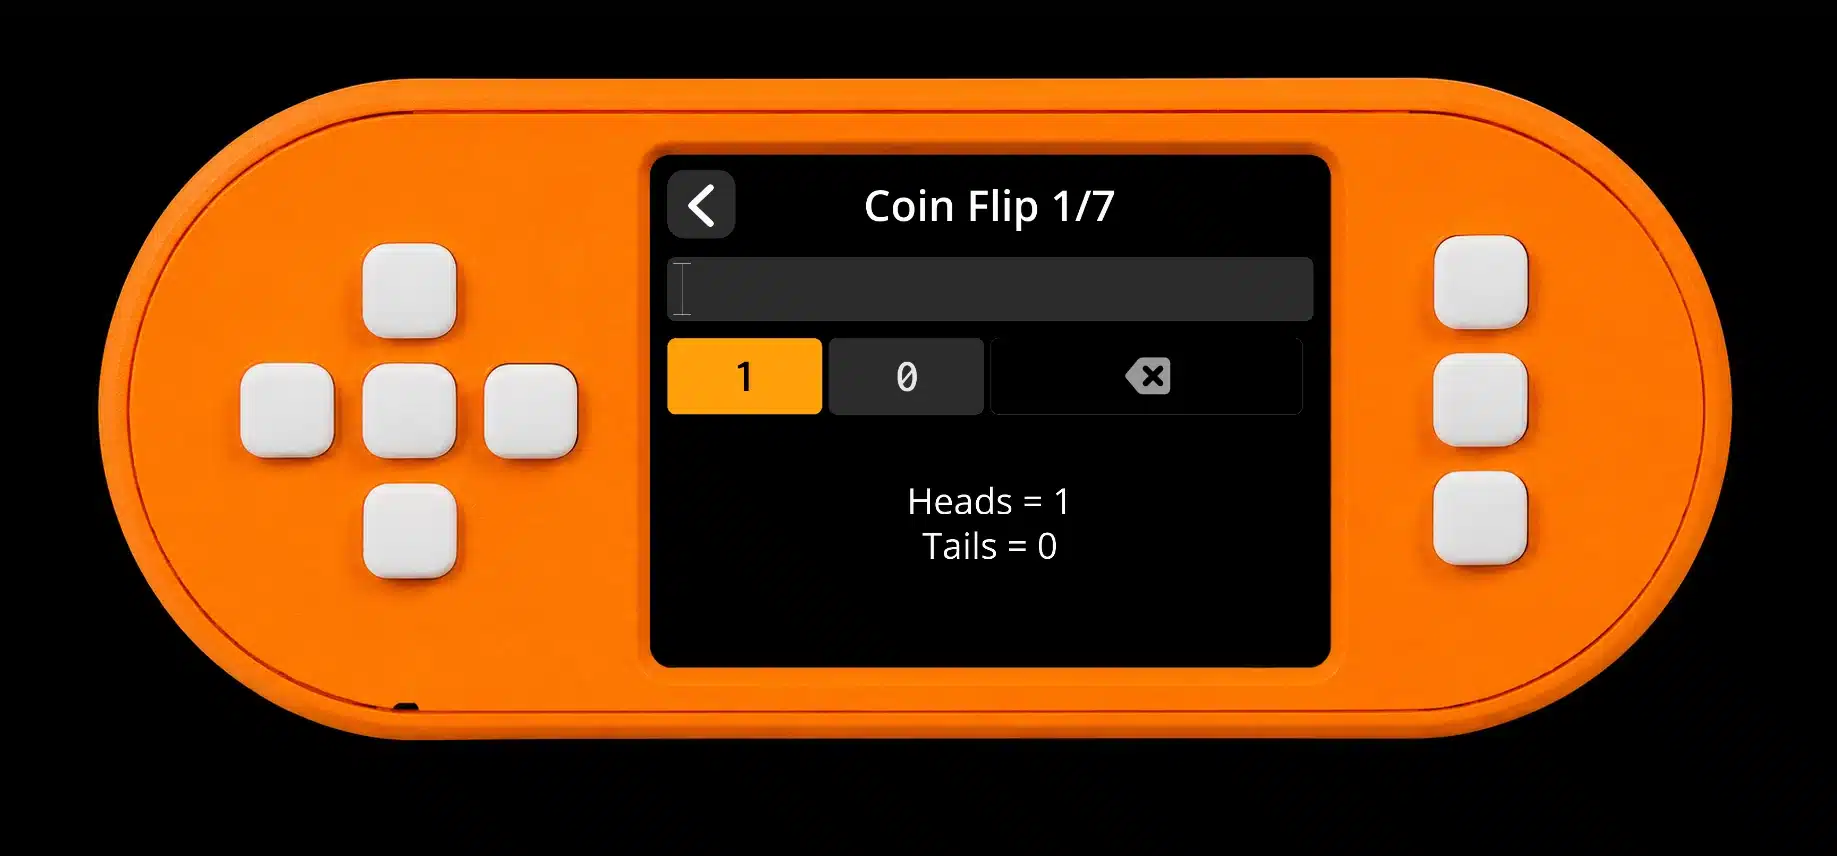
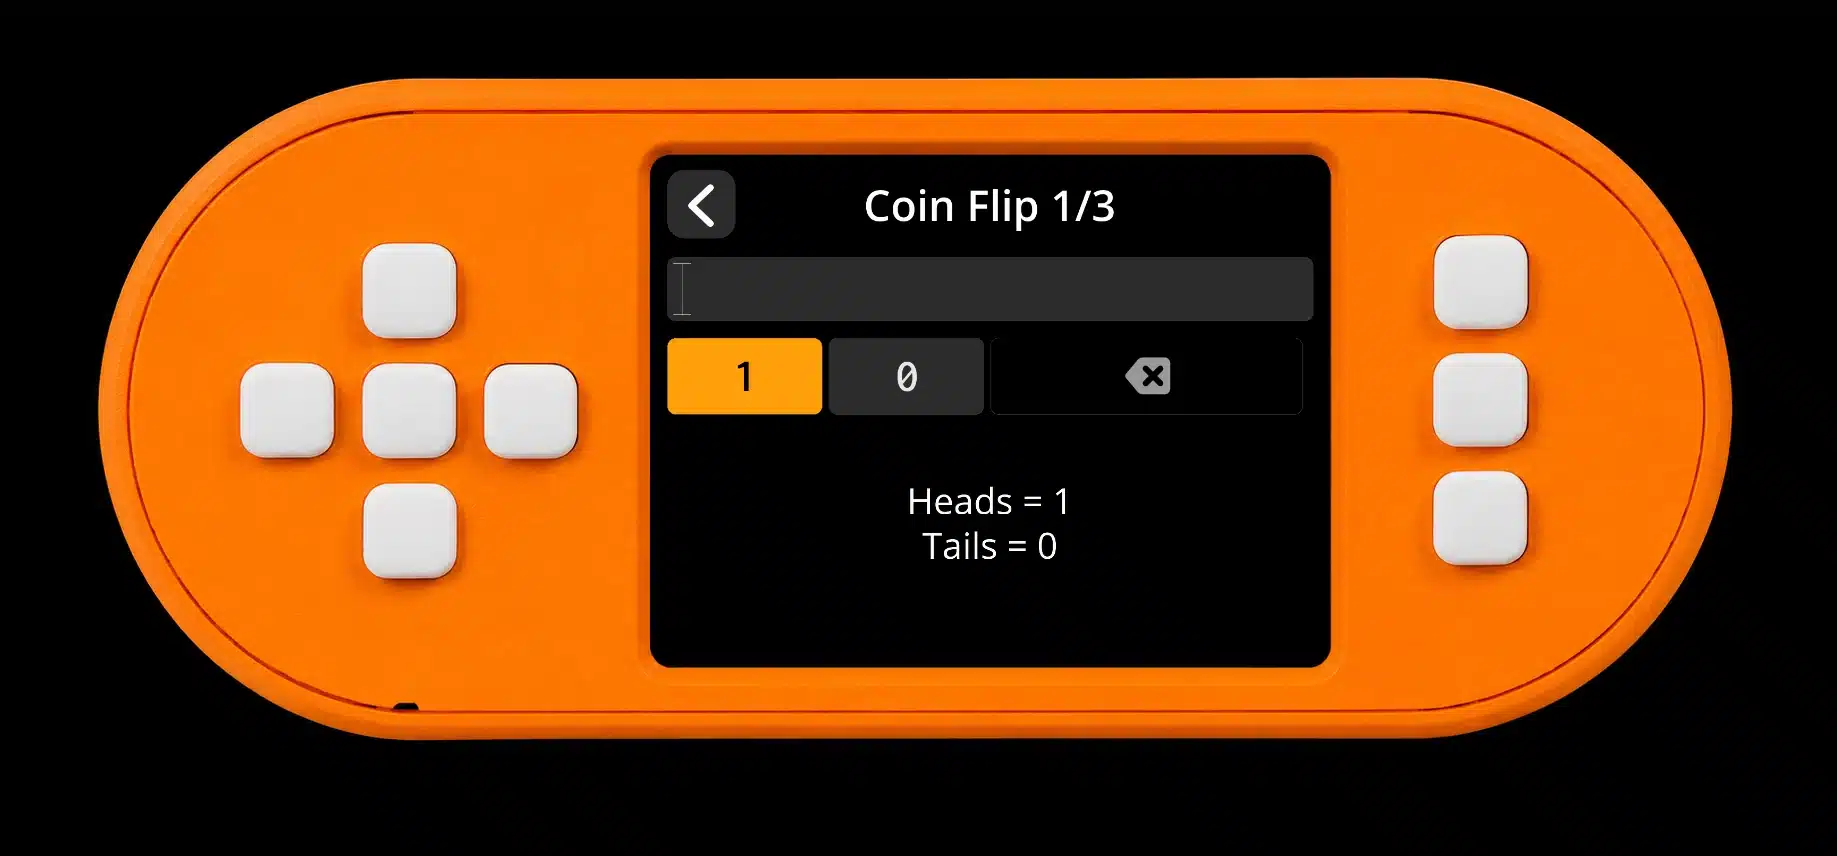
After the last flip, the device displays the entropy bits, checksum bits, and calculated final word. Record that resulting word as number 12 or 24. Choose Next, then Load seed to continue into finalization.
Option 2: Word selection entropy
Selecting a BIP39 word supplies the final 7 or 3 entropy bits, while SeedSigner recalculates the checksum bits. The actual final word may differ from the word you initially select.
Choose Word selection entropy, supply an independently randomized word using the word-entry screen, and examine Final Word Calc. Write the calculated final word into the backup, then continue with Next → Load seed.
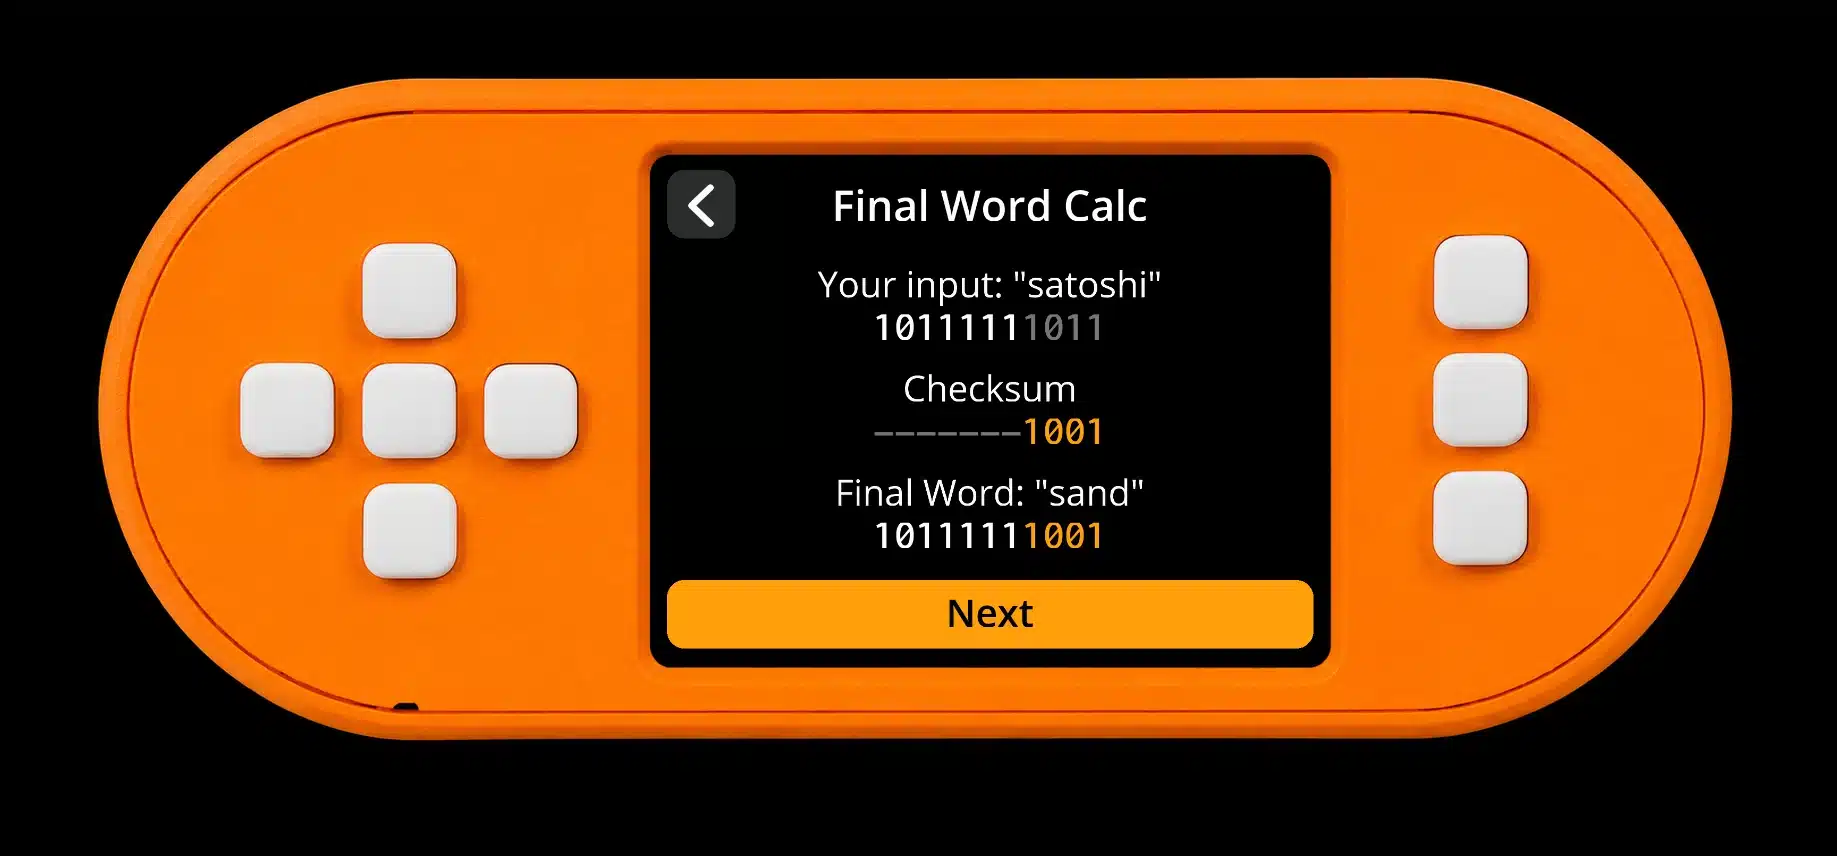
A memorable chosen word does not supply the same unpredictability as a uniformly randomized word. The checksum calculation is not a password-strength test or an entropy test.
Option 3: Finalize with zeros
Finalize with zeros sets the last 7 or 3 entropy bits to zero and calculates a checksum-valid final word. It adds no randomness in those positions.
Choose the option, record the final word displayed, and continue with Next → Load seed. Under an ideal uniform process for the preceding words, the phrase contains 121 rather than 128 random bits for 12 words, or 253 rather than 256 for 24 words. Predictable earlier words remain predictable; this option cannot repair them.
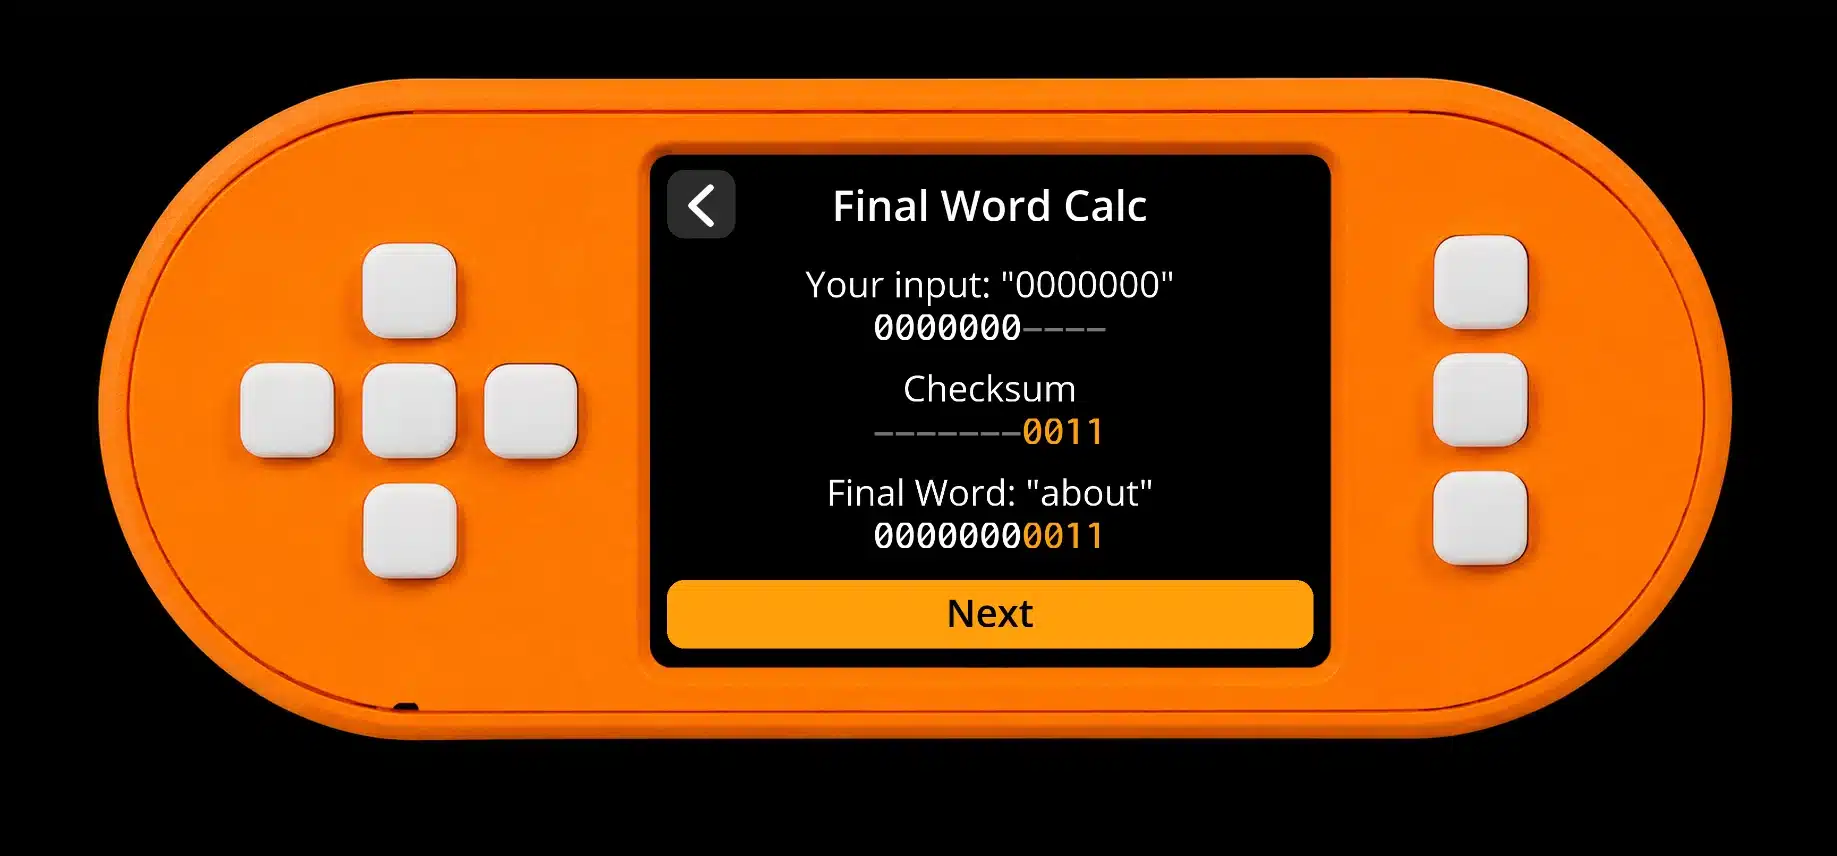
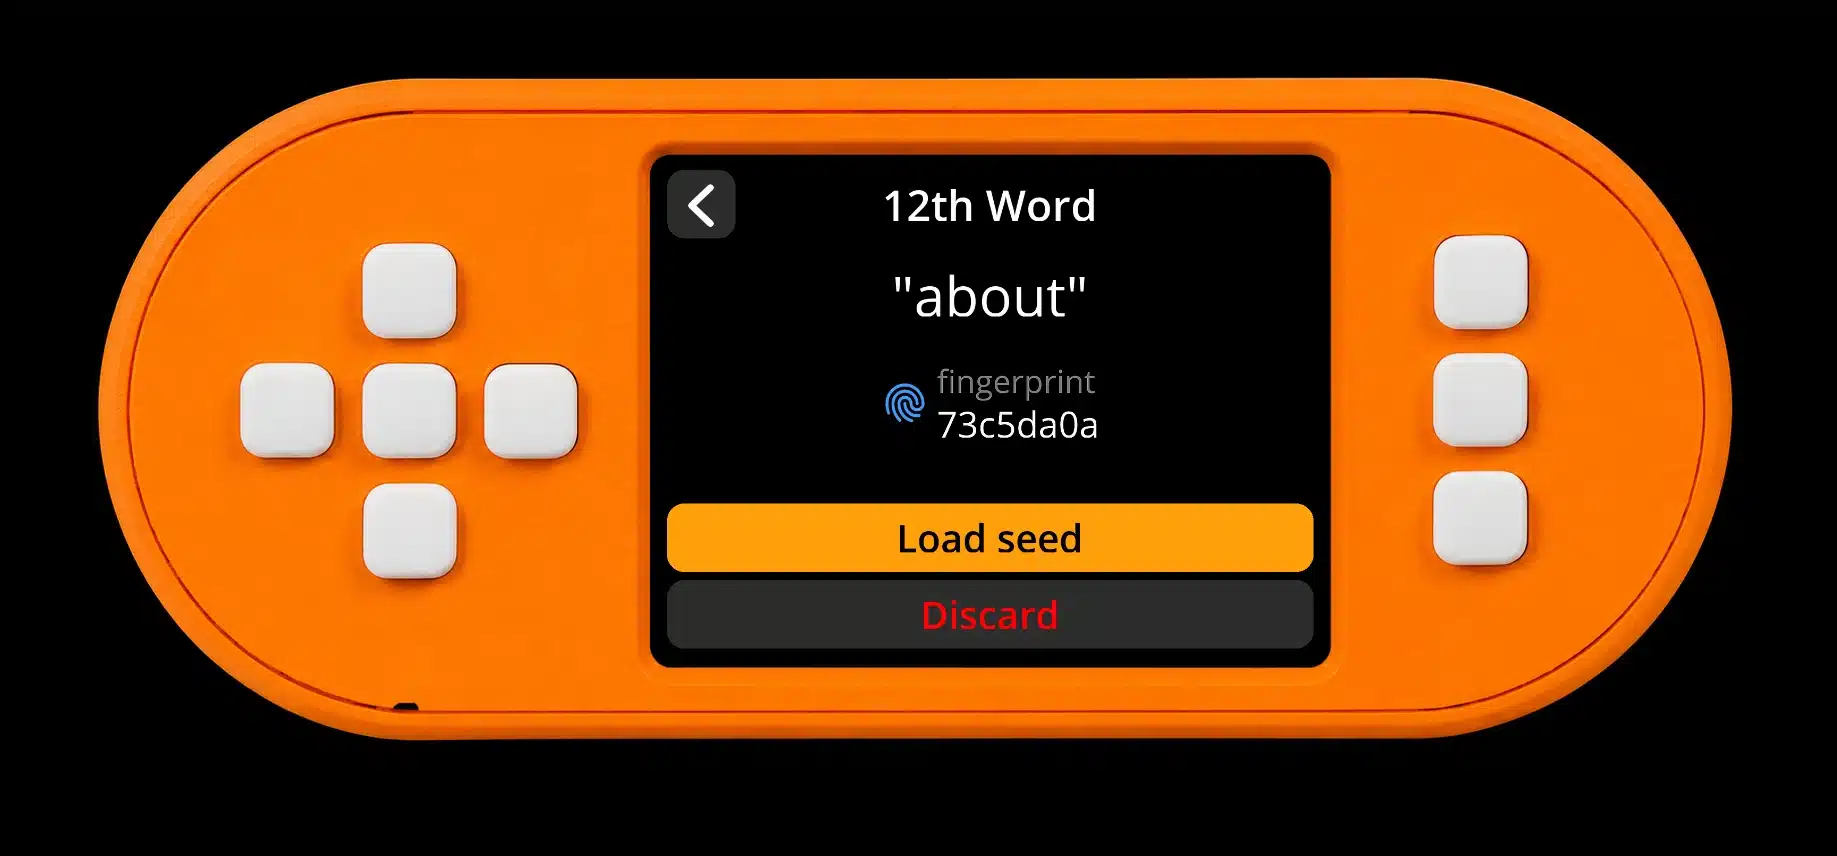
After any of the three choices, Load seed proceeds to finalization. Discard exits without using the completed seed. Back up and test the complete resulting phrase before relying on it.
Can an entire phrase come from coin flips?
Yes, an offline manual BIP39 process can build the earlier words from coin flips and use the calculator for the remaining bits. The device’s final-word coin screen itself accepts only 7 or 3 flips; it is not a 128-flip or 256-flip whole-seed menu.
In a direct binary-to-wordlist procedure, each earlier word represents 11 bits. Eleven fairly generated bits select one of 2,048 English BIP39 words using its zero-based index. Eleven words use 121 flips, then 7 finish the entropy for a 12-word phrase; 23 words use 253 flips, then 3 finish a 24-word phrase. The signer calculates the checksum portion of the last word. Accurate bit order, wordlist indexing, and transcription are essential.
This direct mapping differs from the project’s separate command-line verification helper, which hashes an entire coin-flip string. They need not produce the same words from the same flips. For routine setup, the dedicated dice or camera flow avoids manual wordlist mapping.
Method D: Derive a BIP85 child phrase
BIP85 creates a deterministic child mnemonic from a supported parent seed, a child length, and an index. Reusing the same parent, passphrase, length, and index reproduces the same child; it is not a fresh camera or dice draw.
Use the detailed BIP85 child-seed steps below. Keep parent recovery information and child identifiers accurate. Different child wallets still depend on the same parent secret if you rely on parent-based recovery, so treat a parent compromise as a compromise of its derived children.
Restore an existing 12-word or 24-word phrase
Word entry restores an existing BIP39 seed. Match its exact word order, any BIP39 passphrase, and its wallet configuration; a successful checksum alone does not prove you restored the intended wallet.
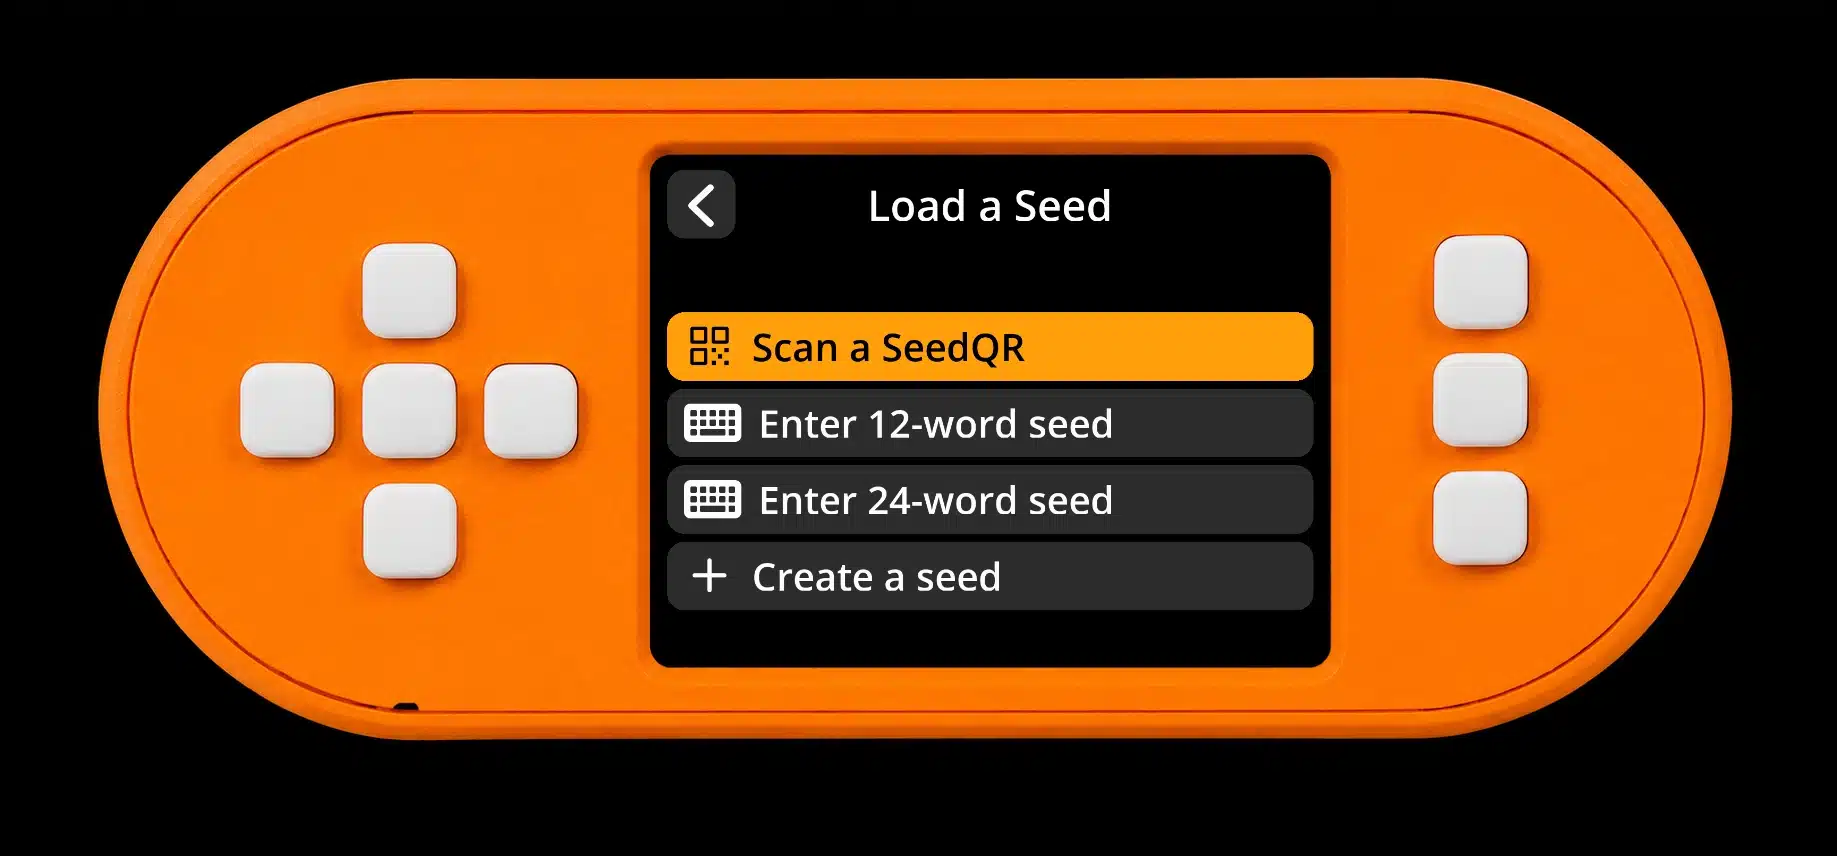
- Choose word entry. Open Seeds, then Load a seed if a seed list is already present. Select Enter 12-word seed or Enter 24-word seed.
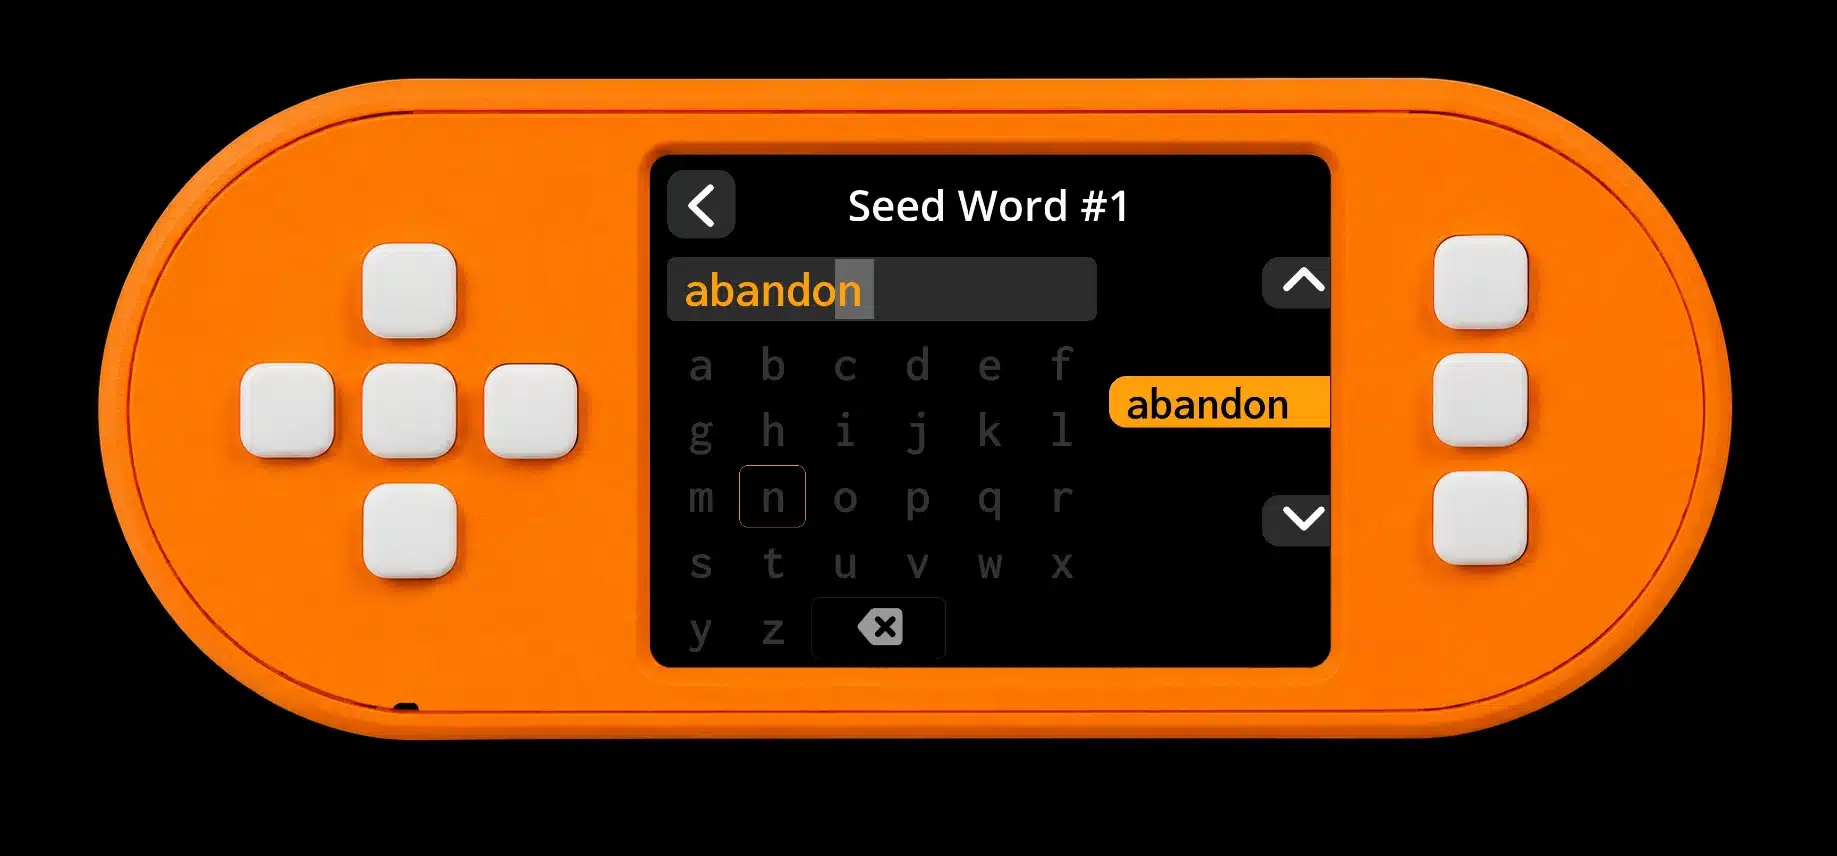
- Enter the original words. Use the D-pad and center button to select letters and matching words. Review the positions as you proceed.
- Add the original passphrase if used. Choose BIP-39 Passphrase, enter it exactly, and review the resulting fingerprint before finalizing with Done.
- Verify the intended wallet. Match the original network, policy, script type, derivation path, and account, then verify a known address. For multisig, restore the complete wallet configuration.
If the checksum fails, recheck the backup and entry rather than changing words until any valid phrase appears. If you are recovering a wallet with a missing word, do not assume the final-word calculator identifies the original wallet; that is a different recovery problem.
Restore from a SeedQR
A private Standard SeedQR or CompactSeedQR encodes the seed itself. Scan it with the physical signer to load the existing seed, then supply any separate passphrase and verify the wallet.
- Open scanning. Choose Seeds → Scan a SeedQR, or use Home’s Scan when appropriate.
- Present the private card. Hold it before the signer’s camera with readable contrast and even lighting. Keep phones, webcams, and other online cameras away.
- Finalize and verify. Add the original passphrase if used, choose Done, and check a known address with the correct wallet configuration.
This scans a backup; it does not add entropy or turn an exposed seed into a new private wallet. Standard and Compact formats have different grid sizes, explained in the next section.
Restore a supported Electrum SegWit phrase
SeedSigner supports the documented Electrum SegWit seed workflow through a separate entry option. Electrum seed phrases use a different seed-version system from BIP39, so do not force them through ordinary 12-word BIP39 entry.
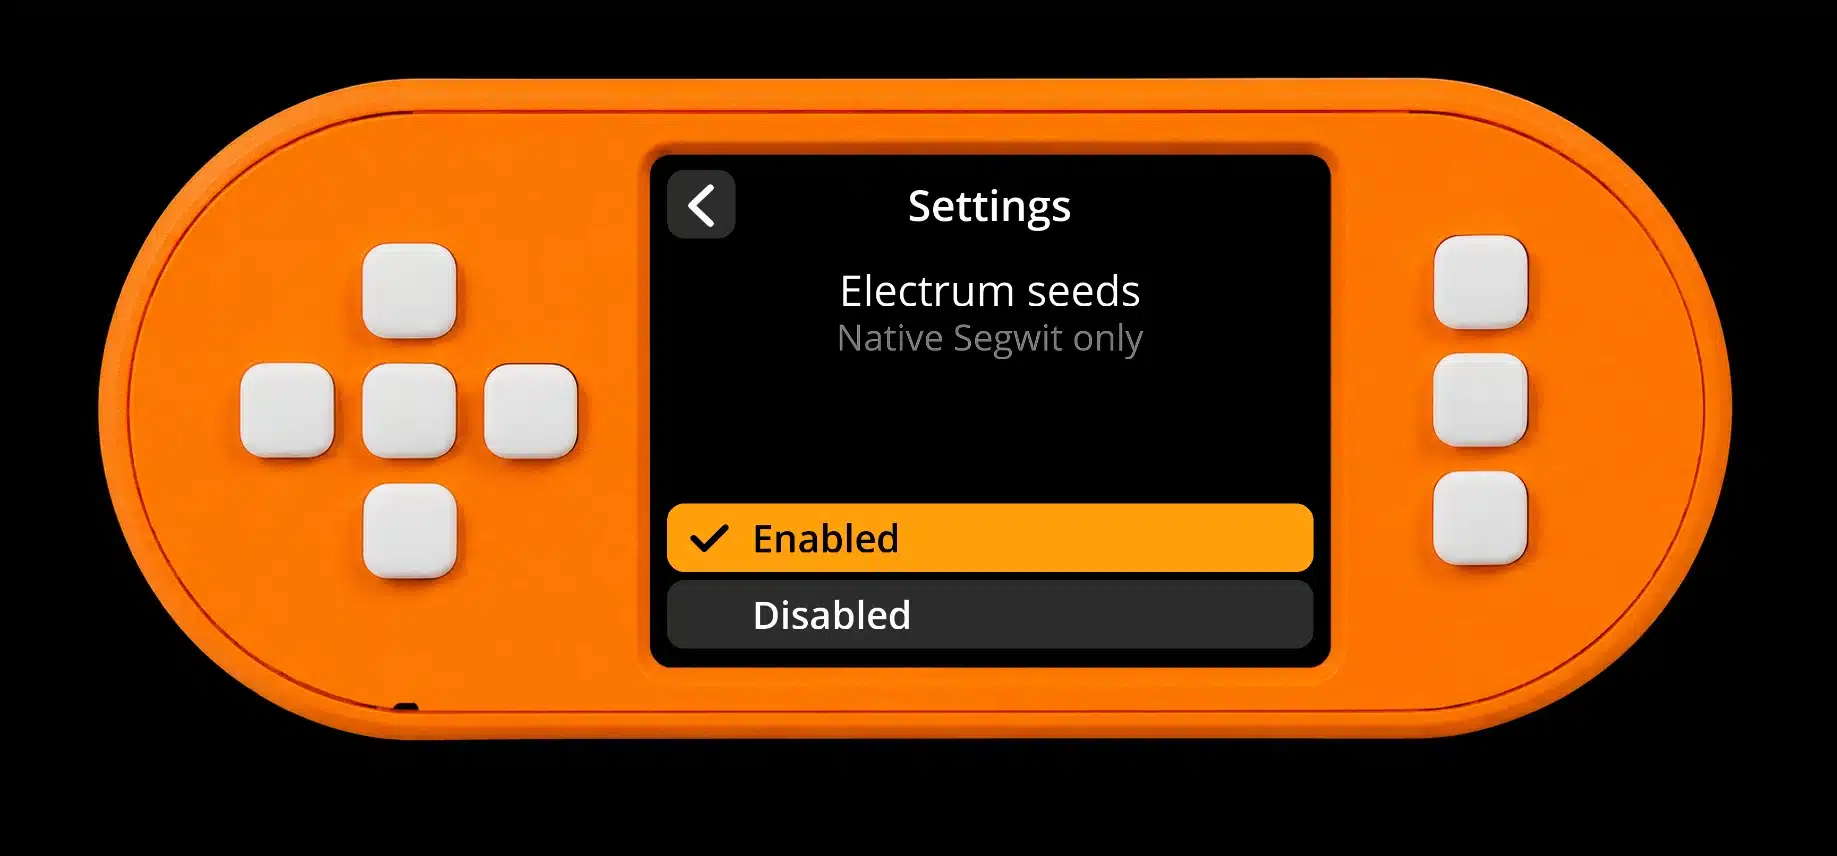
- Enable the feature. Open Settings → Advanced → Electrum seeds and enable it.
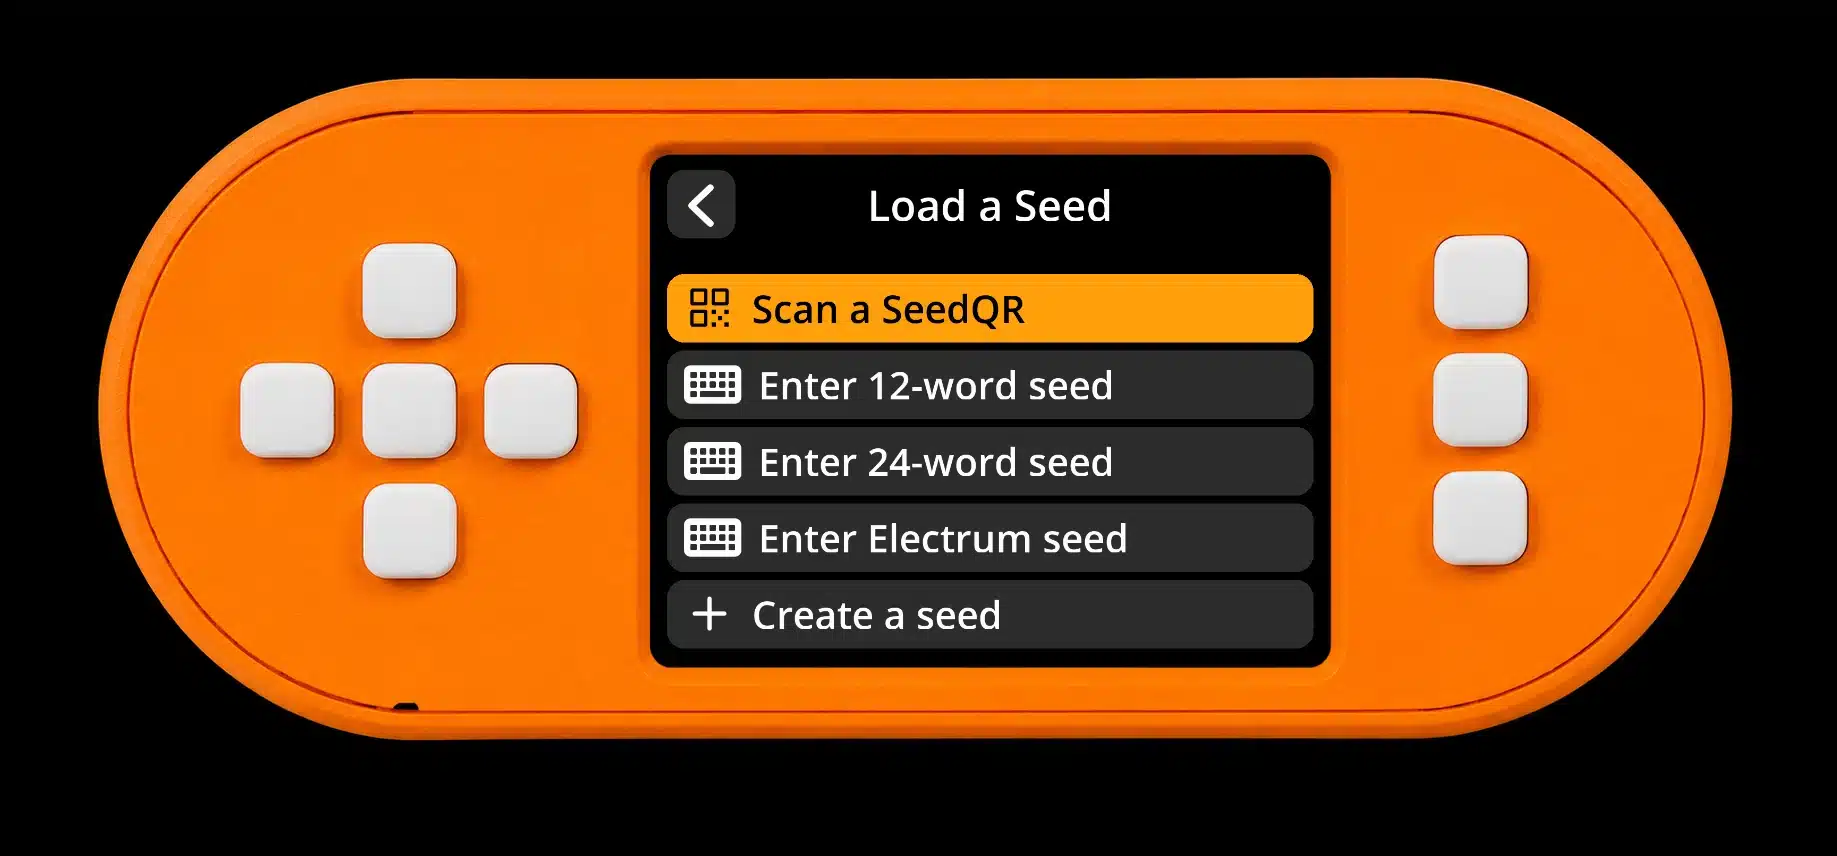
- Use the dedicated input. Open Seeds and select Enter Electrum seed. Follow its word-entry and finalization prompts.
- Match the original wallet. Verify its expected fingerprint and addresses with the appropriate Electrum configuration and any original passphrase.
For this seed type, SeedSigner disables BIP85 child seeds, SeedQR backups, and custom derivations. Its documented paths are fixed to m/0h for single signature and m/1h for multisig. Keep the original Electrum recovery backup; the ordinary BIP39 SeedQR export instructions do not apply.
Complete the backup and finalization checks
Every new seed needs a complete private recovery backup and a tested wallet identity before it receives funds. Copy all words in numbered order, use the backup test, and keep any passphrase recoverable as a separate requirement.
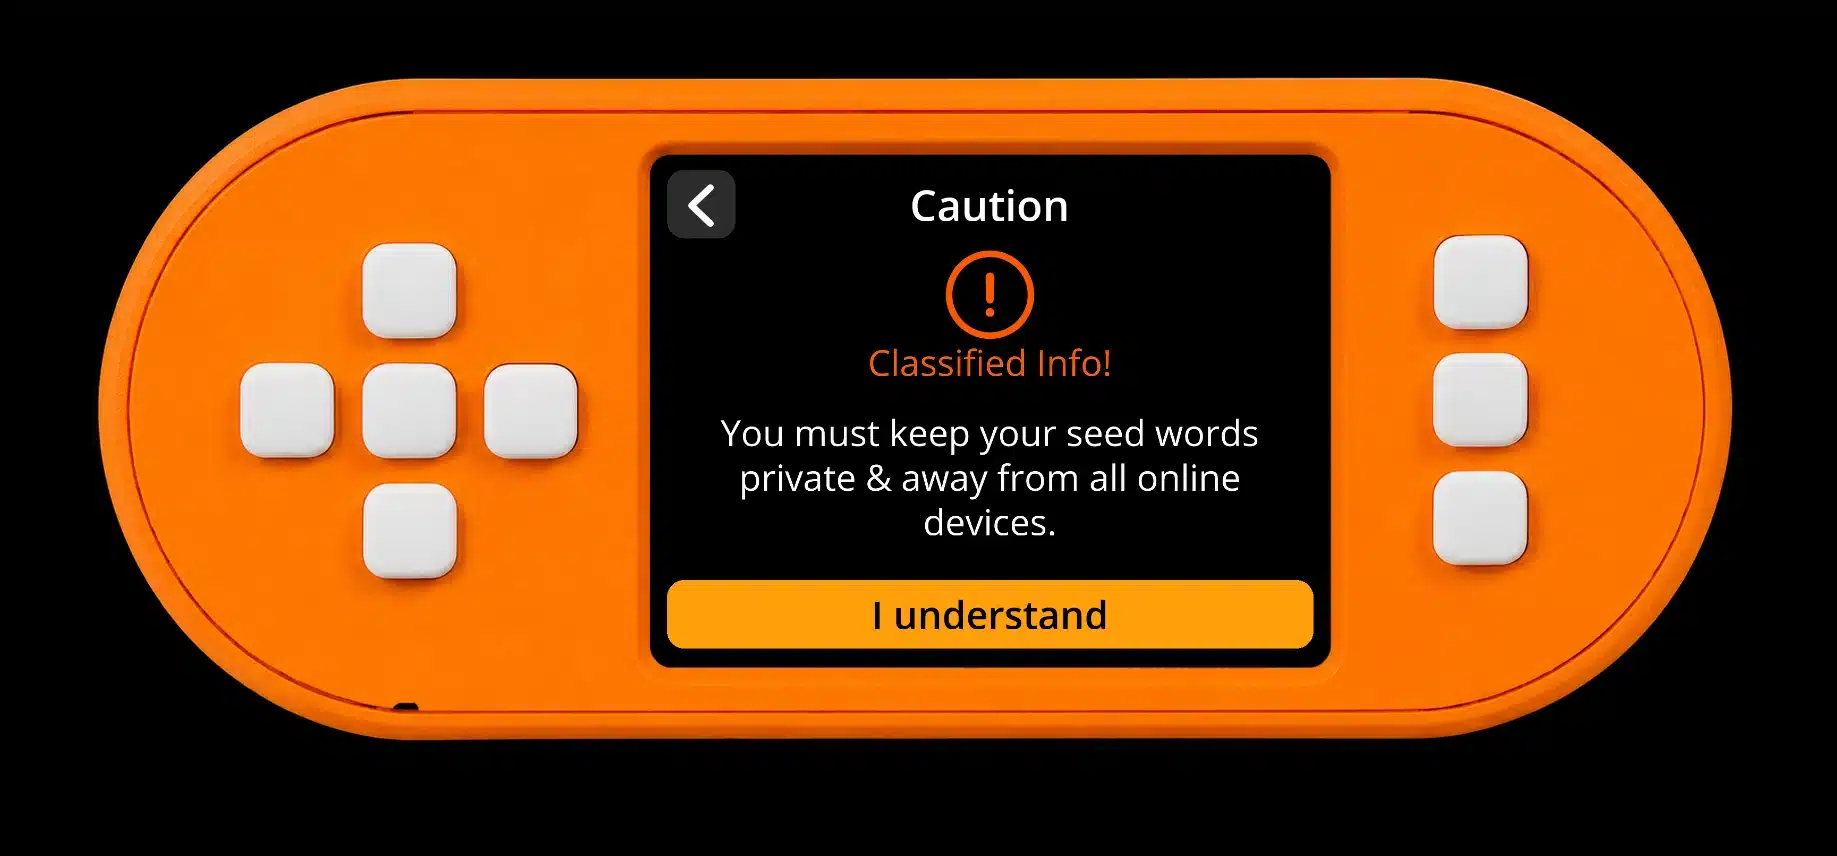
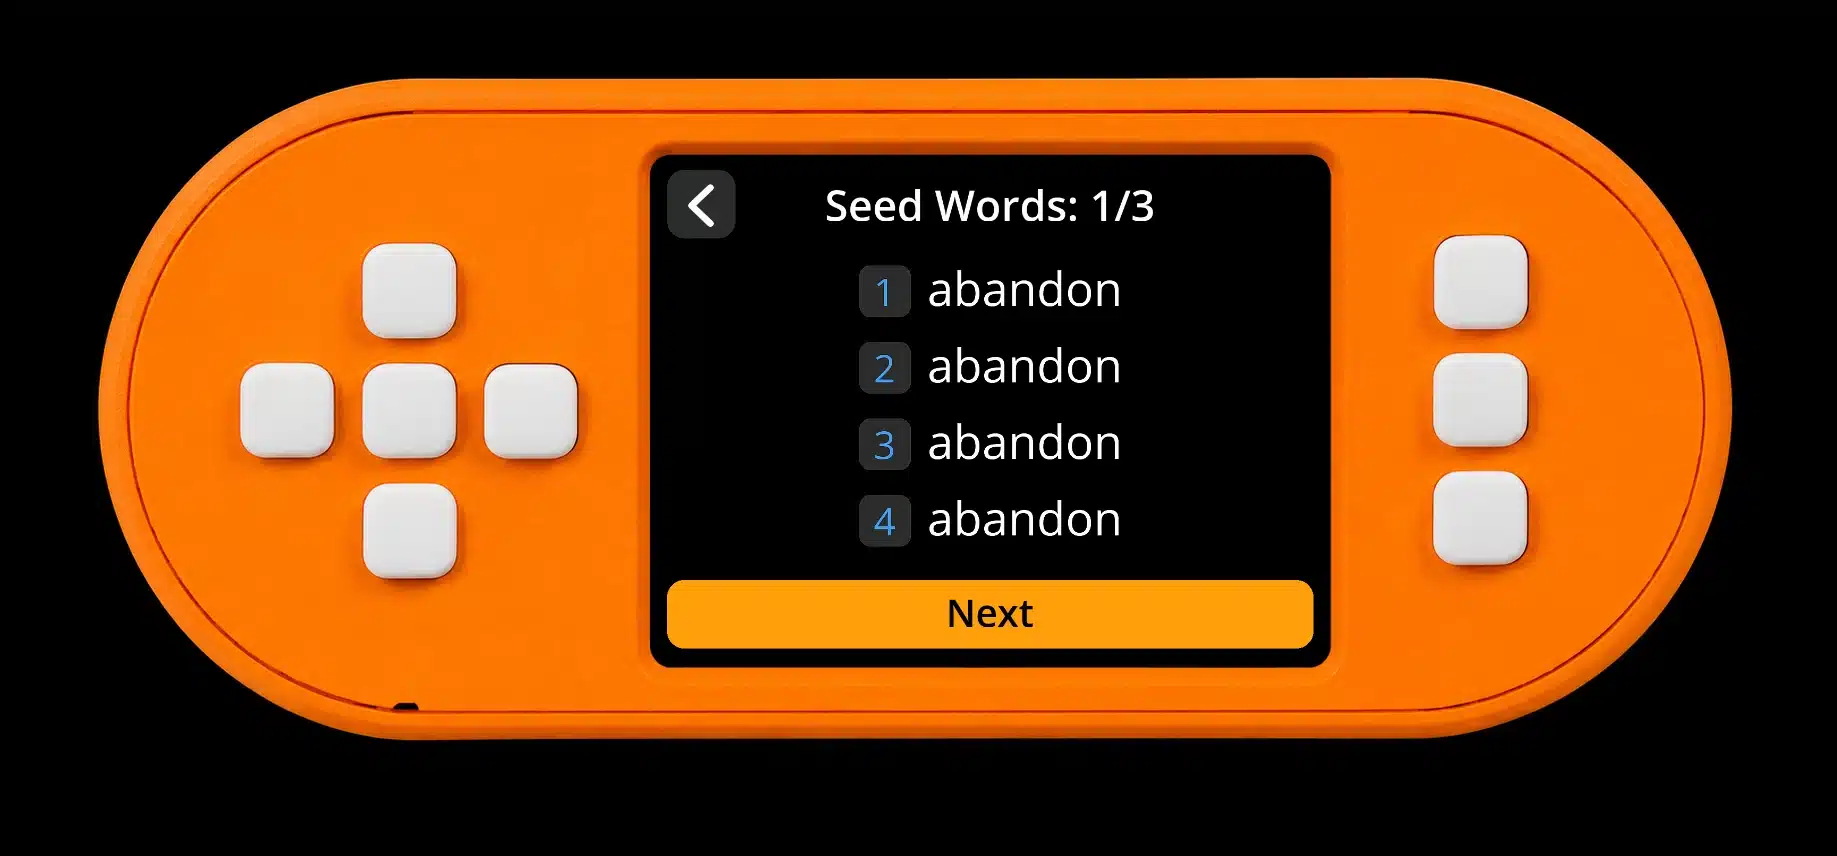
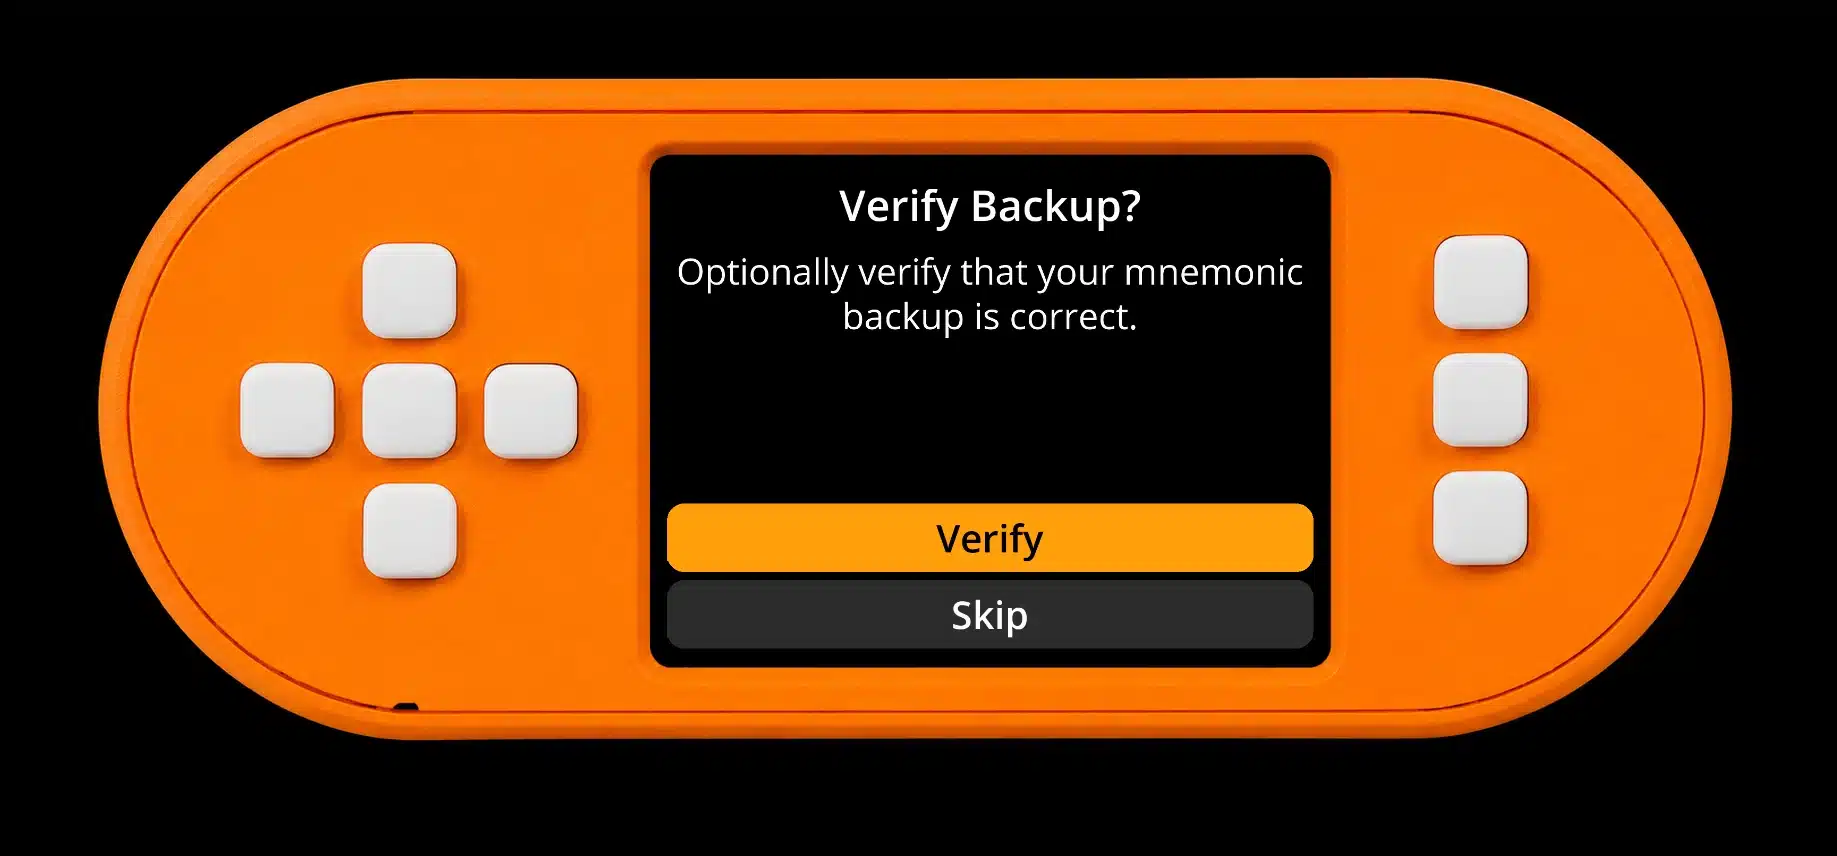
At finalization, Done opens the seed menu. Choose BIP-39 Passphrase first only if you intend to use that additional wallet secret. Record the expected fingerprint and verify a known address after restoring the backup.
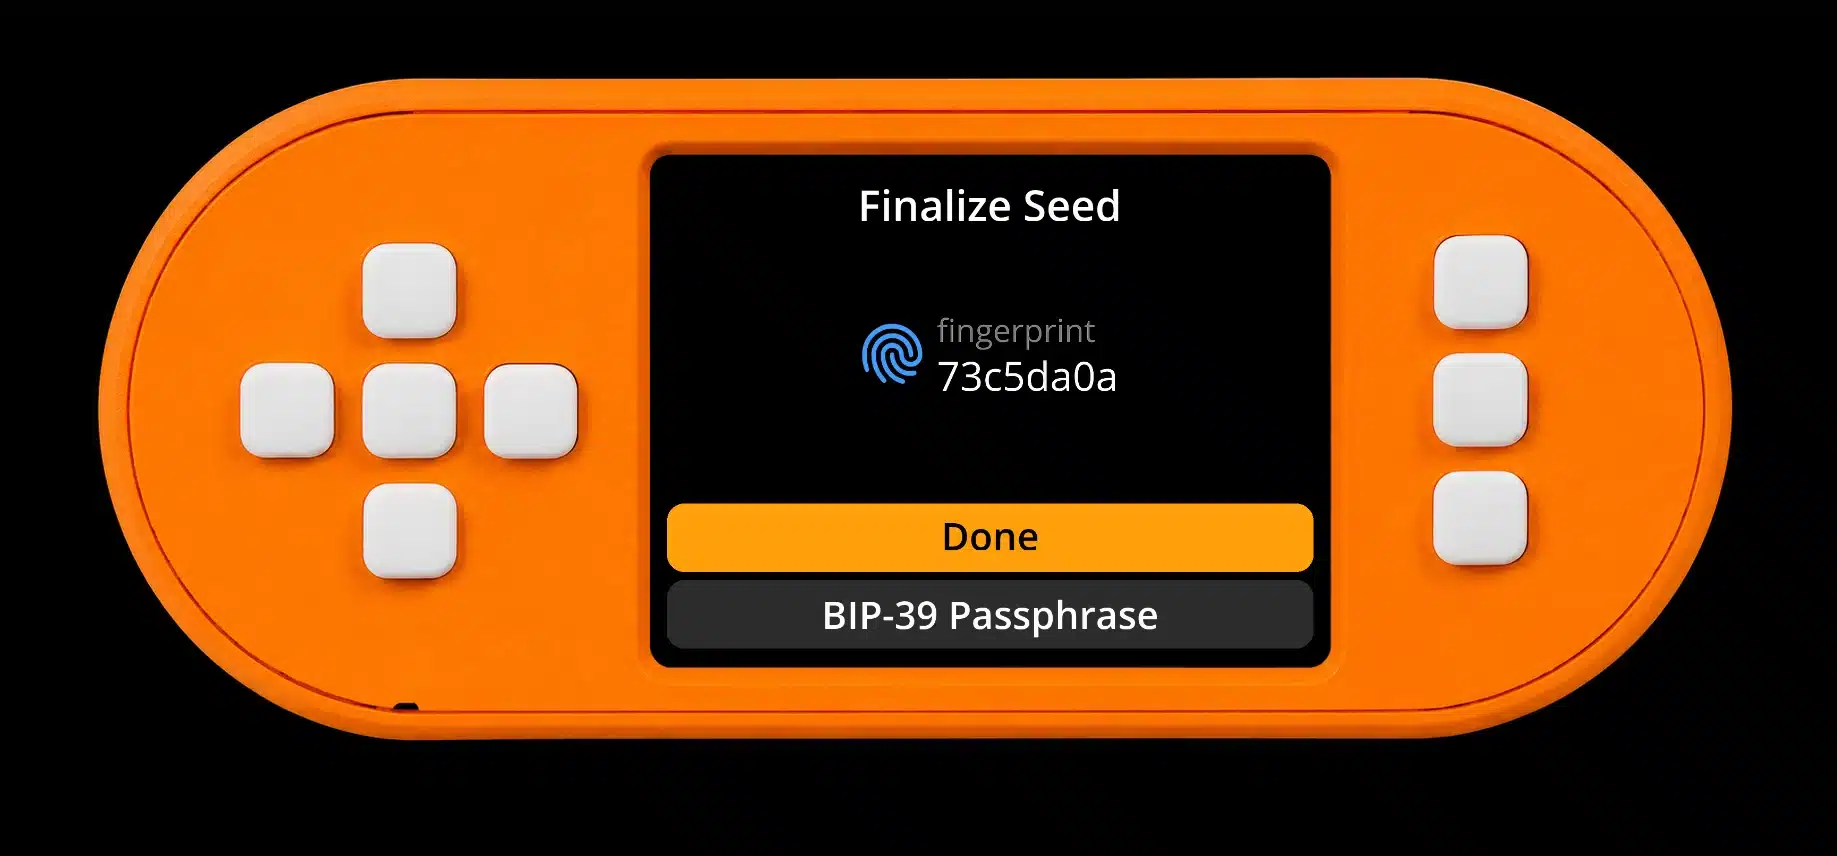
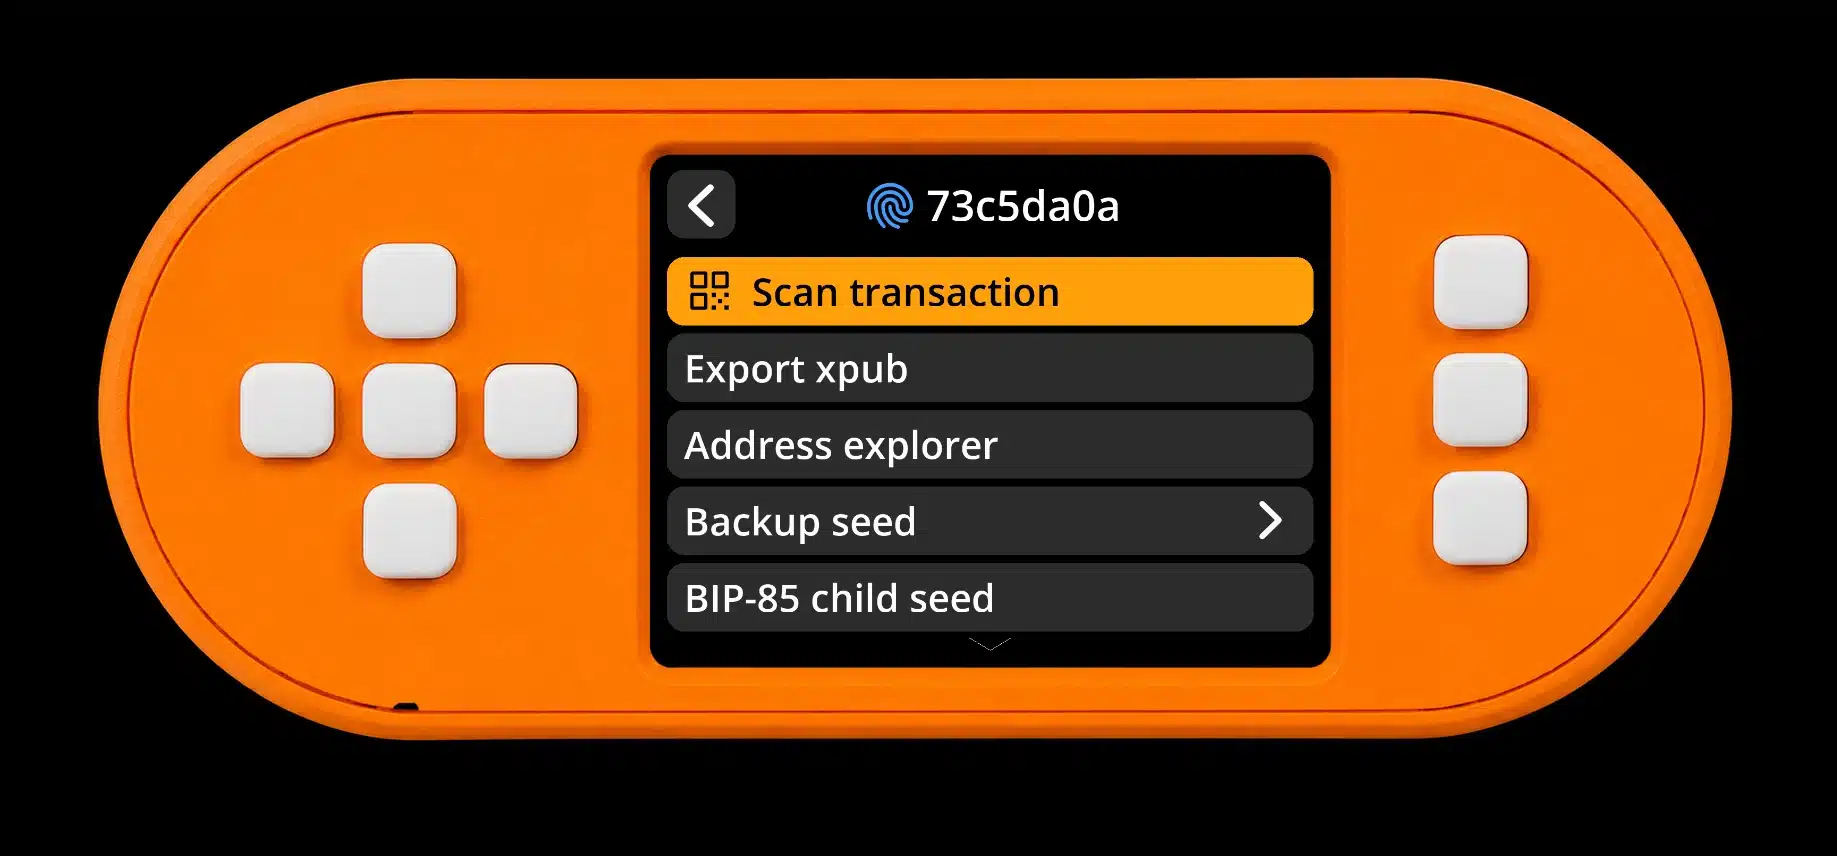
Seed words and a passphrase are secrets. A fingerprint identifies a key set but is not a backup or proof of ownership. An xpub is public wallet information with privacy implications; it cannot replace the seed when spending or recovering signing access.
5. Back Up the Seed and Understand SeedQR
Keep a durable, accurately ordered seed-word backup, and treat a SeedQR as another copy of the same secret. Neither Standard SeedQR nor CompactSeedQR encrypts the seed.
To make a SeedQR from a loaded seed:
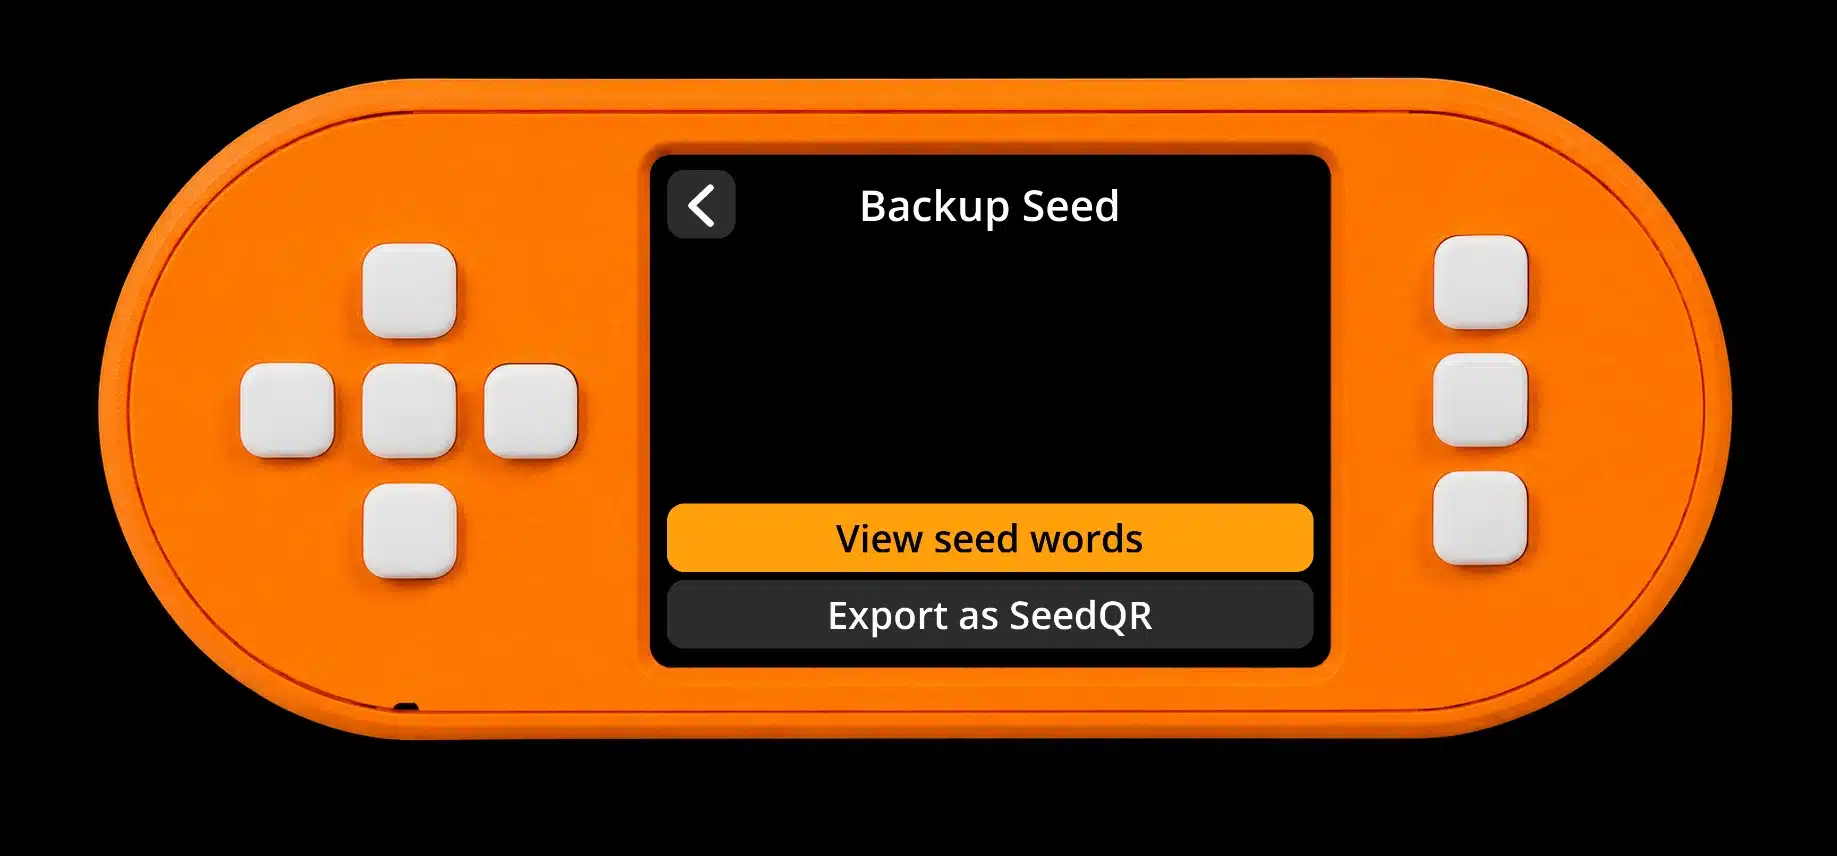
- Open the backup menu. Choose Backup seed → Export as SeedQR.
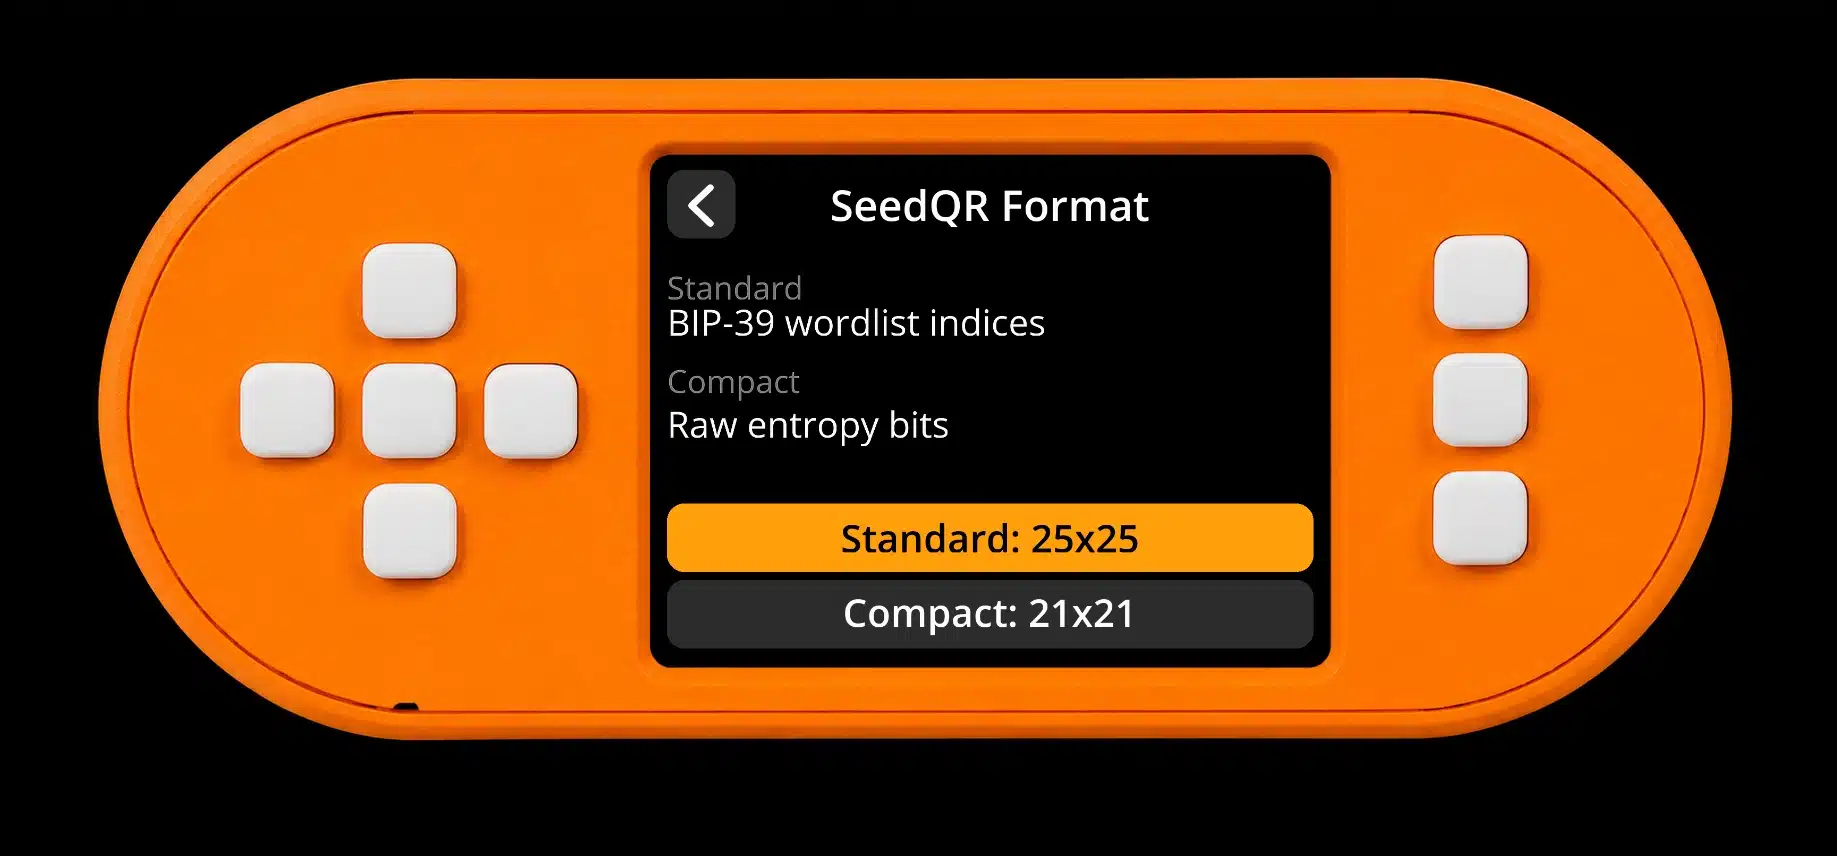
- Match the format and card. Select the format below and use the corresponding grid size.
- Transcribe and verify. Follow the grid-by-grid prompts, then scan the completed card back into the signer to validate it.
You can also review the seed words from Backup seed.
| Format | 12-word seed | 24-word seed |
|---|---|---|
| Standard SeedQR | 25×25 modules | 29×29 modules |
| CompactSeedQR | 21×21 modules | 25×25 modules |
A 21×21 card fits a 12-word CompactSeedQR, not every format. Keep the written-word backup as well.
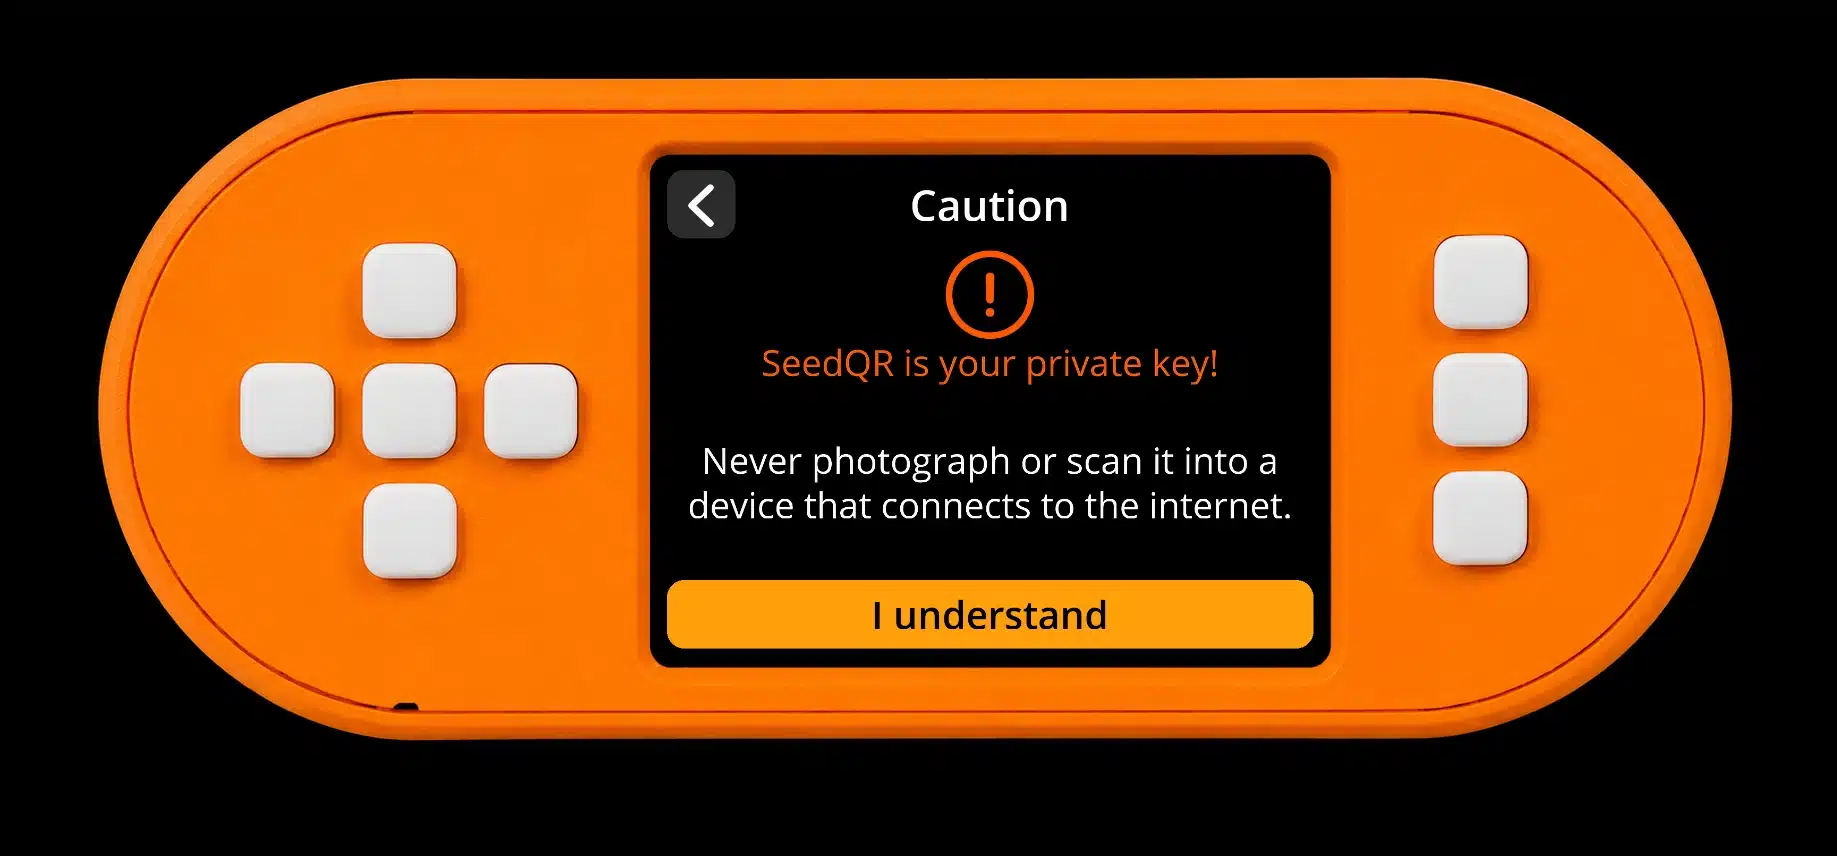
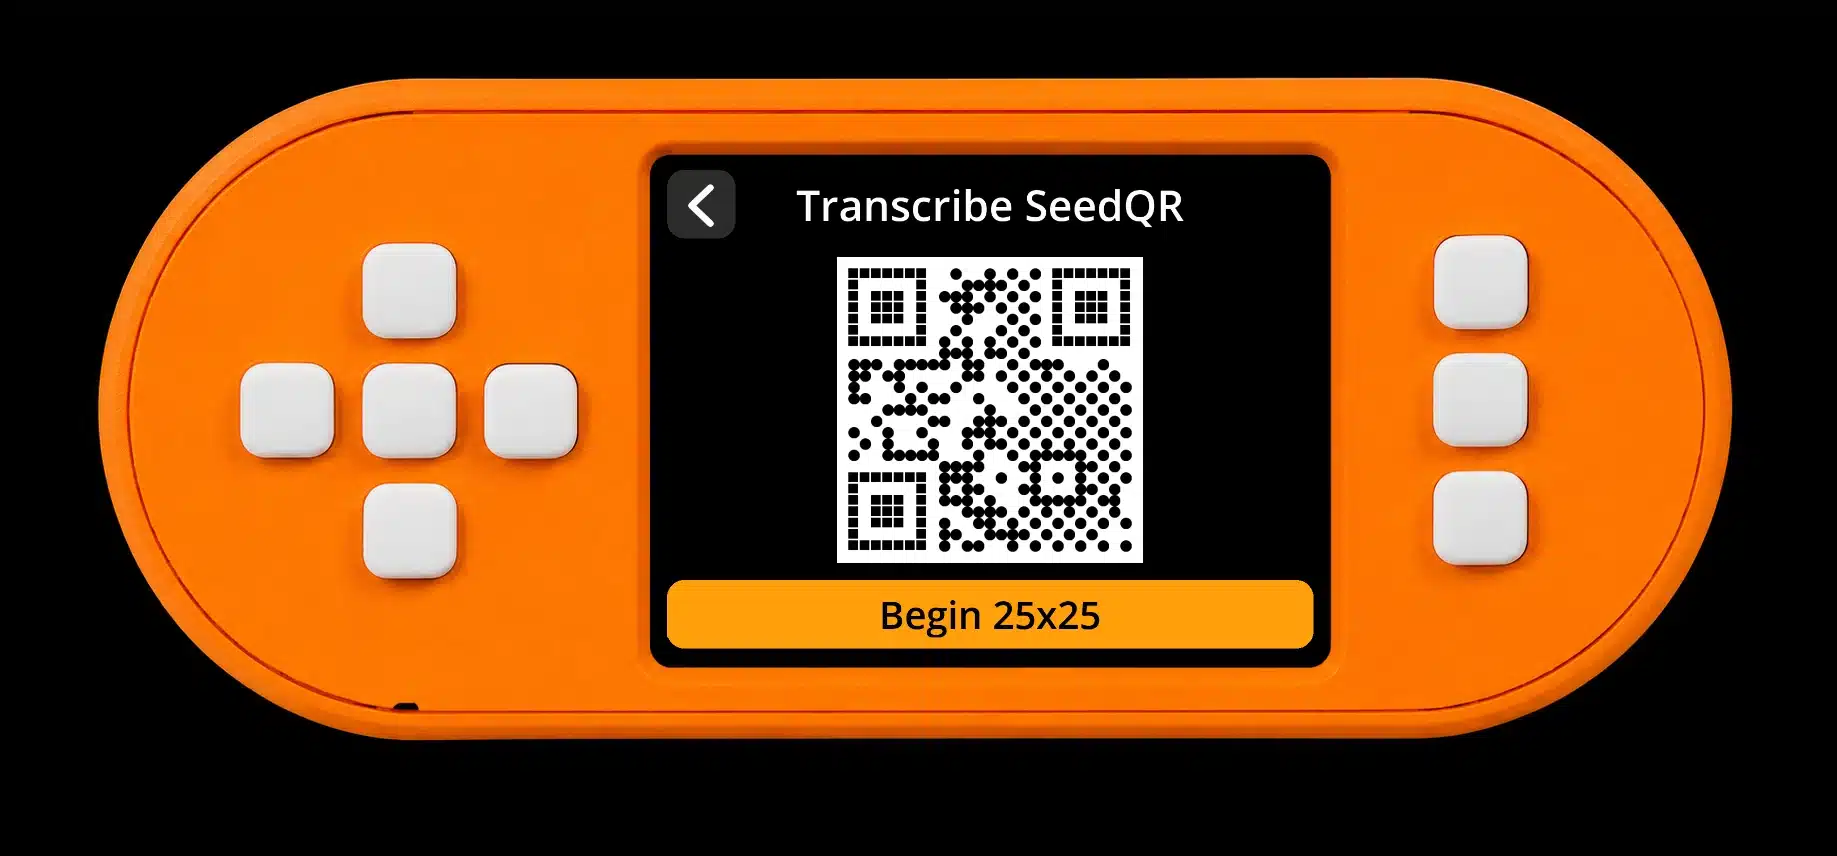
Keep SeedQR offline: do not scan it with a phone, a computer webcam, a browser simulator, or an online QR decoder. Do not photograph or cloud-sync it. Protect it as carefully as the words. A wallet-export QR containing public information is a different object with different risks.
The SeedQR specification explains the formats and the English BIP39 wordlist assumption. Changing the interface language does not translate your seed words.
6. Add a BIP39 Passphrase (Optional)
A BIP39 passphrase derives a different wallet from the same seed words. Recovering that wallet requires the exact passphrase in addition to the seed, including capitalization, spaces, and punctuation.
Passphrase support is enabled by default. During seed loading or finalization, choose BIP-39 Passphrase, enter it on the signer, and review it carefully. Advanced settings can require a passphrase, but do not store it.
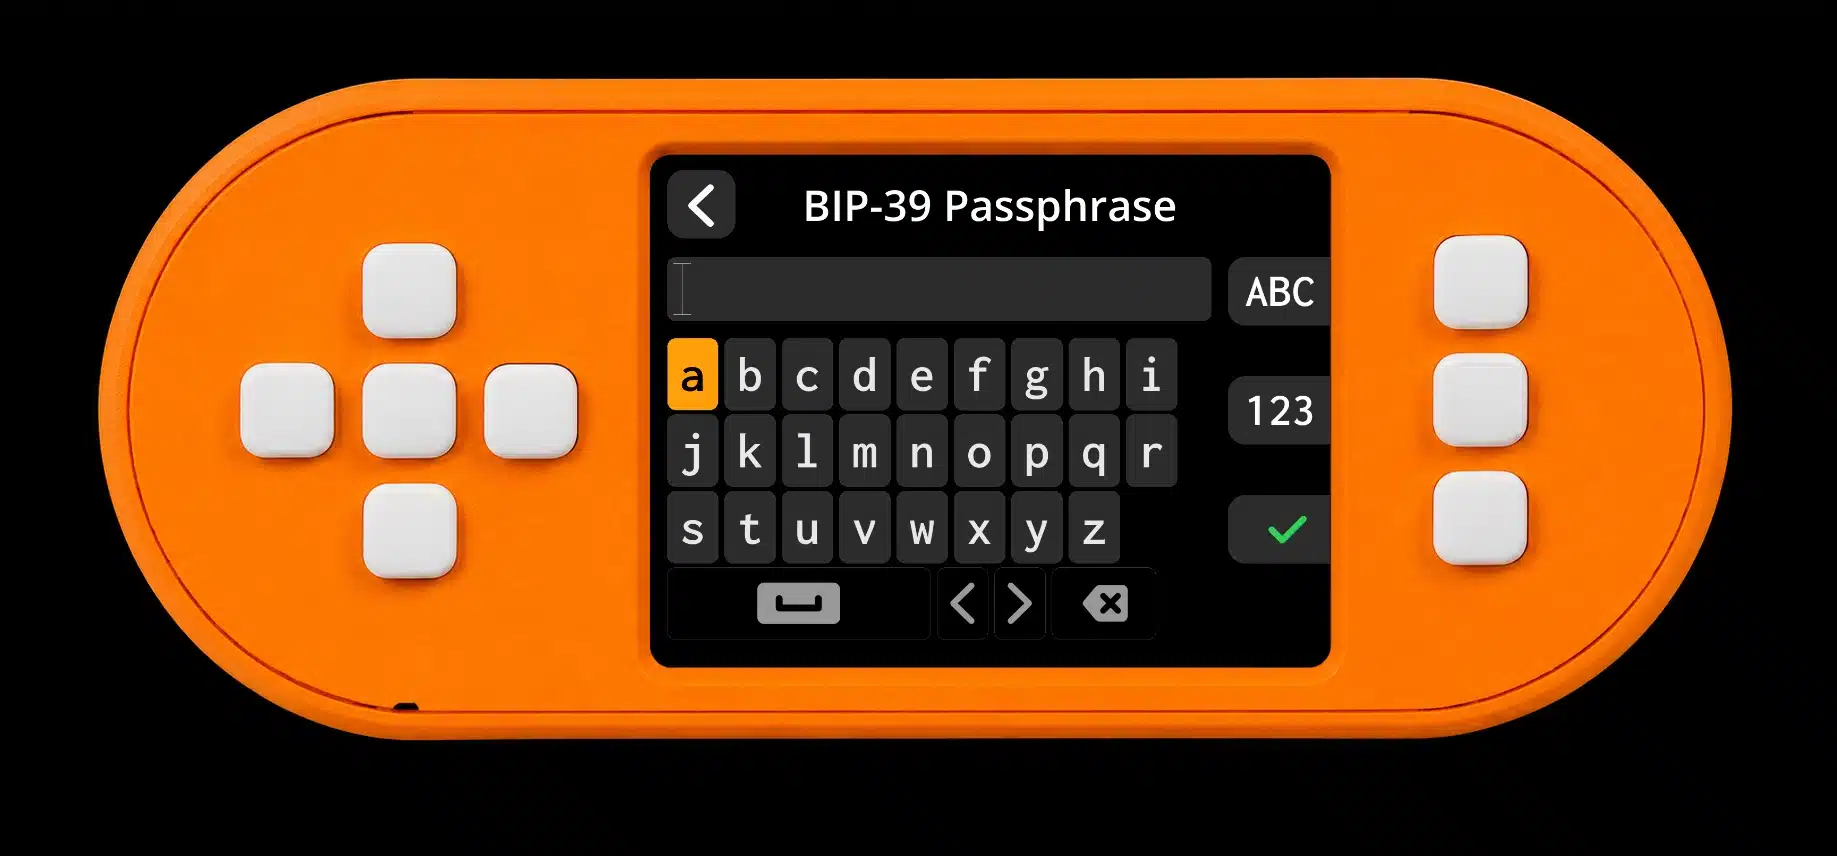
Every passphrase produces a valid wallet, so a typing error can produce an empty wallet instead of a helpful “wrong password” error. Confirm the expected fingerprint and a known address before receiving funds. A passphrase is not limited to one word, and it is not the same as a Sparrow wallet-file password or device PIN.
Back up the exact passphrase securely. A SeedQR normally contains the mnemonic, not this additional passphrase; losing either can prevent recovery.
7. Connect the Wallet to Sparrow by QR
Export public wallet information from SeedSigner+ to Sparrow so the computer can derive receiving addresses, track transactions, and prepare payments without holding the signer’s seed. Do not import the seed words or SeedQR into Sparrow for this workflow.
- Install Sparrow on the computer. Follow Sparrow’s download and verification instructions, then configure its server connection. Your own trusted node or Electrum server can improve privacy.
- Create the Sparrow wallet. Choose File → New Wallet, name it, and set the policy and script type. Single Signature with Native Segwit is a typical new-wallet example; recovery must match the original configuration.
- Open Sparrow’s scanner. Select Airgapped Hardware Wallet → SeedSigner and its QR scanning option. Allow the computer’s camera when requested.
- Export from the SS+. Load the seed and any passphrase. Choose Export xpub, the matching signature policy and script type, and a QR format Sparrow supports.
- Scan and compare. Hold the SS+ display in front of Sparrow’s camera. Confirm the imported fingerprint, derivation path, network, and public-key details match the signer.
- Save in Sparrow. Click Apply and protect the wallet file with a password if desired. This password protects the file, not the seed backup. Verify a receiving address next.
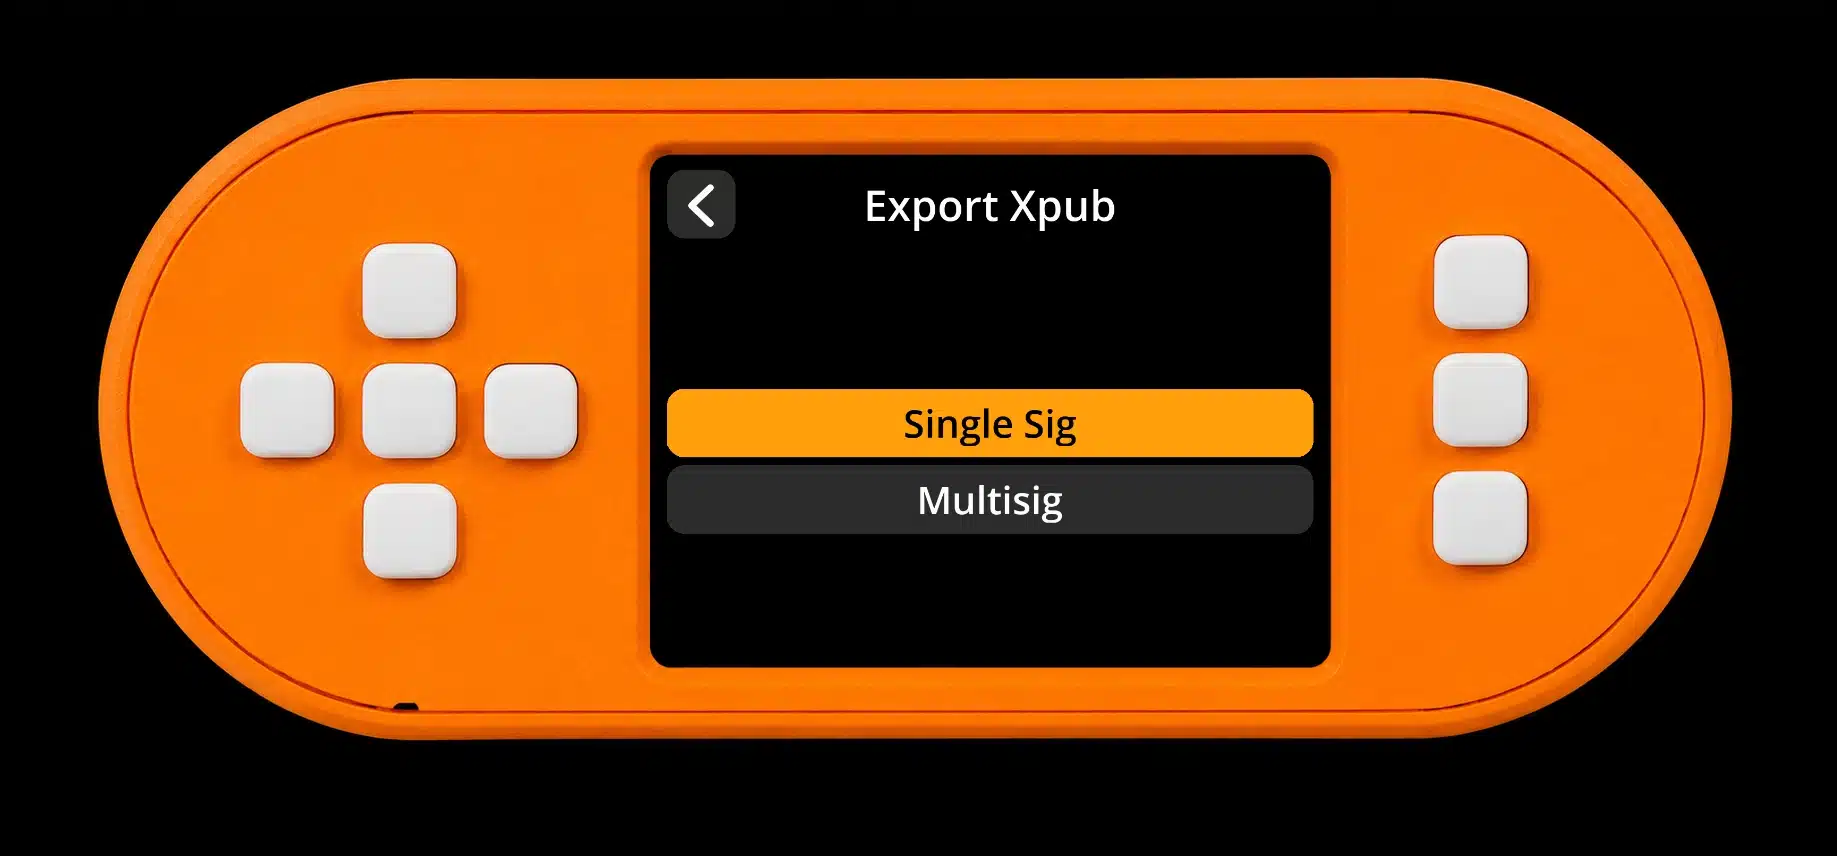
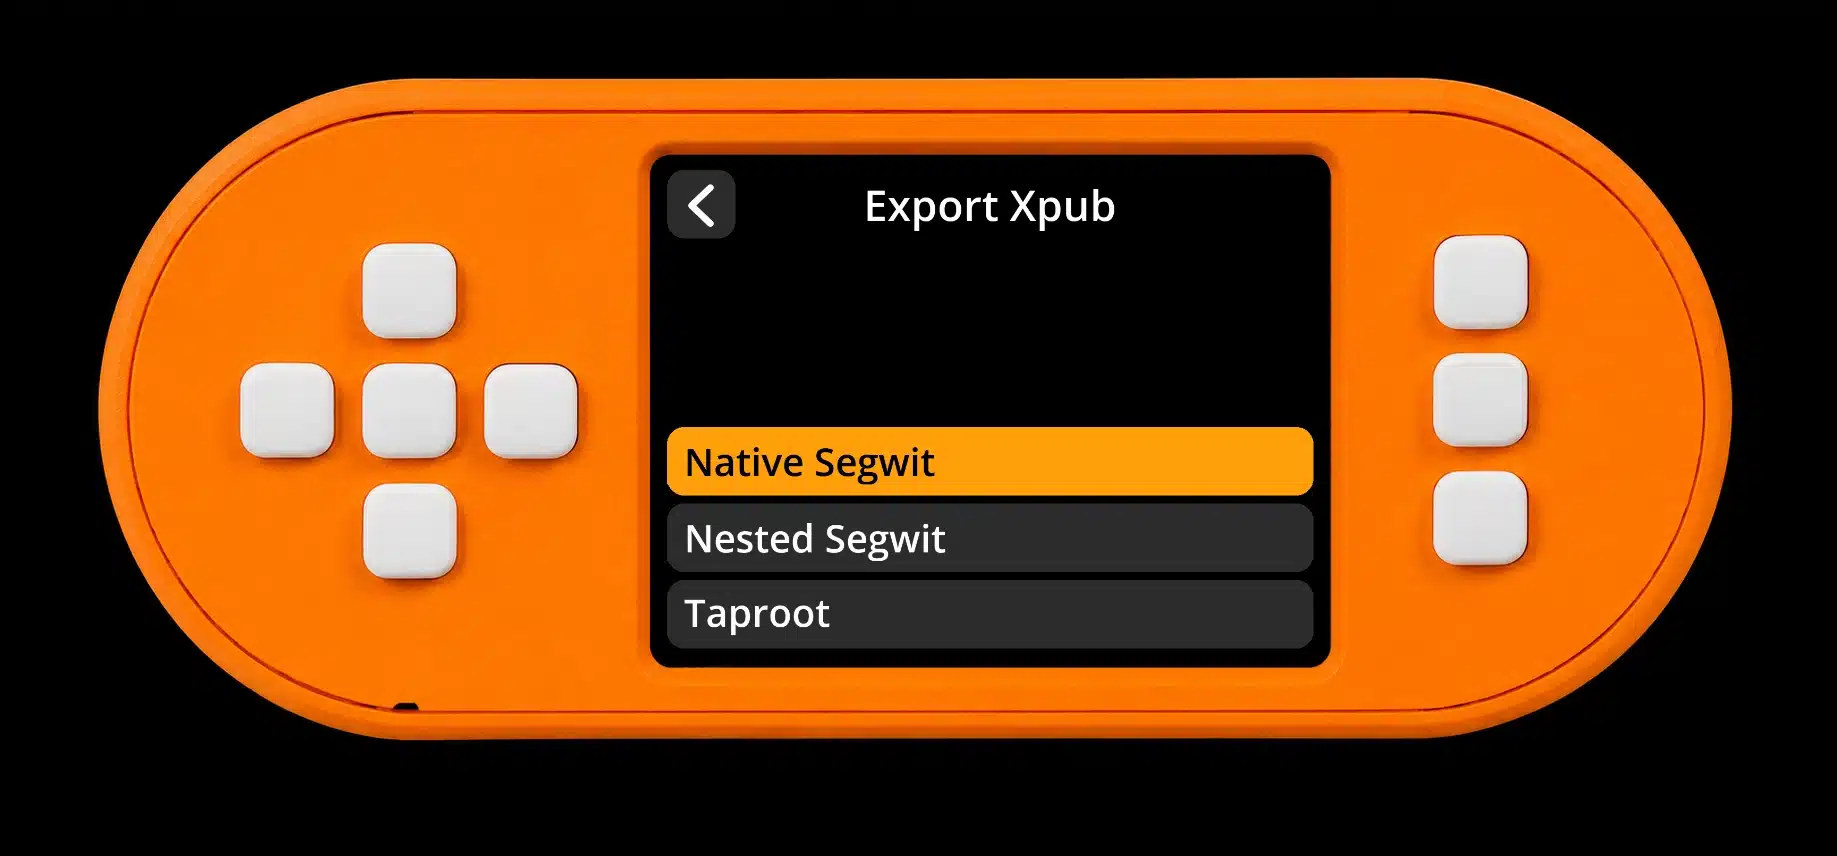
An xpub cannot spend by itself, but exposes derived addresses and transaction history. Share it, descriptors, and public wallet configurations only with services you trust with that information.
Sparrow’s quick-start guide explains wallet configuration and server choices. The SS+ itself does not connect to the node, download the blockchain, or show a network-synchronized balance.
8. Verify a Receiving Address Before Using It
Confirm the receiving address on the physical signer before sending funds to it. A computer’s Receive screen alone cannot establish that malware has not substituted an address.
- Display the address in Sparrow. Open the intended wallet’s Receive tab and show its address QR.
- Scan it with the SS+. Use Scan or Tools → Verify address.
- Select the wallet. Load the intended seed and passphrase, then follow the script-type and derivation prompts. For multisig, provide the complete wallet descriptor or configuration when required.
- Confirm the match. Wait for successful verification before using the address. Resolve any mismatch first.
Setup checkpoint: your backup should restore the expected wallet, and a receiving address should verify on the SS+ before you receive funds.
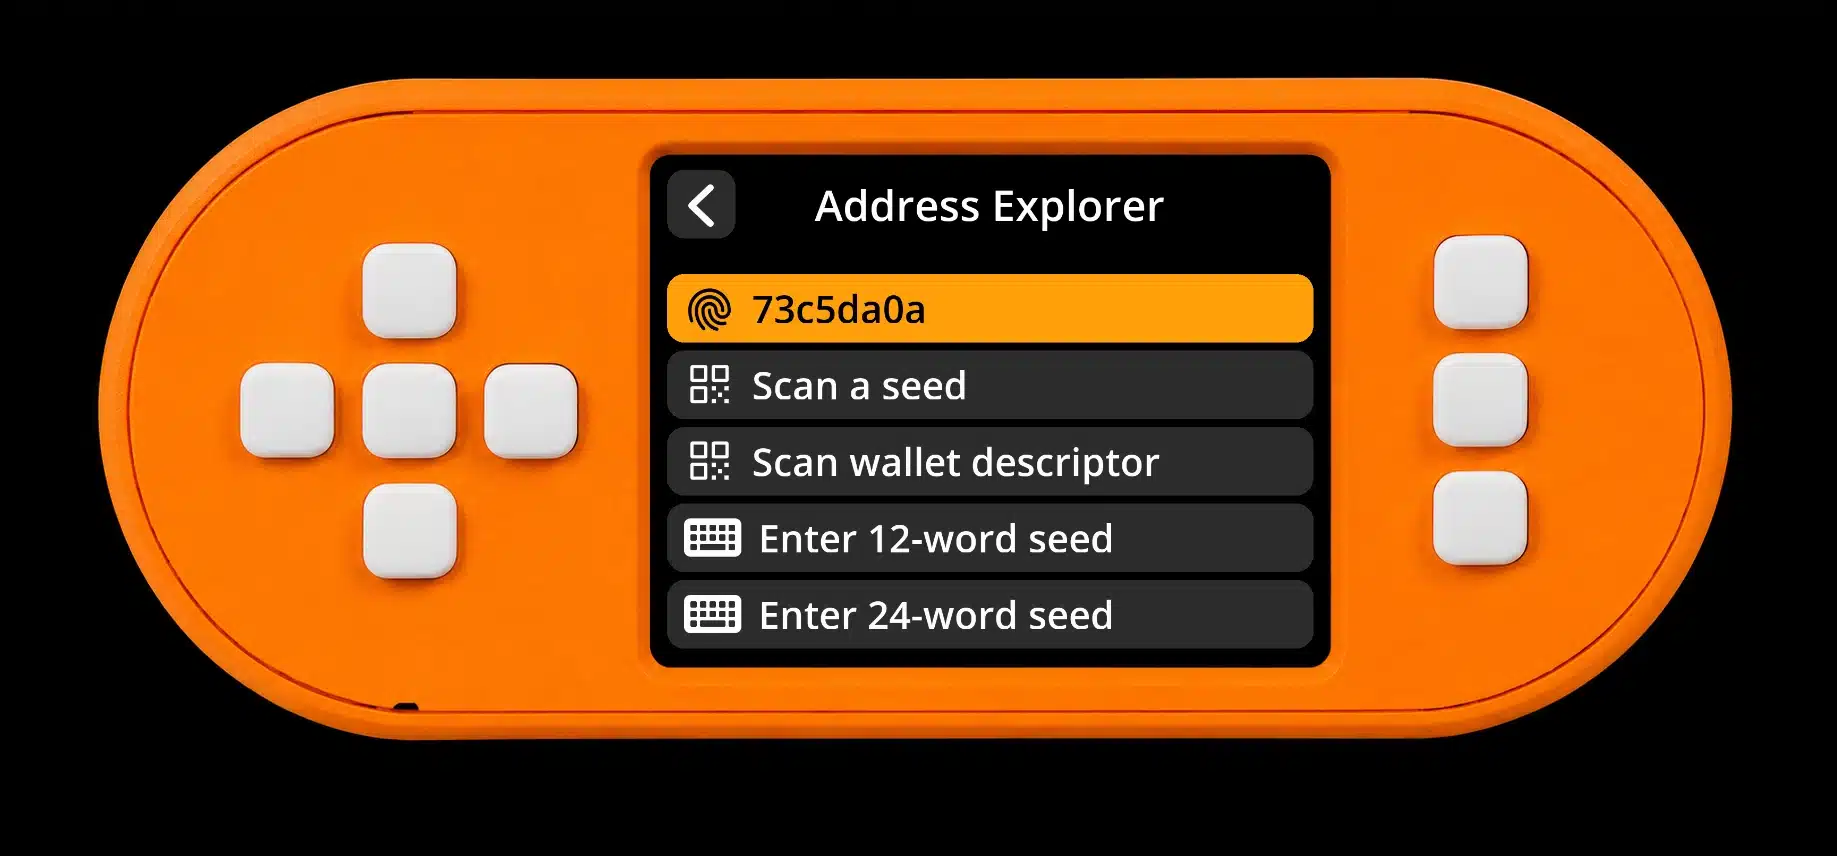
Address Explorer offers another way to inspect receive and change addresses from a seed or supported wallet descriptor. Match the network, derivation path, script type, and index. Browsing an address does not reveal its balance without a separate network-connected coordinator.
9. Review and Sign a Transaction
Prepare an unsigned transaction in Sparrow, scan it with SeedSigner+, review its outputs and fee on the signer, and return the signed transaction by QR. Sparrow broadcasts only after you choose to send the completed transaction.
A PSBT is a partially signed Bitcoin transaction containing the information a signer needs.
- Prepare in Sparrow. Enter the recipient, amount, and fee. Create the transaction, review its summary, and display its unsigned PSBT QR.
- Open scanning on the SS+. Load the seed and any passphrase, then choose Scan transaction. Alternatively, use Home’s Scan and select the signer when prompted.
- Scan every fragment. Hold the camera steady until the complete animated QR has been received.
- Review on the SS+. Check every recipient address and amount, the total fee, and all change or self-transfer outputs. Supply the expected multisig configuration if requested. Stop if anything is unexpected.
- Approve on the SS+. Complete the review and approval prompts to display the signed transaction QR.
- Return the signature to Sparrow. Open its transaction QR scanner and scan the SS+ display. For multisig, collect the remaining required signatures.
- Broadcast from Sparrow. Review the completed transaction, broadcast when ready, and retain its transaction identifier.
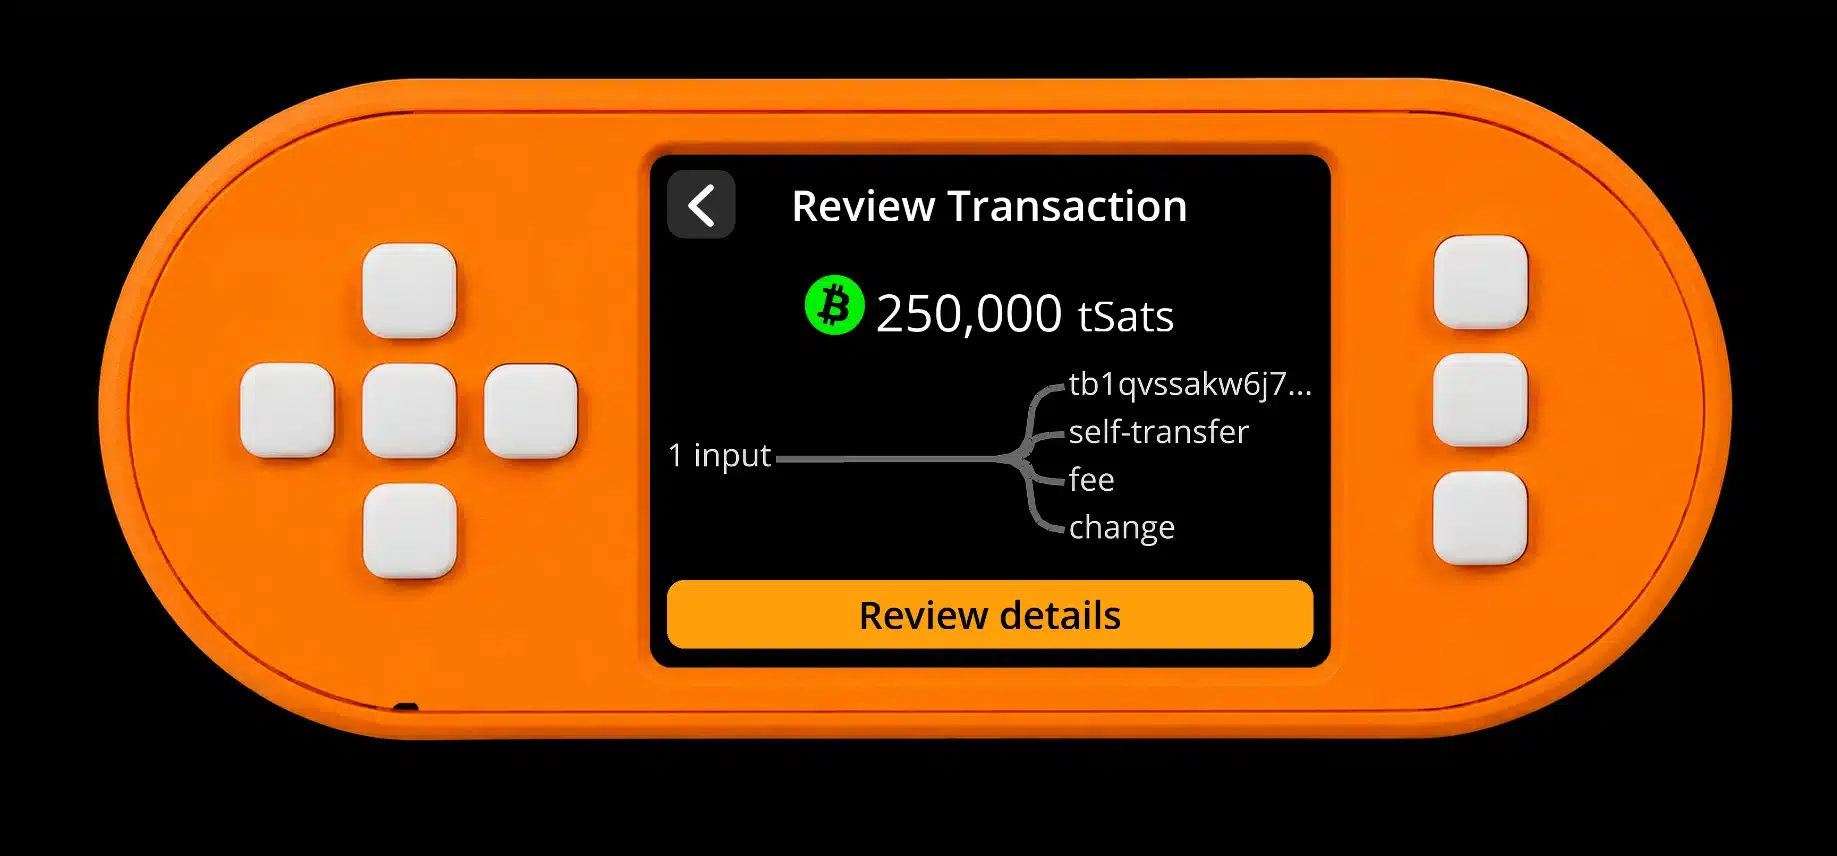
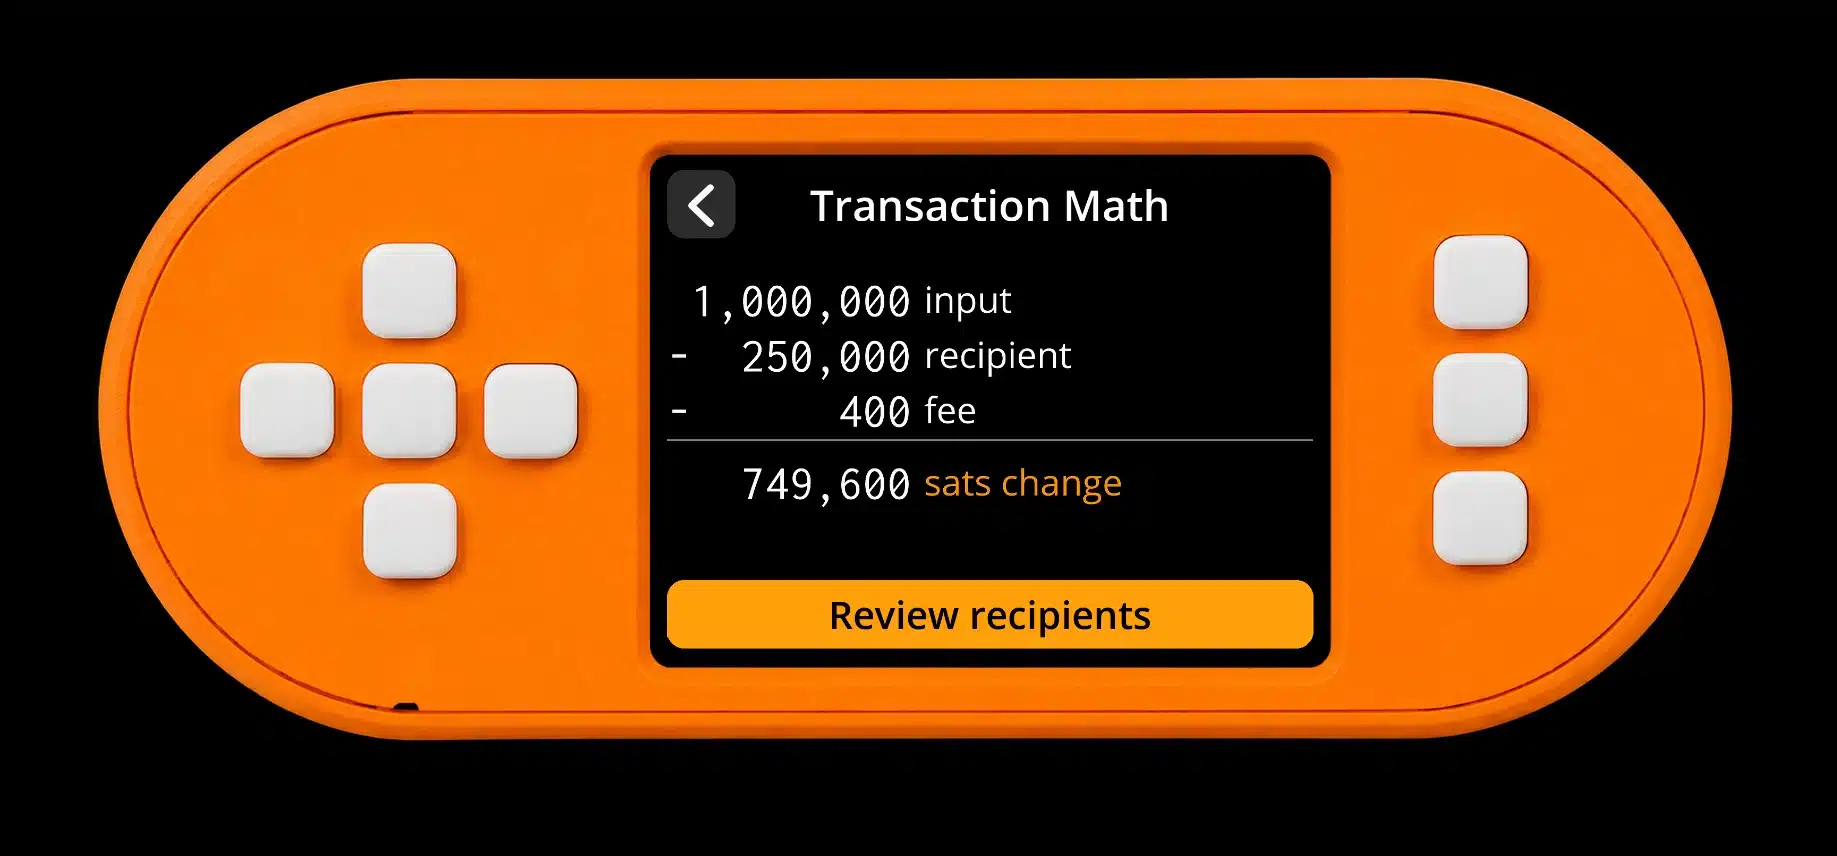
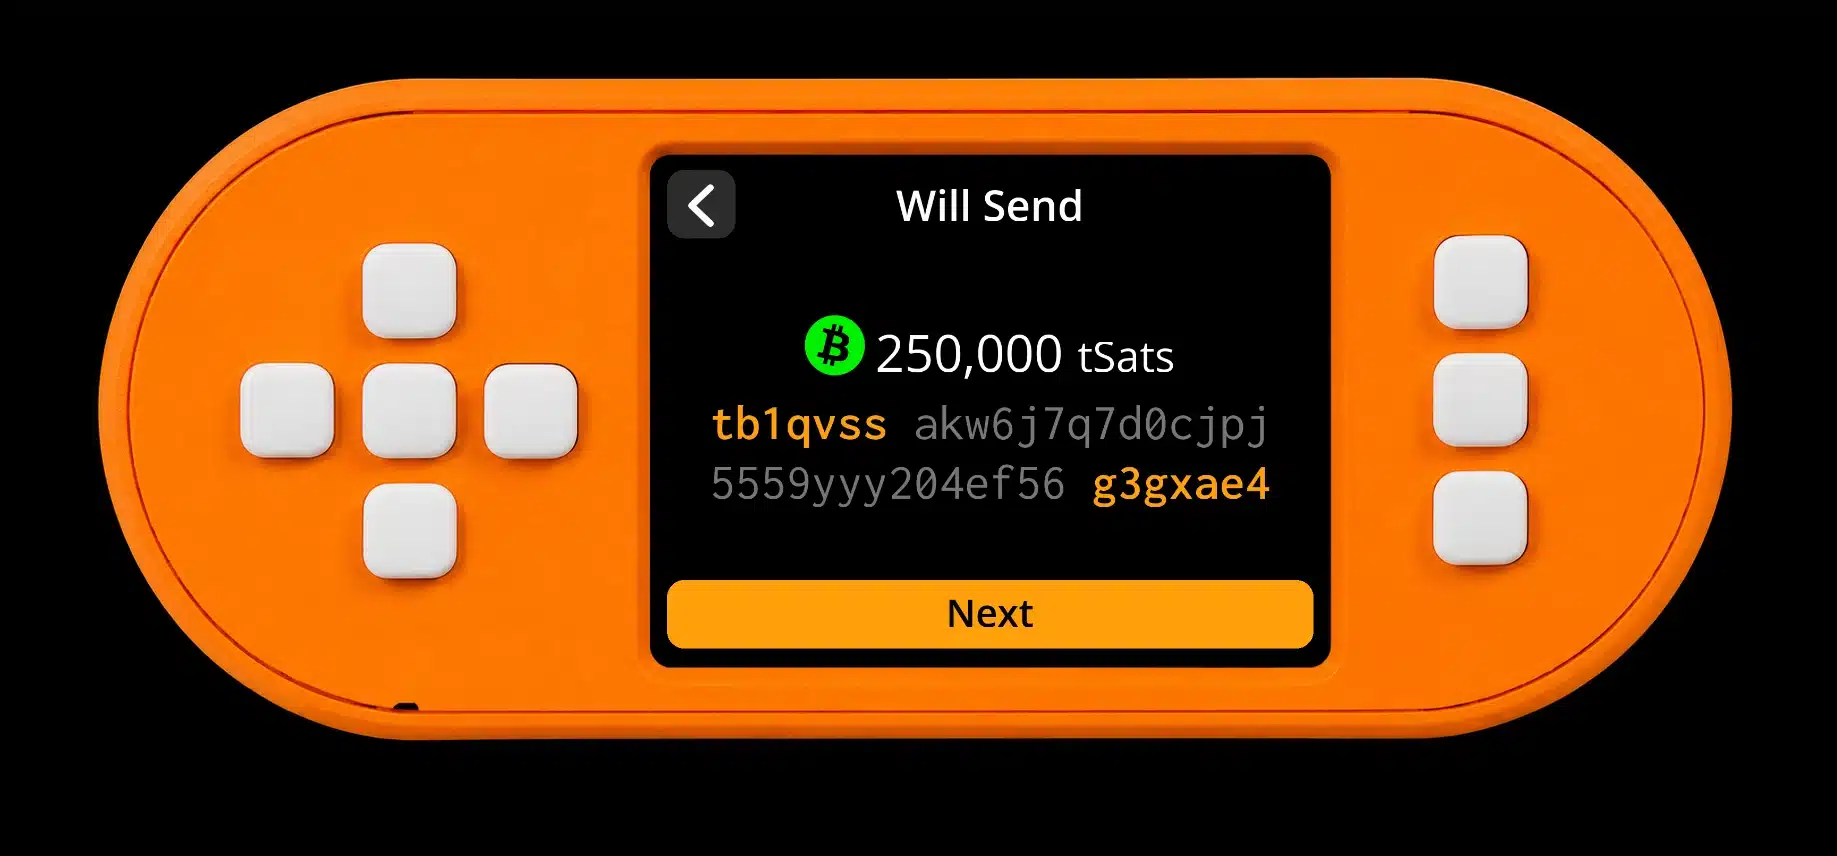
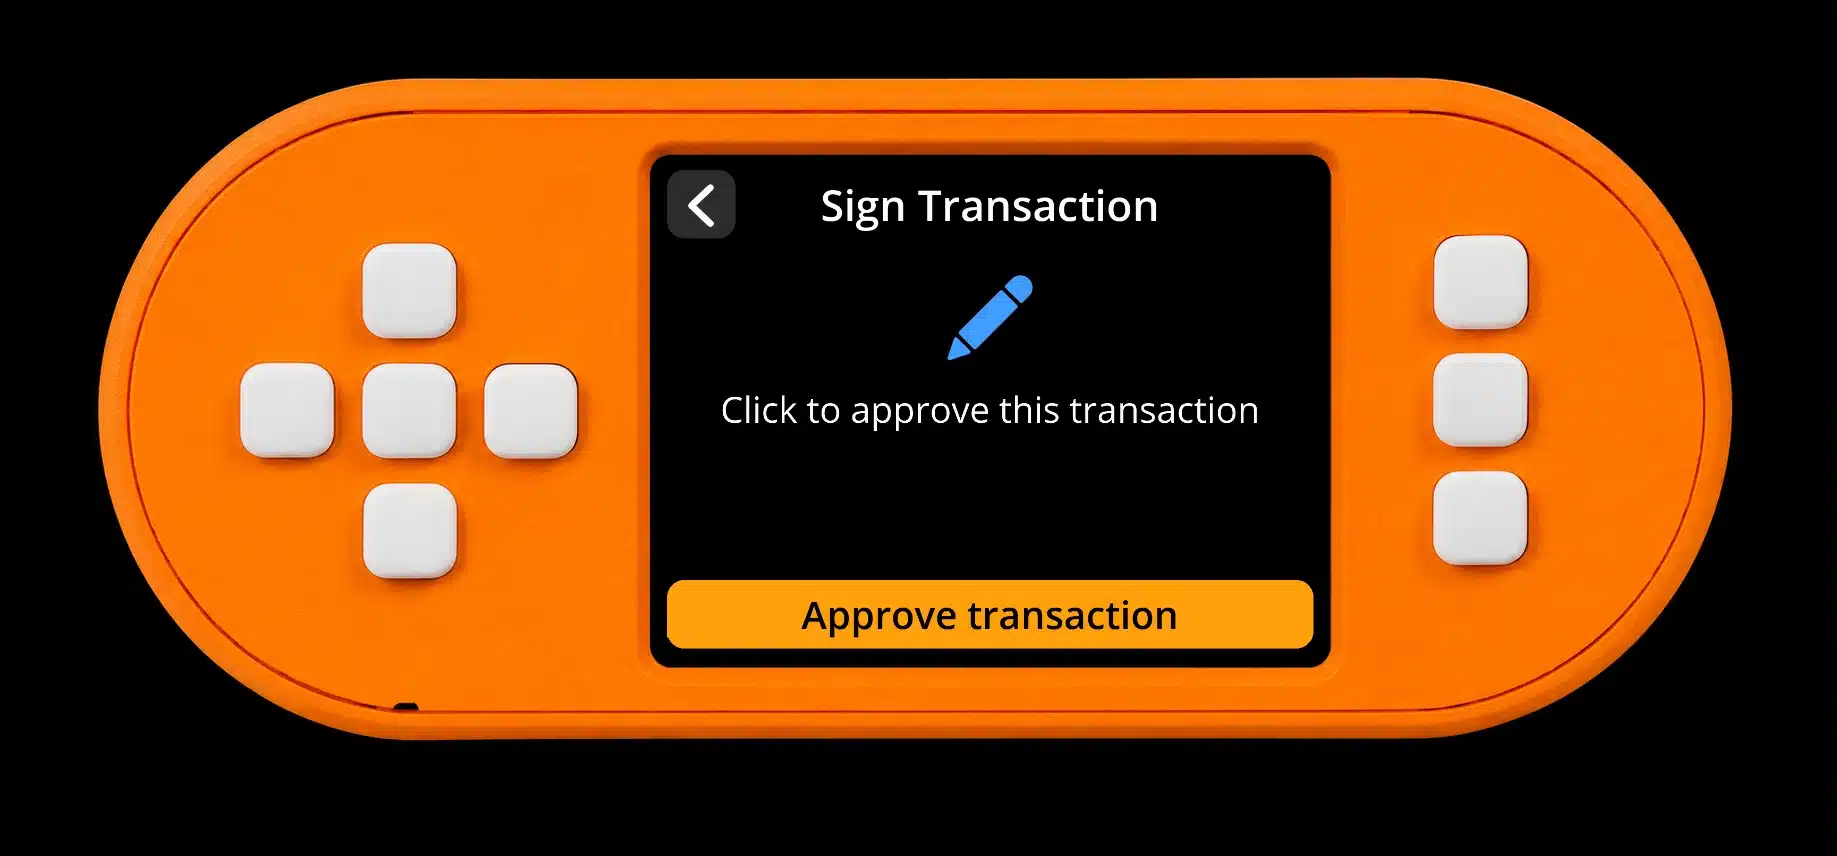
The screen uses a public upstream test fixture; its values are not payment or fee recommendations. The signer checks transaction information locally, not current mempool conditions or the recipient’s real-world identity.
Use SeedSigner+ With Multisig (Optional)
SeedSigner+ can act as a cosigner in a supported multisignature wallet, such as a 2-of-3 arrangement. Recovery requires enough signing keys to meet the threshold and the complete wallet configuration needed to reconstruct its scripts.
Create each cosigner’s seed independently. In the coordinator, set the threshold and script policy, import each cosigner’s public information, and verify the wallet and receiving addresses. Back up its descriptor or complete configuration; seed words alone may not be enough to reconstruct the wallet.
When signing, scan the unsigned transaction, supply the intended cosigner, and let the device verify the expected wallet and change outputs using the necessary configuration. Repeat with the remaining cosigners until the threshold is met. Do not assume that single-signature Taproot support implies support for every Taproot multisig construction.
The project’s Independent Custody Guide discusses these custody and recovery tradeoffs in depth.
Additional SeedSigner+ Features
SeedSigner also supports child seeds, message signing, final-word calculation, custom derivation paths, Electrum seeds, and SettingsQR.
BIP85 child seeds
The BIP85 specification defines deterministic child entropy. SeedSigner derives a 12-word or 24-word child mnemonic from a supported parent seed. The same parent, passphrase if used, child length, and child index reproduce the same child; changing any of these can produce a different phrase.
- Enable BIP85. Open Settings → Advanced → BIP-85 child seeds and select Enabled.
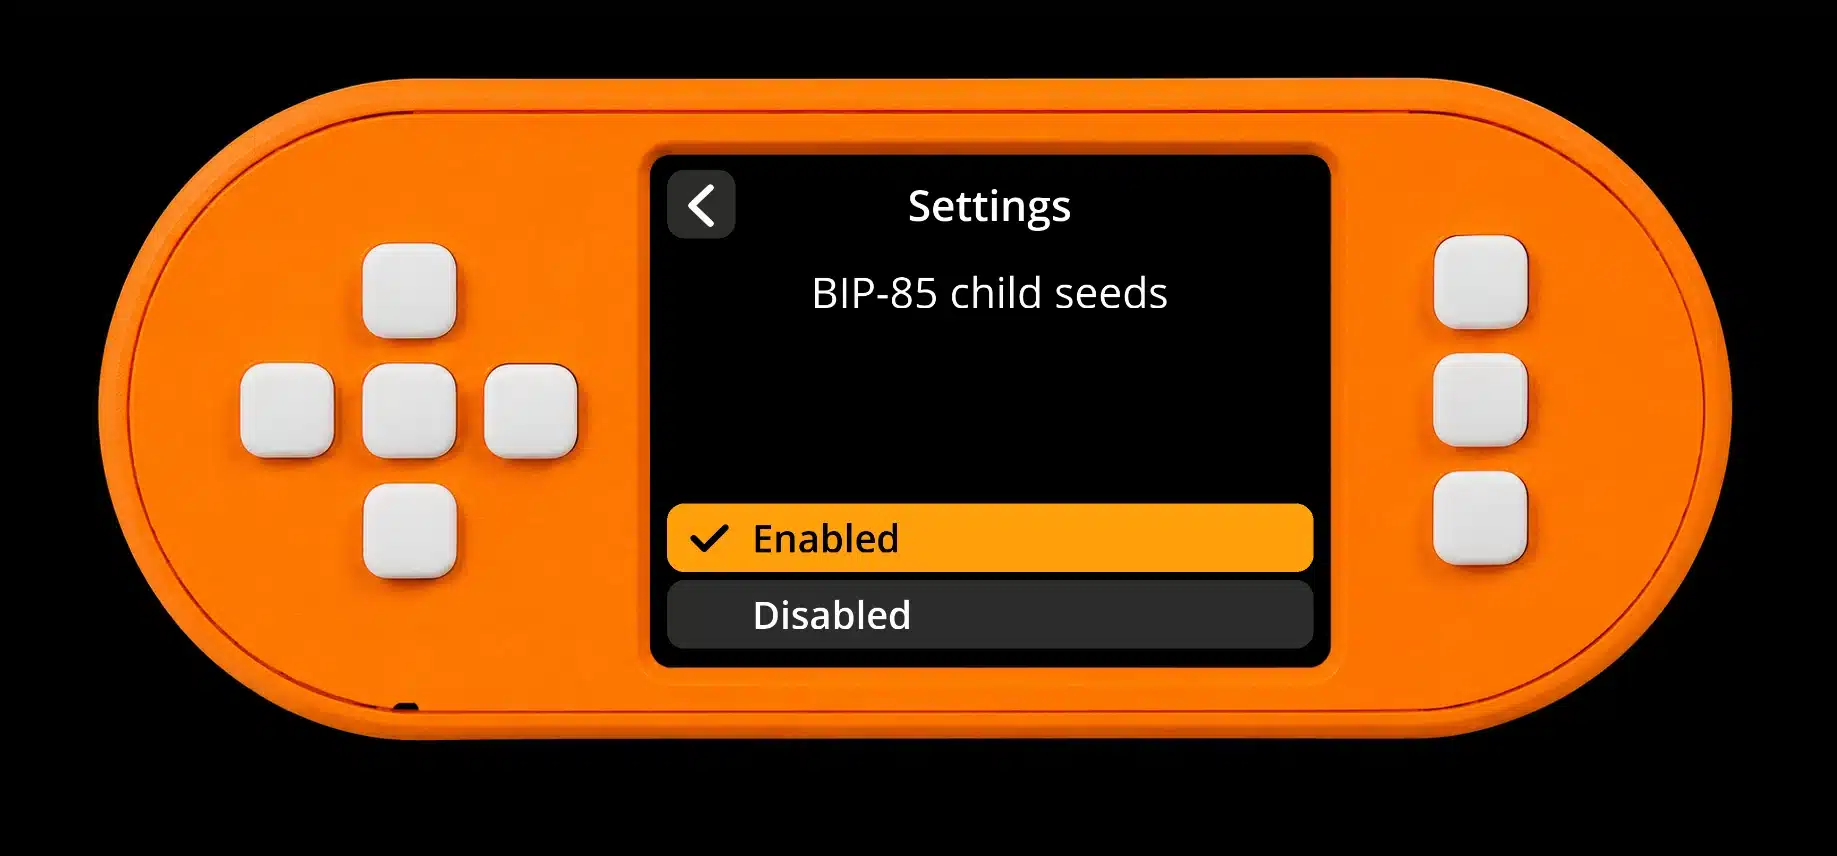
- Load the correct parent. Restore its words and exact passphrase if used. Confirm the intended parent before continuing.
- Open child derivation. In the loaded seed’s menu, select BIP-85 child seed.
- Select the child length. Choose 12 Words or 24 Words.
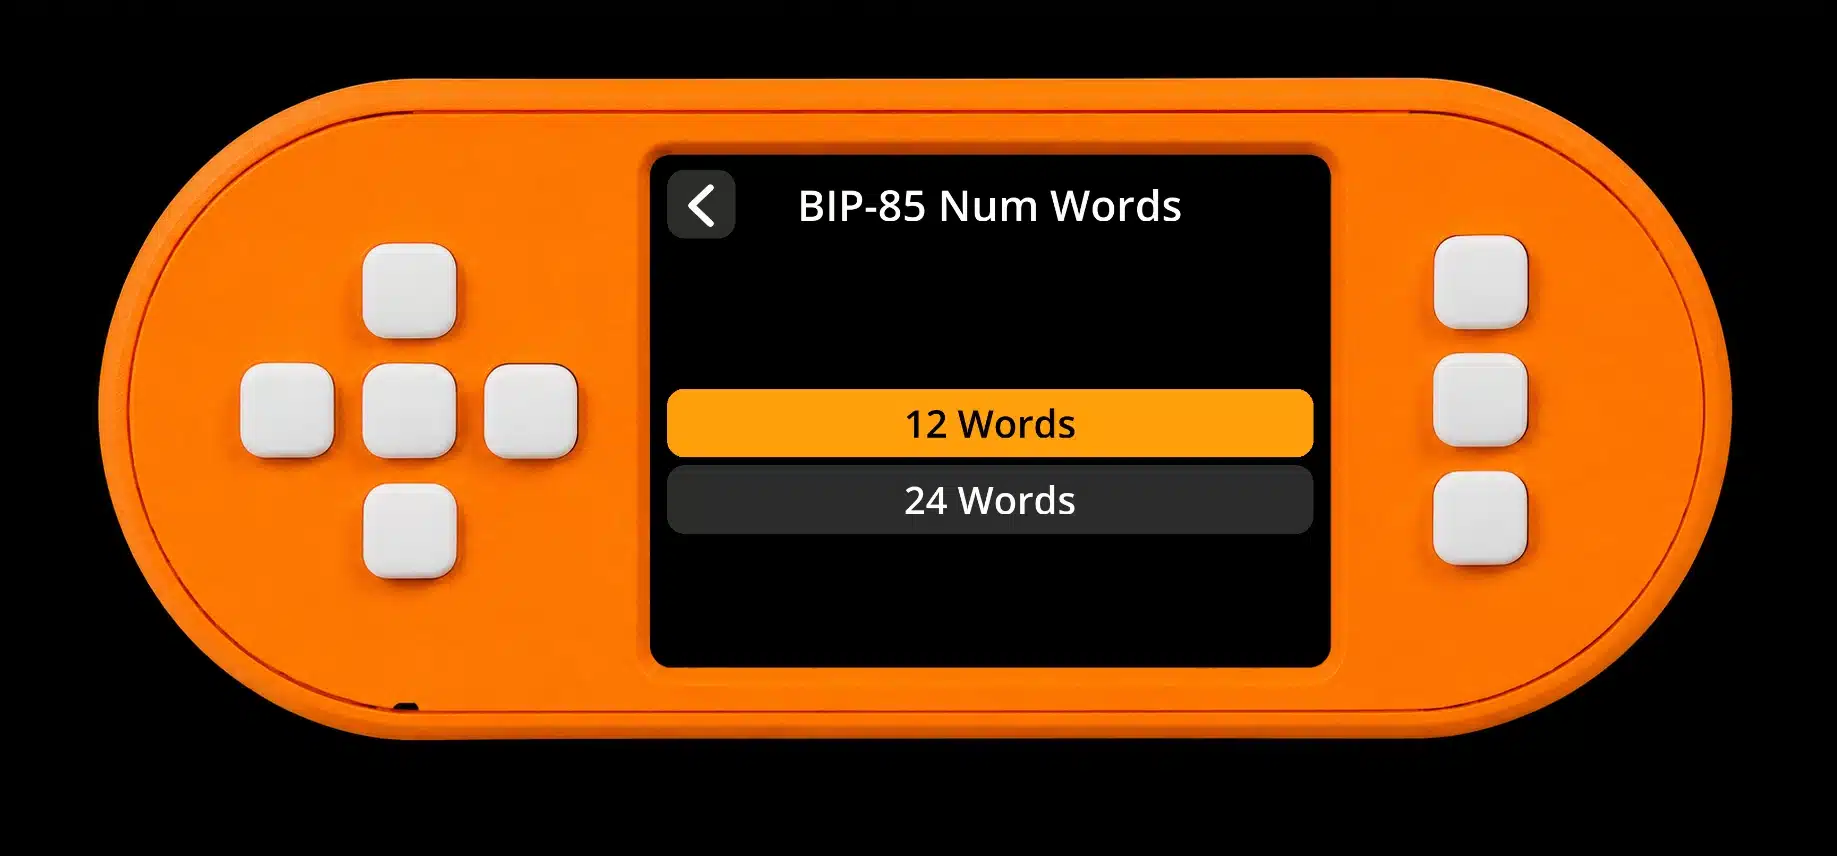
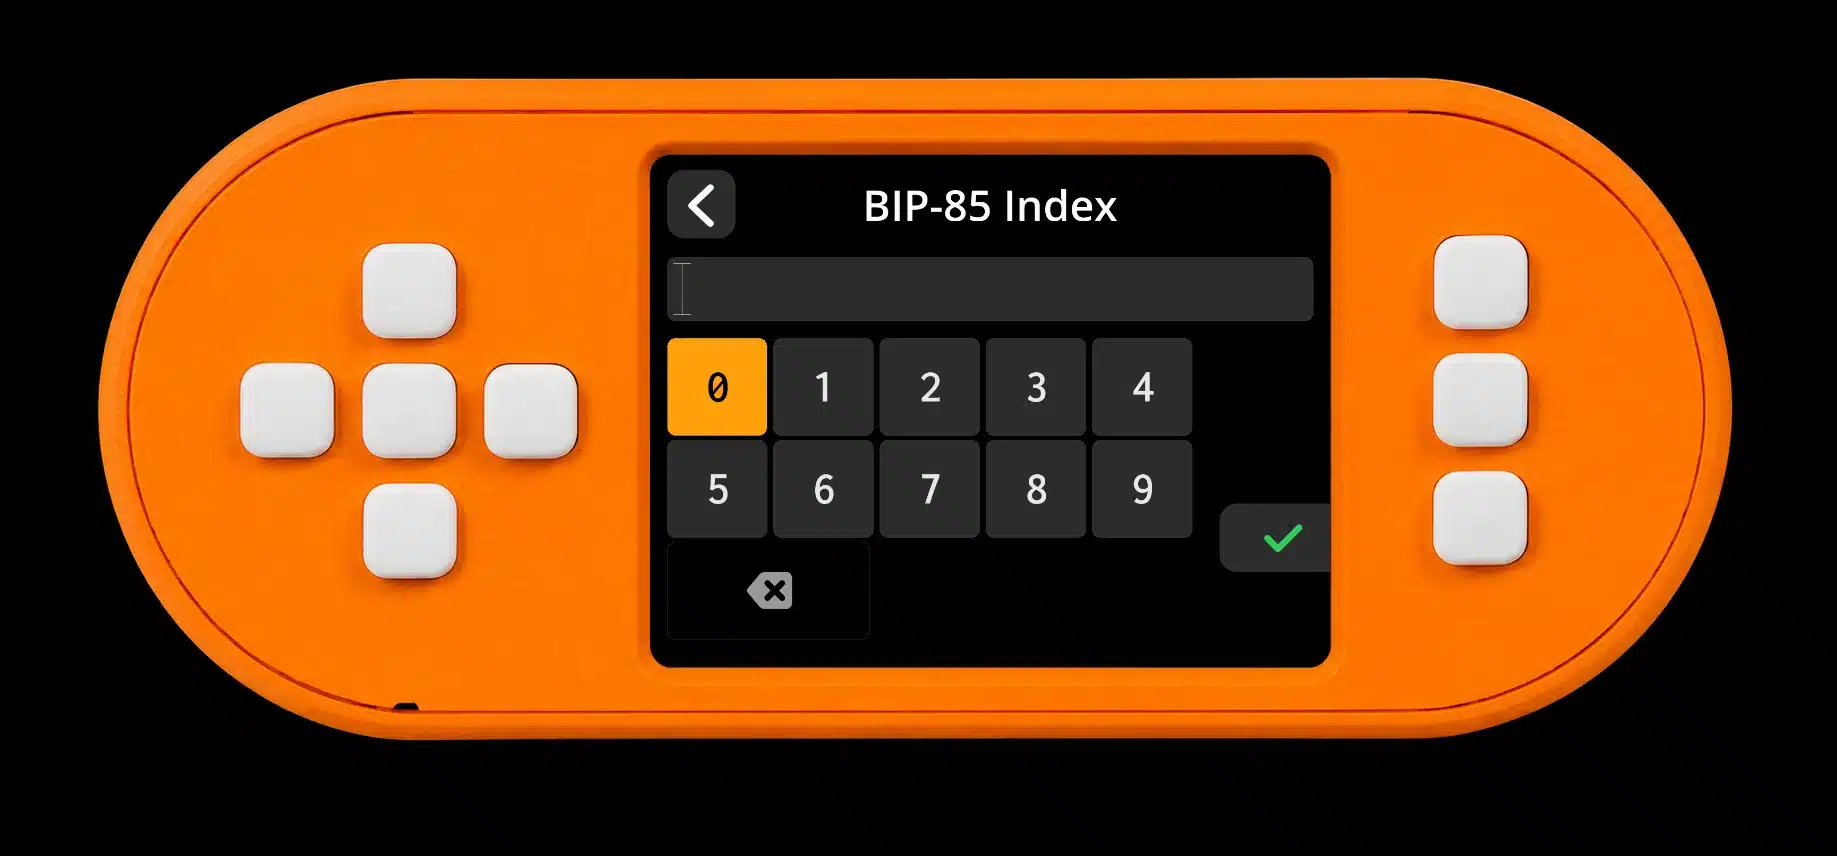
- Enter and record the child index. Use a nonnegative index below
2³¹. Index 0 is valid. This is a child-seed identifier, not a receiving-address index or wallet account number.
- Back up the child. Read the privacy warning, copy every child word in order, and complete the offered backup check. The word pages use the ordinary Seed Words heading in this release, so keep the selected child index recorded separately.
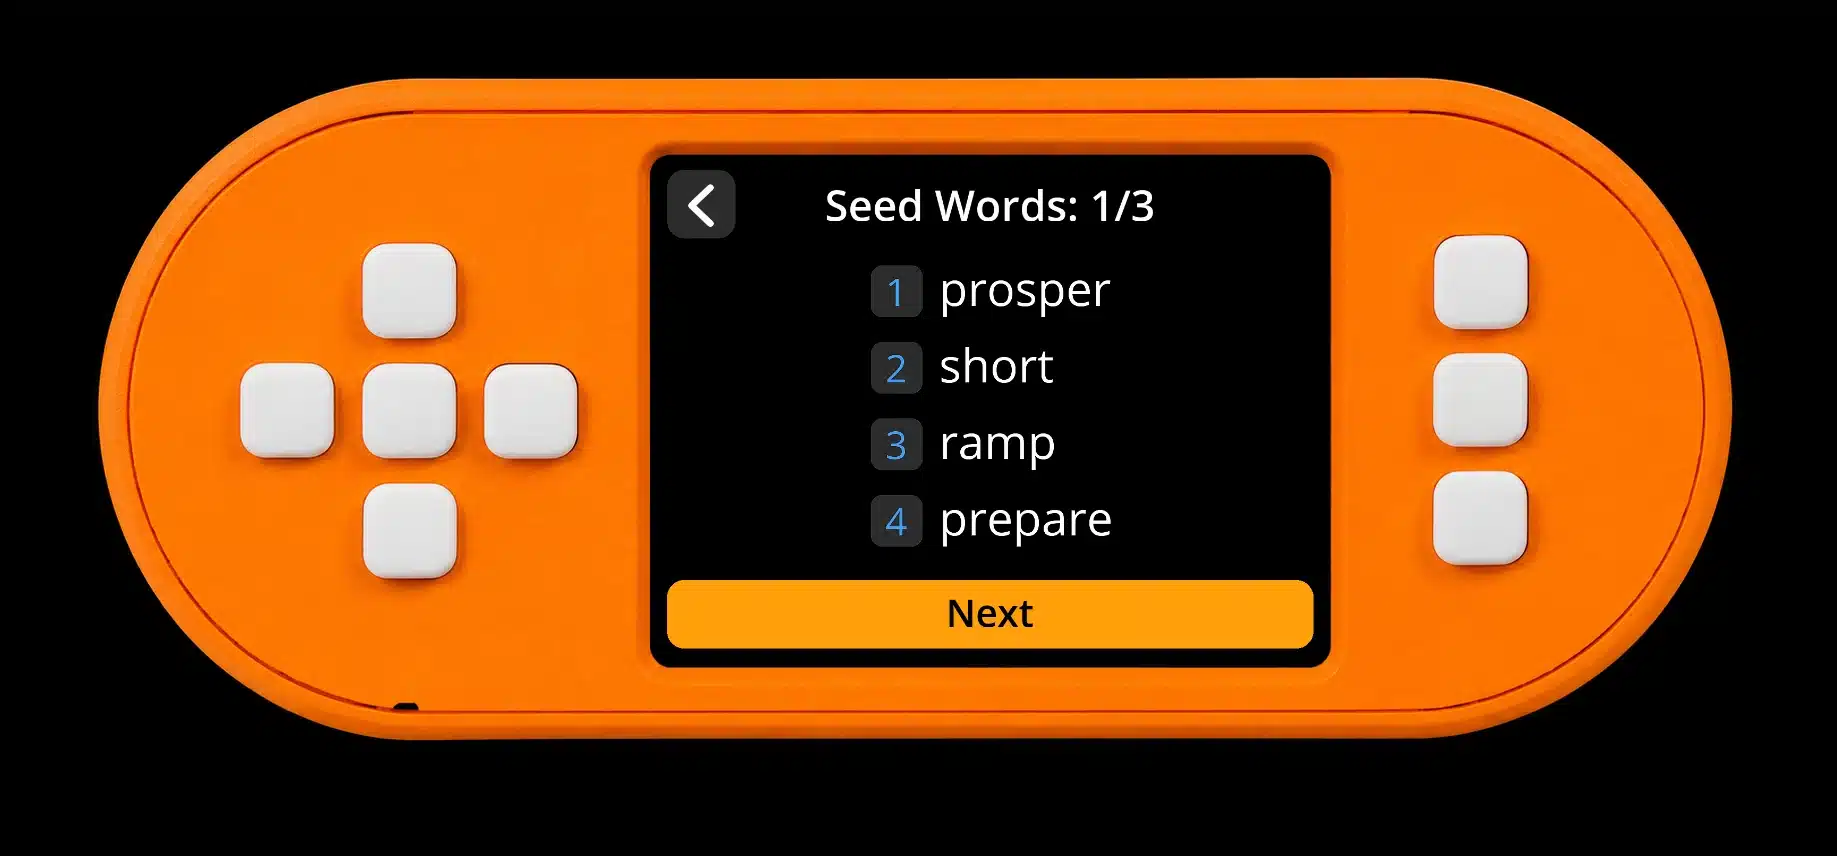
- Test reproduction and use. Repeat the derivation from the parent and confirm the same complete child phrase. To use the child as a signing seed, load its words through the normal seed-entry workflow, then verify the child wallet’s address before funding it.
In 0.8.7, the BIP85 flow displays and tests child words; it does not automatically replace the active parent with the child. A child does not ordinarily reveal its parent, but someone holding the parent and required passphrase can derive its children.
For parent-based recovery, preserve the parent words, exact parent passphrase if used, child word length, and index. A separate complete child backup can recover that child without rerunning BIP85. If you add a passphrase to the child wallet, that is another secret required for that wallet. Electrum seeds do not support this BIP85 feature in SeedSigner.
Message signing
Message signing can prove control of a supported address without spending coins. It is disabled by default in 0.8.7; enable Settings → Advanced → Message signing, load the seed, and choose Sign message from its menu.
Supply a supported QR message-signing request, review the message and derivation information, and return the signature to compatible verifying software. Support depends on the request format and address type. Do not assume a BIP322 workflow or every message-signing standard is supported, and do not sign a statement you do not understand.
Calculate the final seed word
Tools → Calc 12th/24th word completes a mnemonic’s final word with the required BIP39 checksum, including the additional entropy choices offered by the flow. It is a specialized seed-generation tool, not a way to make human-chosen words secure.
Do not invent the first 11 or 23 words from memory or prose. For most new users, the dedicated dice flow is easier to perform and verify consistently. A checksum detects some transcription mistakes; it is not evidence of unpredictable seed generation.
Script types and custom derivation paths
Advanced Script types can expose Native Segwit, Nested Segwit, Legacy, Taproot, and custom derivation options. Choose the wallet’s actual script policy and derivation path; changing the choice can display a different set of addresses from the same seed.
For a restored wallet, record the original account number, path, script type, and network alongside nonsecret wallet-configuration backups. Do not change them simply because a recovered wallet initially appears empty.
Electrum seeds
The optional Electrum seed feature supports the documented Native Segwit Electrum seed workflow. Electrum mnemonics are not interchangeable with BIP39 merely because they look like word lists.
Enable Electrum seeds under Advanced only when recovering that supported wallet type, then use its dedicated entry option. Confirm the fingerprint and known addresses against the original wallet.
SettingsQR
A SettingsQR applies a supported set of preferences by scanning a QR, without encoding a seed. Use the project’s SettingsQR generator to prepare the desired options, then scan and review the configuration on the signer.
Use it when persistence is disabled or when configuring several devices. Review the network, display, enabled features, and warnings before applying it. A SettingsQR differs from a secret-bearing SeedQR.
Settings Reference
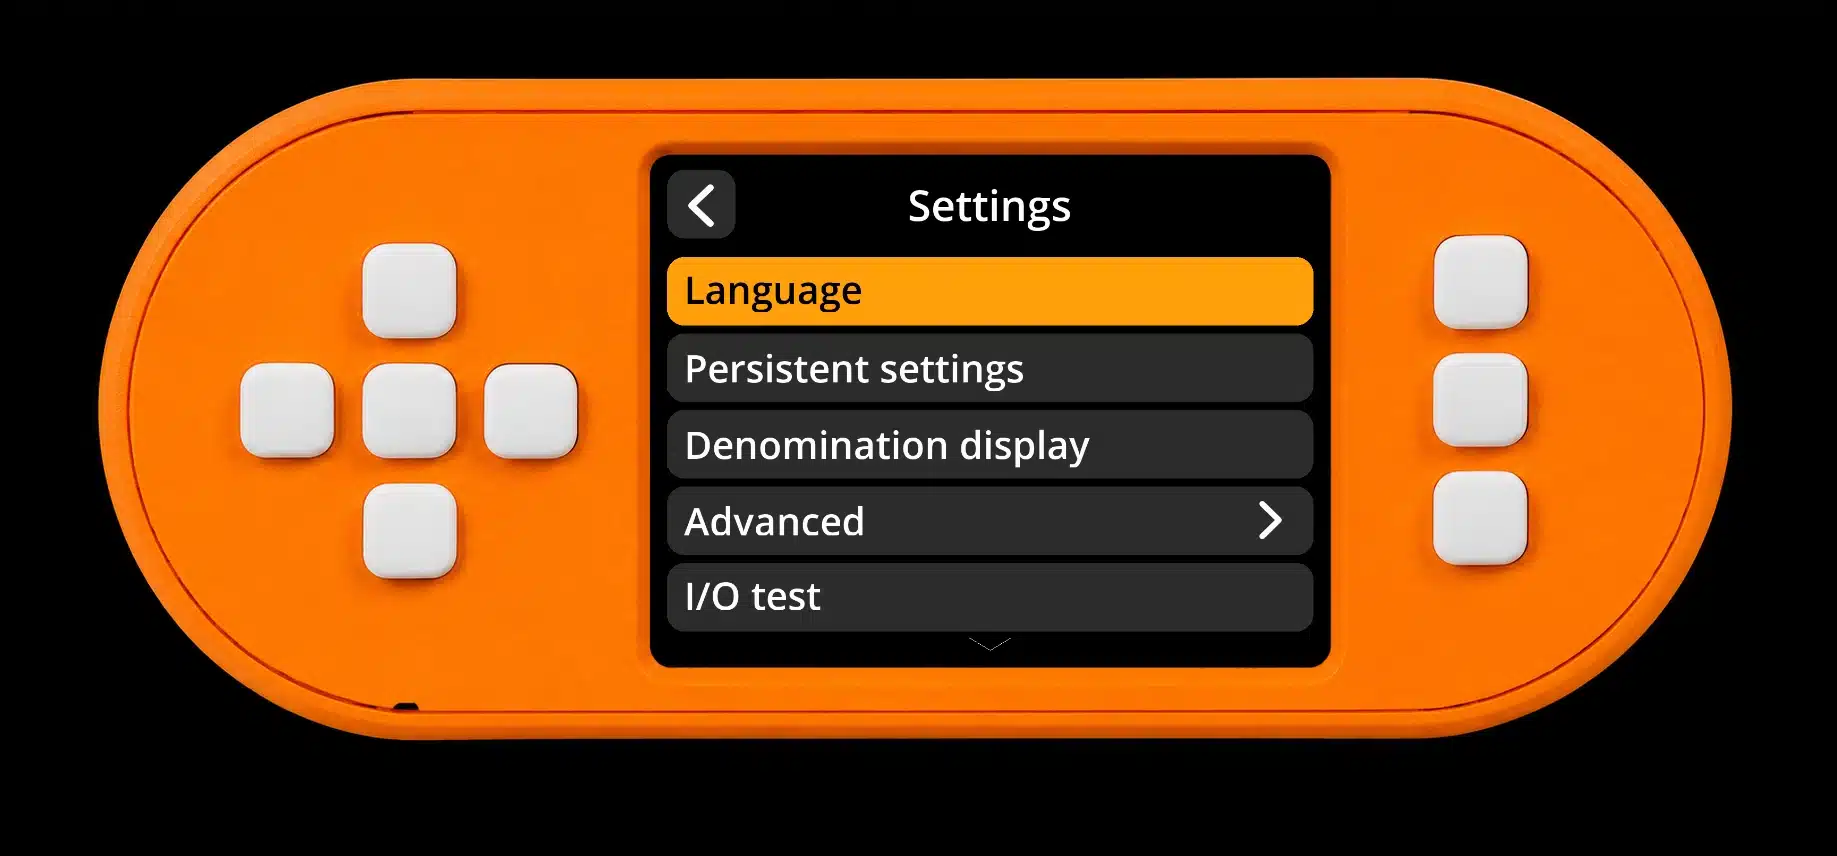
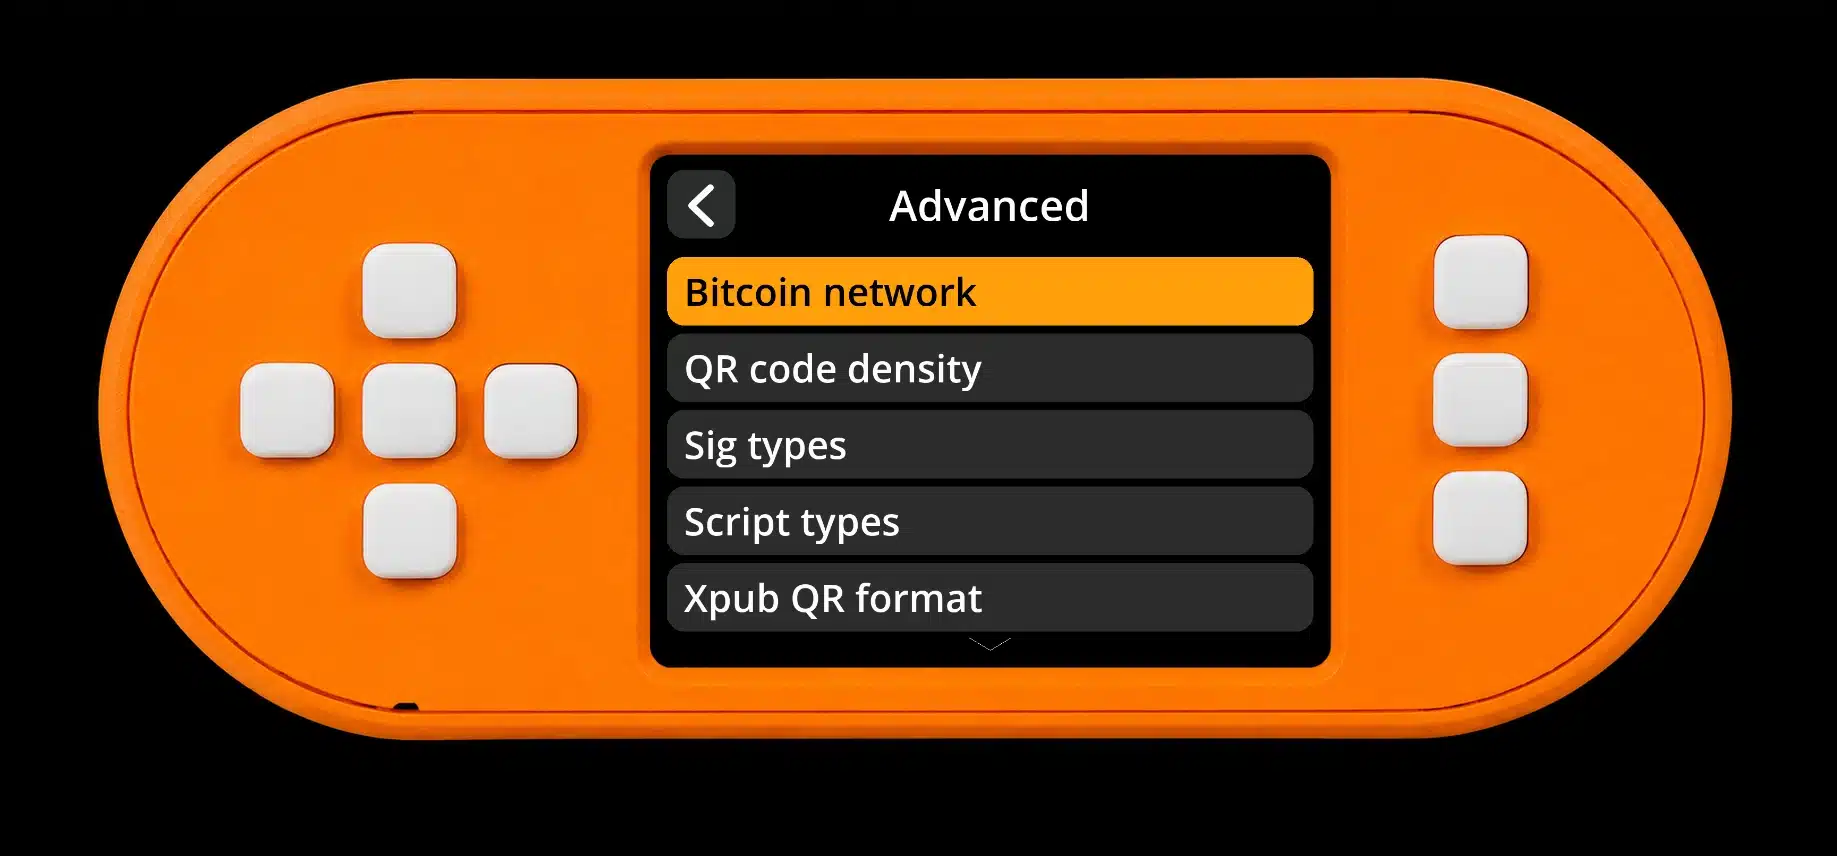
Use General, Advanced, and Hardware settings to configure the interface and available workflows. These menus correspond to SeedSigner 0.8.7.
| Menu | Options | Practical use |
|---|---|---|
| General | Language; Persistent settings; Denomination display | Choose interface language, whether preferences are stored on the card, and how amounts are displayed. Interface translation does not translate mnemonic words. |
| Network and addresses | Bitcoin network; Sig types; Script types | Match Mainnet, Testnet, or Regtest and the actual wallet’s signature policy and address construction. |
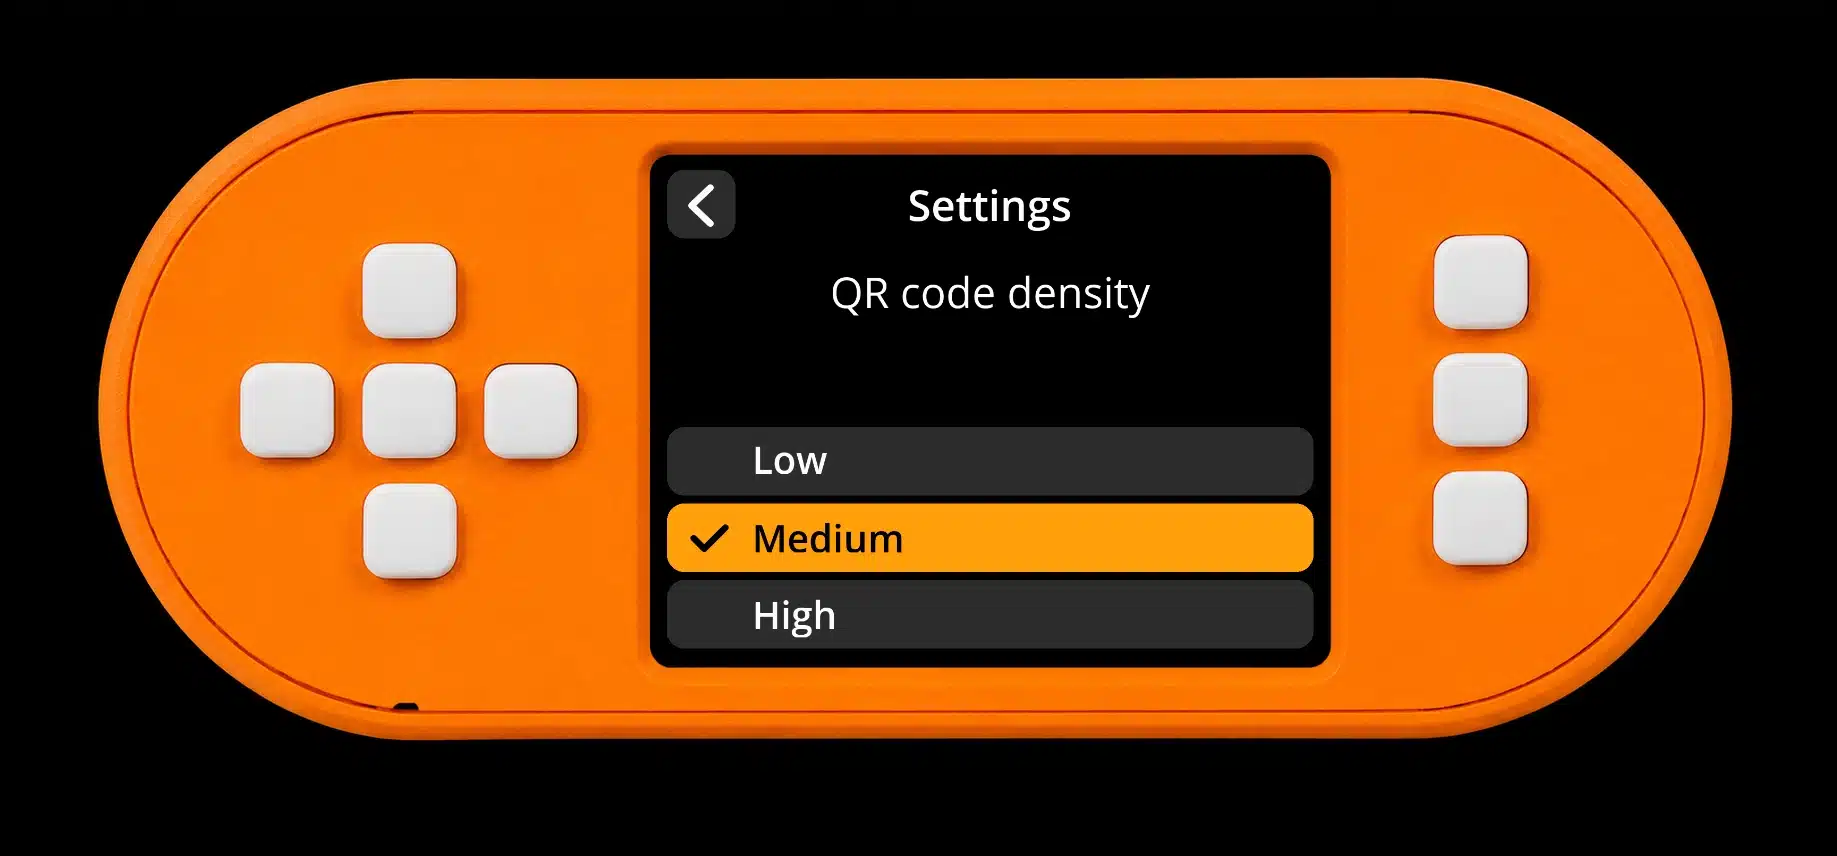
| QR export | QR code density; Xpub QR format; Show xpub details | Use a supported format and a density the receiving camera can read. Retain useful public-key verification details. |
| Seed options | BIP-39 passphrase; Compact SeedQR; BIP-85 child seeds; Electrum seeds | Expose the features required for the wallet. BIP85 and Electrum support are disabled by default. |
| Camera and messages | Camera rotation; Message signing | Correct the camera orientation or enable compatible message-signing requests. Message signing is disabled by default. |
| Prompts | MicroSD notification duration; privacy warnings; dire warnings; QR brightness tips; partner logos | Control reminders and presentation. Keep relevant warnings enabled while learning the device. |
| Hardware | Display type; Invert colors | Select ST7789 320×240 for this SS+ panel. Color inversion is a separate panel-compatibility setting, not the resolution fix. |
| General utilities | I/O test; Donate | Check controls and hardware through the test screen, or view project-support information. |
Lower QR density can improve camera acquisition but requires more animation frames. For scanning problems, adjust brightness, distance, angle, and glare, not wallet derivation settings.
Power Off, Recover, and Update
Removing power ends the session and the software is designed to discard the seed material held in volatile memory. On the next boot, reload the same seed, passphrase, and wallet configuration to use that wallet again.
The loaded-seed menu also offers Discard seed to remove a selected seed from the active session. Written backups, SeedQR cards, and coordinator files remain separate from this session.
Recovery checklist
- Recover the exact ordered seed words or a validated SeedQR.
- Reenter the exact BIP39 passphrase if the wallet used one.
- Match the network, script type, derivation path, and account.
- For multisig, restore the complete policy and cosigner configuration, plus enough keys for its threshold.
- Verify a known address before treating recovery as complete. A matching short fingerprint alone is not a complete wallet check.
Software updates
Update by downloading a compatible official image, authenticating it, and reflashing the microSD through a reader. Expect the card’s existing contents and saved preferences to be replaced, then repeat the SS+ display and preference checks.
Read the release notes before updating. An image update never requires entering your seed words, private SeedQR, or passphrase into a website or computer tool.
SeedSigner+ Troubleshooting
Match the symptom below to its checks. For startup problems, begin with power, the correct image, and the display setting.
| Symptom | What to check |
|---|---|
| Computer does not detect the signer over USB-C | The SS+ USB-C port supplies power only. Use a separate reader to access or flash the card. |
| Interface occupies only part of the panel | Select Settings → Advanced → Hardware → Display type → st7789 320×240. Save preferences with the card inserted if desired. |
| Display choice resets at each boot | Enable Persistent settings while the card is present, confirm the saved choice, and test a restart without a real seed loaded. |
| A few LED flashes, then a dark screen | Do not diagnose from a few flashes alone. With power disconnected, reseat the card, confirm the Pi image, and try a known-good power cable and supply. A repeated, counted blink pattern can provide a more specific boot clue. |
| Etcher reports “Error starting flasher sidecar process” | This indicates the flashing helper failed to start, not that existing card files need manual deletion. Reopen the installed app, review the OS authorization prompt, and consult Etcher’s issue guidance. A verified custom-image write with Raspberry Pi Imager is an alternative. |
| Card appears much smaller after flashing | The visible boot partition is small by design. Confirm the physical card’s total capacity in the OS disk utility; unused space alone does not mean the flash failed. |
| Camera cannot read a QR | Check focus distance, even lighting, glare, display brightness, camera rotation, and supported format. For animation, keep scanning until all fragments are received. |
| Recovered wallet is empty or has another fingerprint | Recheck words, order, passphrase, network, script type, path, and account. Restore the full configuration for multisig. Do not assume the coins moved because one coordinator view is empty. |
| Signature does not finish the transaction | Confirm the intended signing key and policy. A multisig transaction may still need other cosigners. Check that the coordinator imported the complete signed QR sequence. |
If startup still fails after a verified reflash and a known-good card and power source, seek hardware support with the Pi model, software version, screen behavior, and any repeated LED pattern. Never include seed words, a private SeedQR, or a passphrase in a support message.
Frequently Asked Questions
Technical References
The screen examples and menu names correspond to the SeedSigner 0.8.7 source. The following source references document specific behaviors: