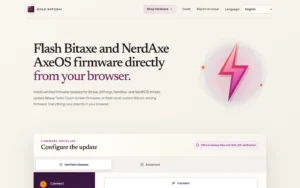
Update a supported NerdAxe-family miner through Nerd*OS when its dashboard works, or use the Solo Satoshi Web Flasher over USB for a verified factory installation or recovery. This guide covers both methods, plus the flasher’s Advanced tool for a reviewed custom image.
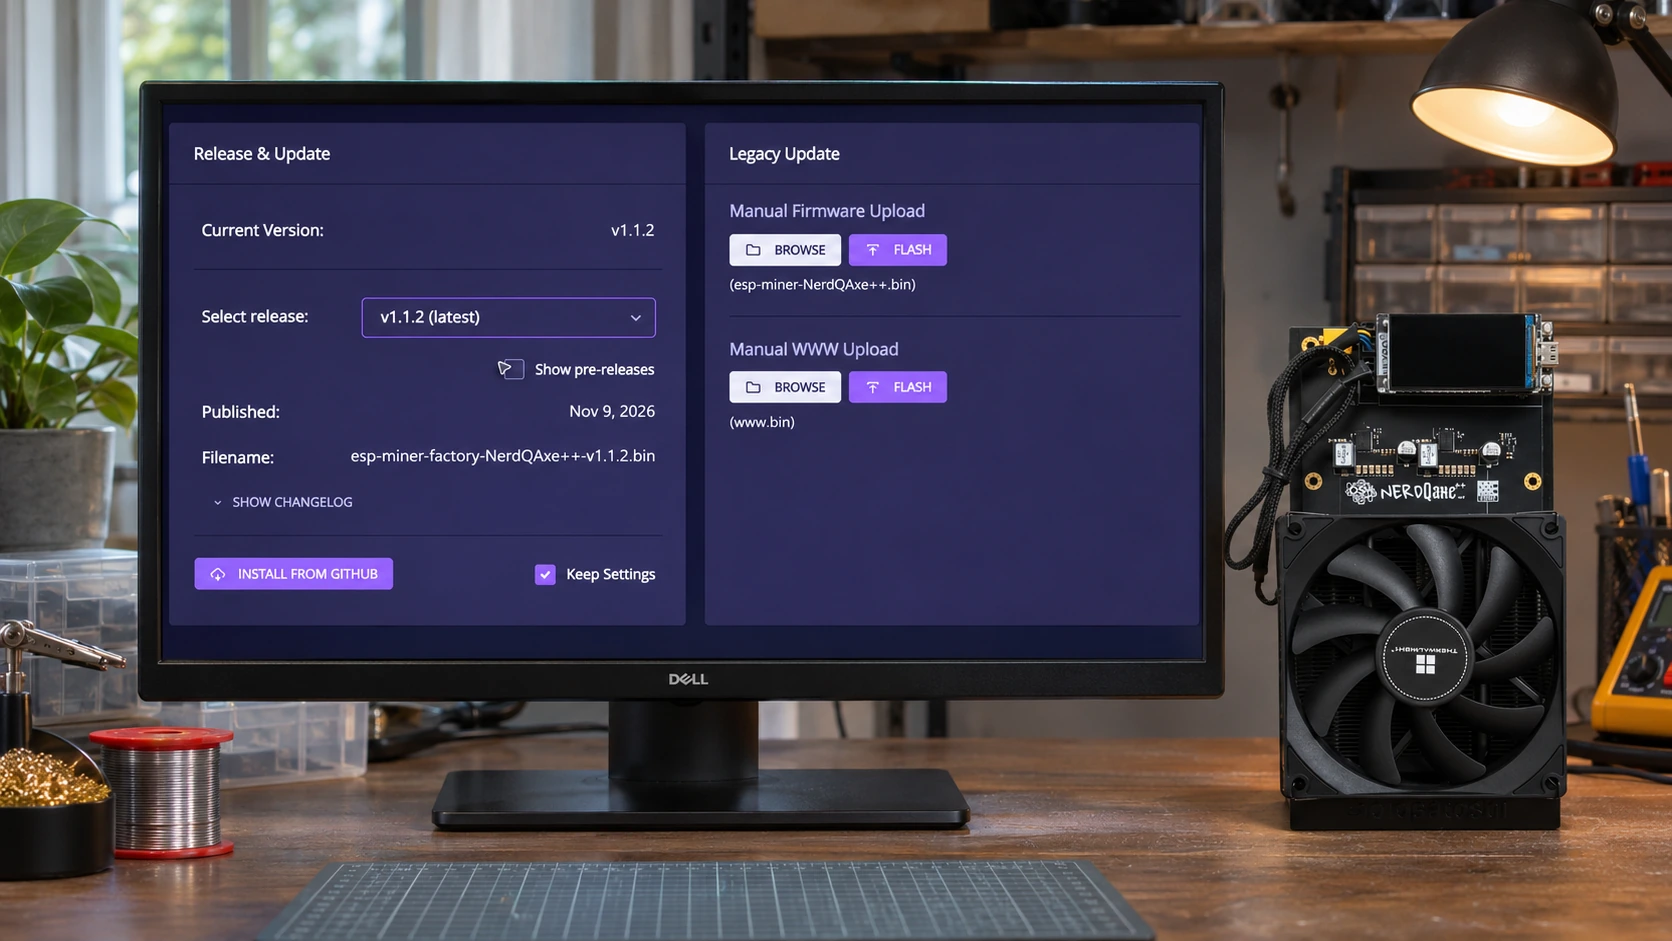
The dashboard screenshots show a real NerdQaxe++ running Nerd*OS v1.1.2. Its installed version is already current, so a healthy matching installation does not need routine reinstallation. The controls below explain the update choices without implying that a flash was performed. Exact controls depend on the installed release and model; NerdAxe, NerdQAxe+, and NerdQAxe++ are different hardware targets.
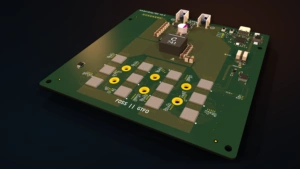
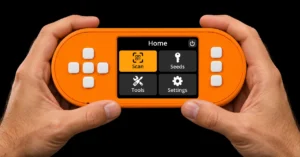
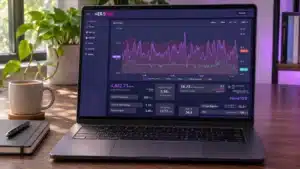
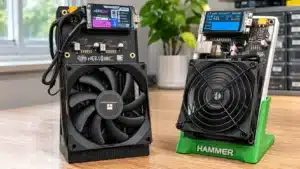
Hero: an AI-generated scene based on one real Solo Satoshi NerdQAxe++ product photograph and a genuine Nerd*OS update-screen capture, not a photograph of an installation or test. Genuine dashboard screenshots, installer illustrations, and recovery diagrams are identified where used.
Quick overview
- For a working miner: Open Nerd*OS Settings, find Release & Update, choose a compatible stable release, review Keep Settings, and use Install from GitHub.
- For USB flashing or recovery: Use the verified installer on a desktop computer with Chrome, Edge, or Brave, a USB data cable, and the correct power supply.
- Match the exact target: Choose the NerdAxe family and the precise model. The flasher matches its NerdAxe board identifier automatically; NerdNOS is a separate firmware family.
- Decide what to retain: Nerd*OS offers Keep Settings; the verified flasher has Preserve miner settings. A clean installation or Advanced custom flash can erase your configuration.
- Keep power connected: Wait for installation and restart to finish, then check the installed version, Wi-Fi, pool connection, temperatures, and fans.
- Release and file choices: v1.1.2 is the latest stable mainline release checked on November 14, 2026; v1.0.37.5-LTS is a separate maintenance branch. The integrated updater and USB flasher use factory images; legacy manual uploads use separate application and web-interface files.
Which NerdAxe Update Method Should You Use?
Use the built-in updater for a healthy Nerd*OS installation, verified USB flashing when the dashboard is unavailable or a clean installation is needed, and Advanced only for a custom image you have reviewed. Routine updating does not require changing your mining pool, clock, or voltage.
| Method | Use it when | Settings behavior |
|---|---|---|
| Nerd*OS updater | The dashboard works and Release & Update offers a matching release. | Review Keep Settings before installing. The example interface has it selected. |
| Verified USB flasher | You need recovery, a factory image, a clean reset, or an eligible rollback. | Preserve miner settings is optional. Leaving it off performs a clean installation. |
| Advanced custom flash | You have a reviewed, merged, bootable ESP32-S3 image for the exact hardware. | Settings are not preserved. |
| Legacy manual upload | Your installed build exposes Legacy Update and you deliberately need separate application or WWW files. | The one-click Keep Settings checkbox does not govern these separate upload handlers. Keep a private configuration record and follow the release-specific procedure. |
For a Bitaxe rather than a NerdAxe-family device, follow How to Update Bitaxe Firmware and Flash AxeOS.
What Is Nerd*OS?
Nerd*OS is ESP-Miner-derived firmware with a web interface used by supported NerdAxe-family Bitcoin miners. It provides device configuration, mining telemetry, pool settings, and firmware-update controls on the miner’s ESP32-S3 controller.
The screenshots here show a NerdQAxe++ example. Older firmware may have a different update layout or lack the one-click control; the verified USB route remains useful when a matching factory image is available. NerdNOS is a separate project and a separate family in the flasher, so use the family that actually matches your device.
Which NerdAxe Models and Releases Does This Guide Cover?
The v1.1.2 mainline release has factory images for the 12 targets below, and the current Solo Satoshi flasher catalog includes those same targets. Match the exact model identifier and any hardware-specific release requirements; a similar retail name, chip count, or filename is not a substitute.
| Release target | Factory image in v1.1.2 |
|---|---|
| NerdAxe | esp-miner-factory-NerdAxe-v1.1.2.bin |
| NerdAxeGaia | esp-miner-factory-NerdAxeGaia-v1.1.2.bin |
| NerdAxeGamma | esp-miner-factory-NerdAxeGamma-v1.1.2.bin |
| NerdEKO | esp-miner-factory-NerdEKO-v1.1.2.bin |
| NerdHaxe-Gamma | esp-miner-factory-NerdHaxe-Gamma-v1.1.2.bin |
| NerdOCTAXE+ | esp-miner-factory-NerdOCTAXE+-v1.1.2.bin |
| NerdOCTAXE-Gamma | esp-miner-factory-NerdOCTAXE-Gamma-v1.1.2.bin |
| NerdQAxe++ | esp-miner-factory-NerdQAxe++-v1.1.2.bin |
| NerdQAxe+ | esp-miner-factory-NerdQAxe+-v1.1.2.bin |
| NerdQX | esp-miner-factory-NerdQX-v1.1.2.bin |
| Q1370 | esp-miner-factory-Q1370-v1.1.2.bin |
| Q1373 | esp-miner-factory-Q1373-v1.1.2.bin |
The release uses compact identifiers such as NerdAxeGamma and NerdHaxe-Gamma; the installer can display friendlier spacing. Confirm the identifier for your actual board before choosing a file. This list describes published release support, rather than a claim that every listed model was physically tested for this guide.
Stable, LTS, and Prerelease Versions
Choose an appropriate stable release for your hardware and supported upgrade path. Mainline v1.1.2 and v1.0.37.5-LTS are separate branches; the LTS label does not mean its smaller version number is the right replacement for every mainline installation.
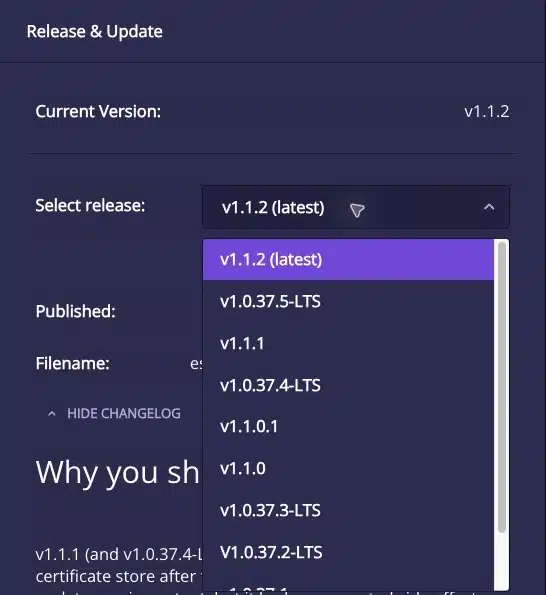
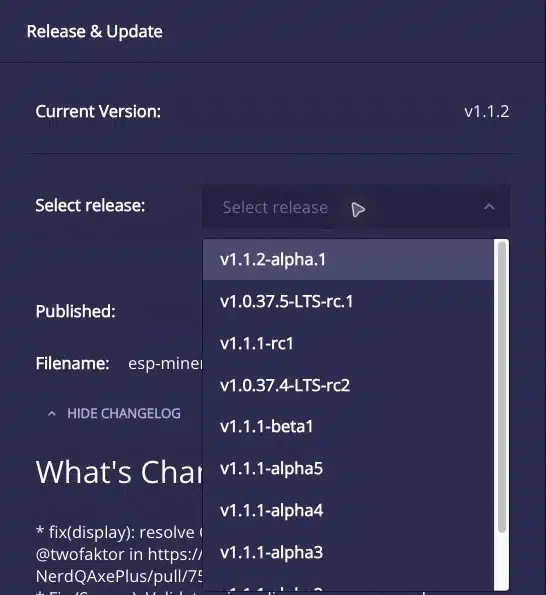
If you intentionally maintain an LTS installation, read that branch’s release notes and asset list. Newer hardware can be absent from older branches. Leave prereleases disabled for a routine stable update, and do not roll back across configuration or hardware changes without an explicit compatible path.
Before You Update
Confirm the exact hardware, save the configuration you need privately, and arrange stable power before starting. An update can interrupt mining, restart the controller, or erase settings, depending on the method and options.
- Identify the model: Check the product, PCB markings, and Nerd*OS System page. Record the current firmware version and any relevant hardware revision.
- Keep a private configuration record: Save the Wi-Fi details, pool host and port, receiving address, worker name, and any intentional cooling or tuning settings you would need to restore. Keep authenticator recovery information secure if OTP is enabled.
- Use the correct power supply: Follow the voltage, polarity, connector, and power requirements for your exact miner. The NerdQAxe++ example uses its normal external supply; USB is the data connection, not a substitute for mining power. Our Mean Well power-supply guide explains voltage, connector compatibility, and supply headroom.
- Read compatibility and release notes: Use the official NerdAxe firmware releases and confirm that the release contains an image for your model.
- Work on your trusted local network: Keep the computer and miner connected reliably. A firmware update does not require exposing the dashboard or management ports to the public internet.
Security update context: The v1.1.2 release notes describe a certificate-validation fix affecting some TLS pool connections, Discord alerts, and other HTTPS requests. The release retains rejection of the certificate chains involved in the earlier eMudhra incident. This is a reason to review the update, not a guarantee that every connection issue has the same cause.
Updating Firmware Through Nerd*OS/WebUI
Use the built-in updater when Nerd*OS opens normally and its Release & Update panel offers a compatible release. It downloads the model-matched image through the miner’s update service, so this method does not need USB.
Update Through Nerd*OS Step by Step
-
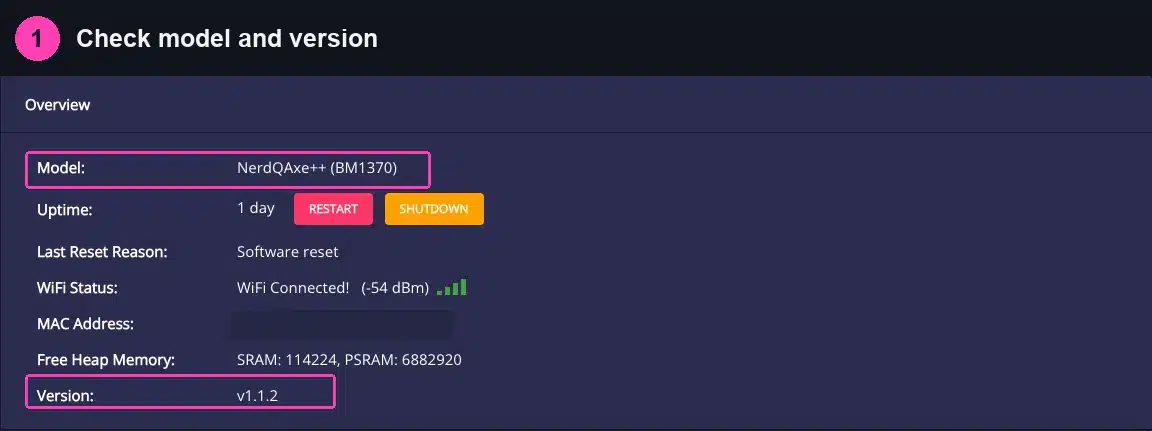
Check the model and installed version. Open the miner’s local address in your browser and choose System. Confirm the Model and Version fields. The example shows NerdQAxe++ with BM1370 ASICs and v1.1.2 already installed.

System identifies the model and installed release. This miner already runs v1.1.2; a matching healthy installation does not need routine reinstallation. -
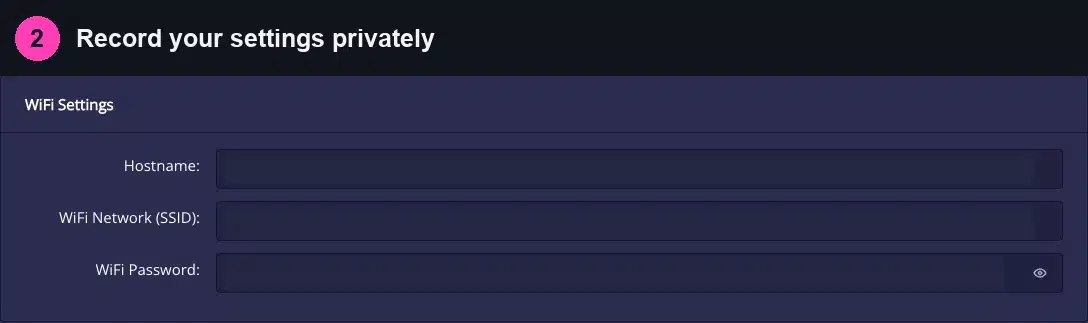
Save the settings you would need to restore. Keep the private configuration record described above. Settings preservation is useful, but it is not a separate recoverable backup.

Keep a private record of your own network settings before updating. These fields do not provide a separate recoverable backup. -
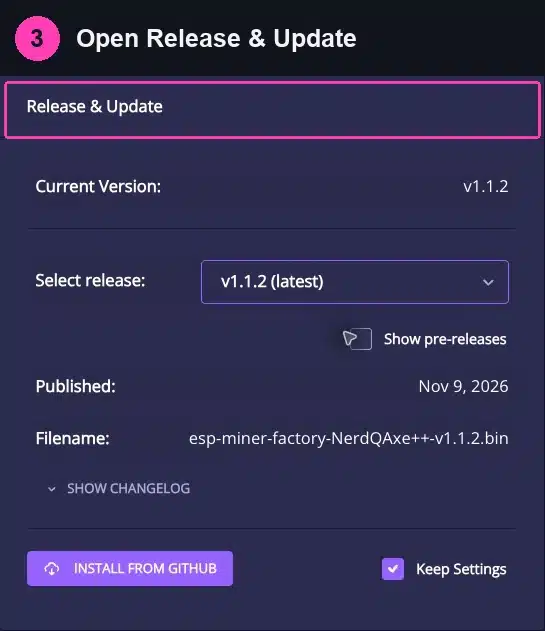
Open the update panel. Select Settings in Nerd*OS, then scroll to Release & Update. Wait for the installed version, release selector, publication date, and filename to finish loading.

Release & Update shows the installed version, selected release, and matching factory filename. -
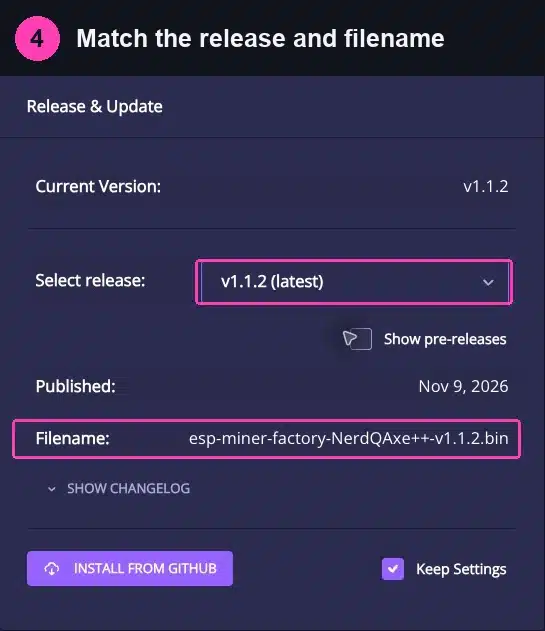
Select and review the compatible release. Choose the appropriate stable release in Select release. Leave Show pre-releases off for a normal stable update. Check the model in the Filename field and use Show Changelog to read the selected release’s changes.
For the NerdQAxe++ example, the selected v1.1.2 image is
esp-miner-factory-NerdQAxe++-v1.1.2.bin. Your model or version may require a different name.Review the exact target filename and selected release before using Install from GitHub. -
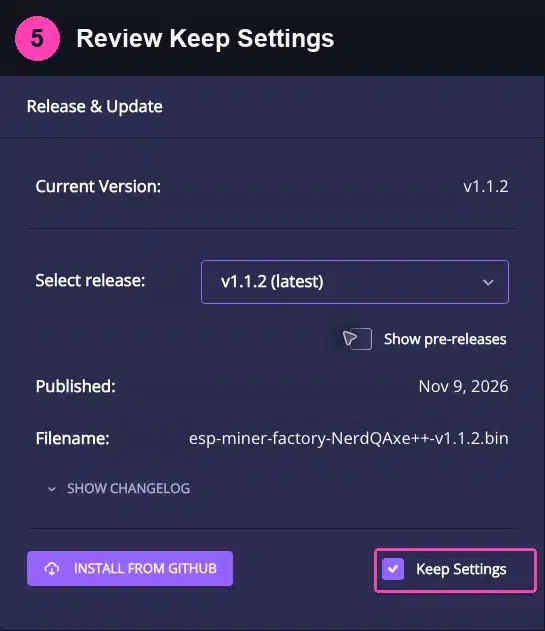
Review Keep Settings. Leave it selected if you intend to retain compatible configuration. Clear it only when you deliberately want settings erased and are ready to complete setup again. Check any release-specific migration notes before preserving configuration across a rollback or major change.
Review Keep Settings for the integrated GitHub update. The separate legacy upload handlers use their own procedure. -
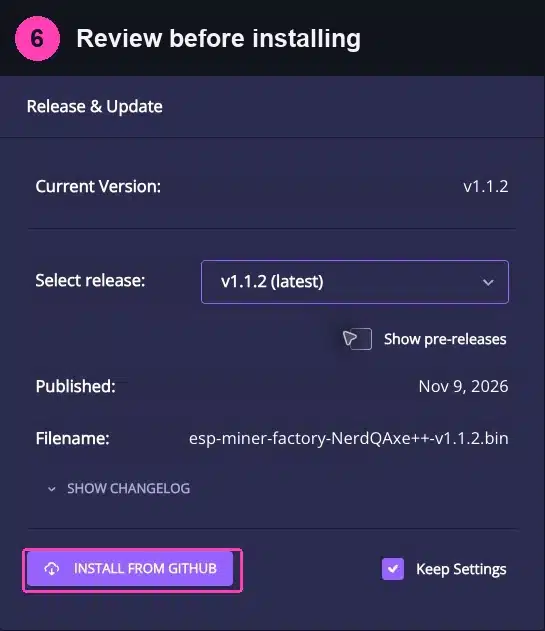
Select Install from GitHub. Recheck the model, release, filename, and settings choice, then start the installation. If OTP authentication is enabled, complete the miner’s authenticator prompt. Keep the browser available and the miner powered throughout installation.
Install from GitHub begins the selected operation. Keep power connected, and do not reinstall merely because the installed release is already current. -
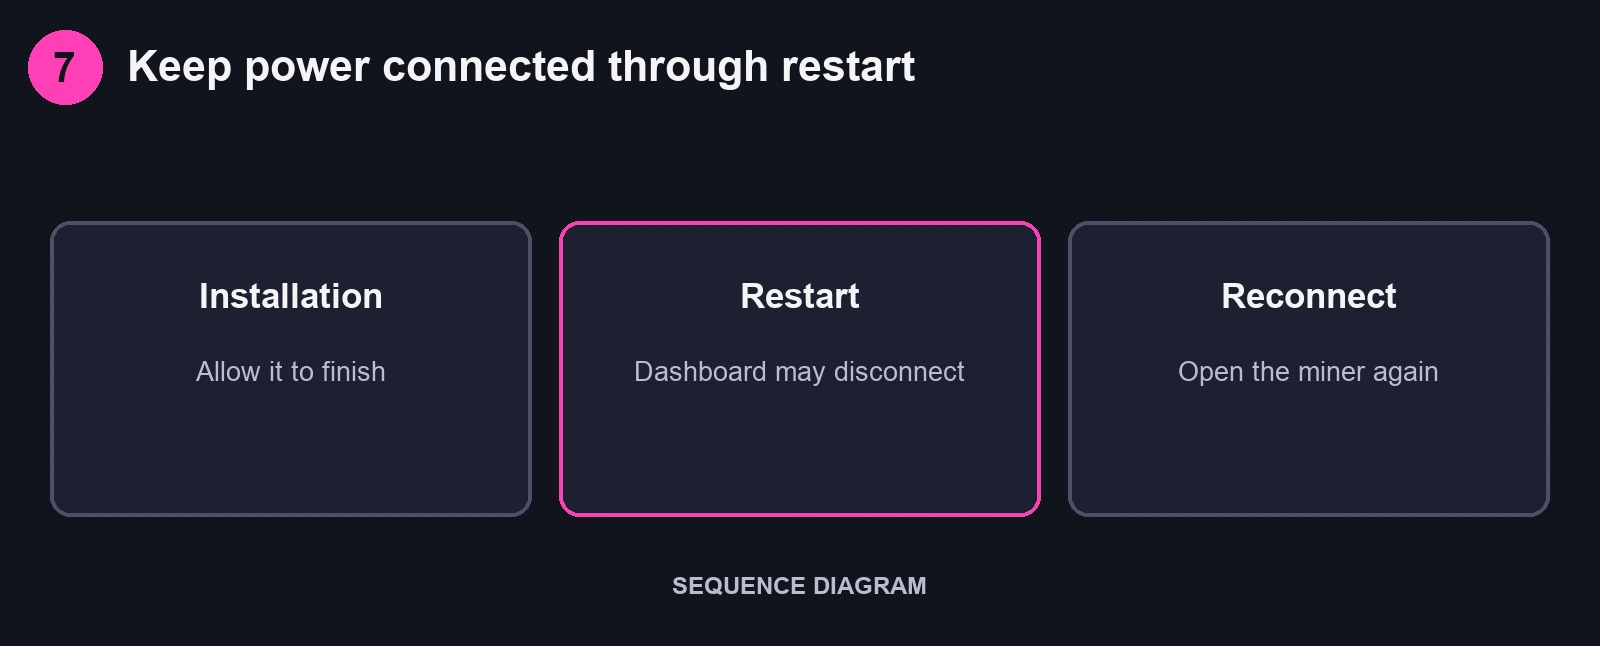
Wait for the restart. Allow the updater to finish its progress stages and reboot the controller. A temporary loss of the dashboard during reboot is expected. Reopen the miner’s address when it is available; if network settings were erased, reconnect using the model’s initial setup process.

Sequence diagram: let installation and restart finish before reconnecting. No installation progress or result is depicted. -
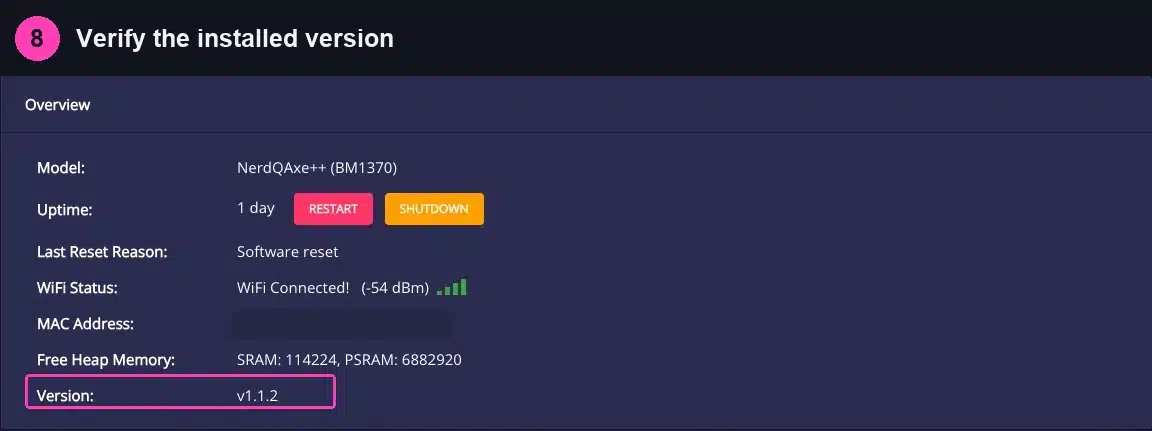
Verify the installed release and operation. Return to System and check Version against the release you intended to install. Then work through the final checks below. A success notification or a device coming back online alone does not confirm its pool and cooling configuration.
After an update, compare this Version field with the intended release. The capture shows the miner’s existing v1.1.2 installation, not a flash performed for this guide.
If the Nerd*OS Update Fails
Read the error and confirm power, network access, authentication, and model compatibility before retrying. If the dashboard cannot complete the update, use the verified USB recovery procedure below.
- No compatible release or filename: Check the reported model and the release’s actual assets. Do not substitute an image for a similarly named device.
- Certificate or HTTPS error: Older firmware may be unable to fetch a release over a particular TLS chain. Use the computer-based USB flasher instead of disabling certificate validation.
- OTP prompt or authentication failure: Use your configured authenticator and check its time synchronization. Do not disable authentication merely to bypass an unexplained error.
- Dashboard looks unchanged: First try a hard refresh or a private browser window, then confirm the actual System version. Cached interface files can make an otherwise updated page appear stale.
- Miner no longer appears at its old address: Check the display or router’s device list. A clean installation may require Wi-Fi setup again.
Legacy Manual Firmware and Web-Interface Uploads
In Nerd*OS v1.1.2, Legacy Update provides separate Manual Firmware Upload and Manual WWW Upload controls when an advanced interface level is exposed. This is an optional file-by-file route for a working dashboard, not the same operation as Install from GitHub or USB factory flashing.
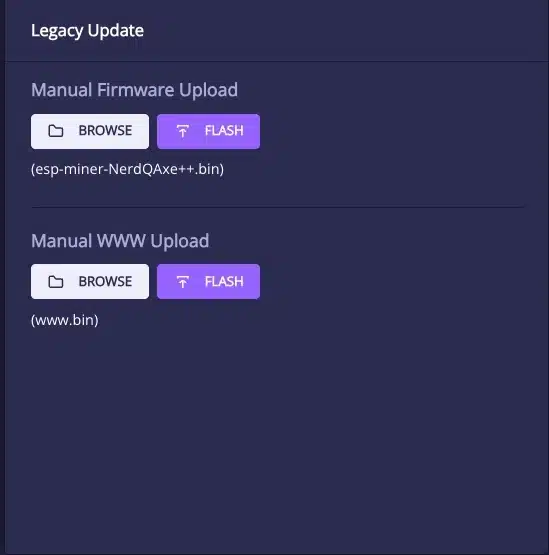
Use the integrated updater for a routine compatible release. Manual uploads are useful only when you deliberately need the documented separate files, for example while resolving a firmware/web-interface mismatch. The controls can be hidden in Safe mode. Their availability and labels depend on the installed build; do not paste commands into a browser console to expose controls you do not understand.
The v1.1.2 update-panel implementation separates the two upload areas. Its upload handlers check the expected filenames and request OTP authentication where configured.
- Download the matching release files. Obtain the exact model’s application image, such as
esp-miner-NerdQAxe++.bin, and that same release’swww.binwhen both components need updating. These application filenames do not contain the version, so keep them in a clearly labeled release folder. Do not mix identically named downloads from different releases. - Check the installed build and available controls. Read its release instructions and use the documented interface level if Legacy Update is needed. In the reviewed interface, Advanced exposes the legacy panel; changing the view does not itself install firmware. If the panel is absent or the required image is unavailable, use the appropriate verified factory route instead.
- Select the application file in Manual Firmware Upload. Use Browse to choose the exact model’s application
.bin. This selection prepares the file. The separate Flash button starts that upload; complete OTP authentication if requested, maintain power, and wait for the operation to finish before continuing. - Update the web interface when required. In Manual WWW Upload, select the matching release’s
www.bin, then use that section’s Flash button. Do not putwww.binin the firmware field, rename a factory image to bypass filename checks, or assume an application-only upload also replaced the website. - Reconnect and verify both components. Follow the installed release’s restart instructions, reload the interface, and check the firmware version and any firmware/Web-UI mismatch notice. If an operation fails, stop and diagnose it before proceeding; the verified USB route remains the recovery path when the dashboard is unavailable.
The Keep Settings control belongs to the integrated GitHub installation. Do not assume it determines what the separate legacy handlers erase or preserve. Keep the configuration record and complete the final checks after any update route.
Updating Firmware Using the Solo Satoshi Web Flasher
Use the Solo Satoshi Web Flasher for a verified USB installation, recovery from an unavailable dashboard, a clean factory reset, or a compatible earlier release. Its Verified releases workflow selects a model-matched factory image and verifies the listed file before writing it.
The computer retrieves the firmware independently of the miner’s installed web interface. The installer checks the expected file size and SHA-256 digest, and the flashing library verifies the written image. These checks establish that the bytes match the listed release; they do not prove that firmware is bug-free or appropriate for every hardware configuration. For the distinction between source access and a trustworthy installed build, see open-source mining firmware and verification.
What You’ll Need for USB Flashing
- A desktop or laptop running a current version of Google Chrome, Microsoft Edge, or Brave.
- A USB cable that supports data transfer and fits the miner’s USB data port.
- The correct, stable external power supply for that exact miner.
- The exact miner model and any applicable hardware-revision information.
- Your private configuration record if a reset or failed preservation would require setup again.
Browser requirement: Use a supported desktop browser for this flasher. Firefox, Safari, phones, and tablets do not provide the supported flashing workflow. If no serial port appears, check the cable and operating-system device detection before assuming a driver is required.
Flash Your NerdAxe Step by Step
Follow the installer’s eight steps in order. Hardware selection stays locked until you connect and approve the USB device.
-
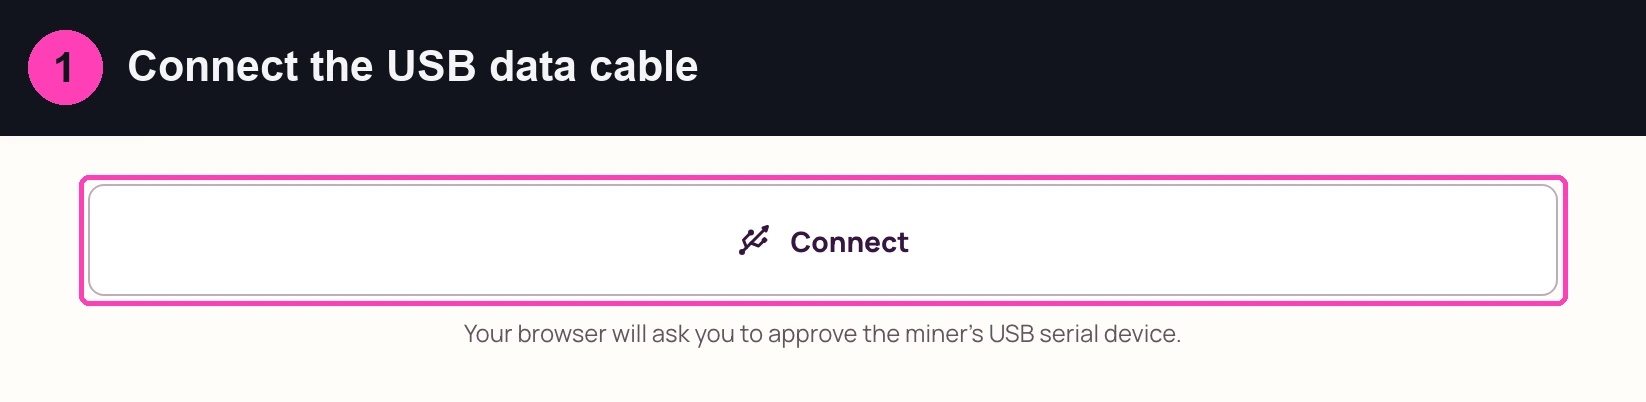
Connect. Open the flasher with Verified releases selected. Power the miner as specified for its hardware, connect its USB data port to the computer, select Connect, and approve the correct serial device in the browser prompt.

Connect opens the browser’s serial-device approval prompt. Use the miner’s correct external power supply. -
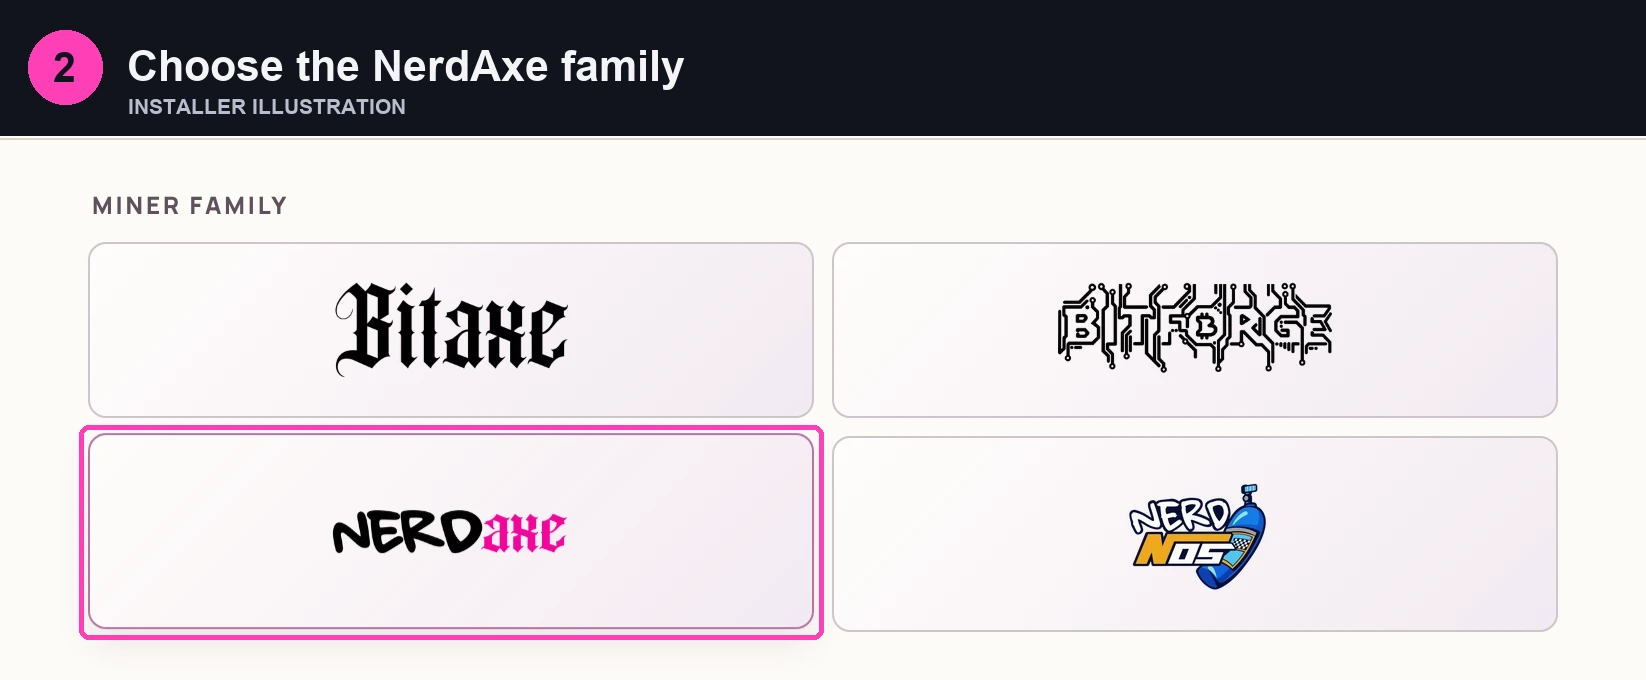
Choose the miner family. Select NerdAxe after connecting. Use this for the supported NerdAxe ASIC-miner family, including the NerdQAxe++ example. The separate NerdNOS choice is for NerdNOS hardware.

Installer illustration: choose the NerdAxe family. -
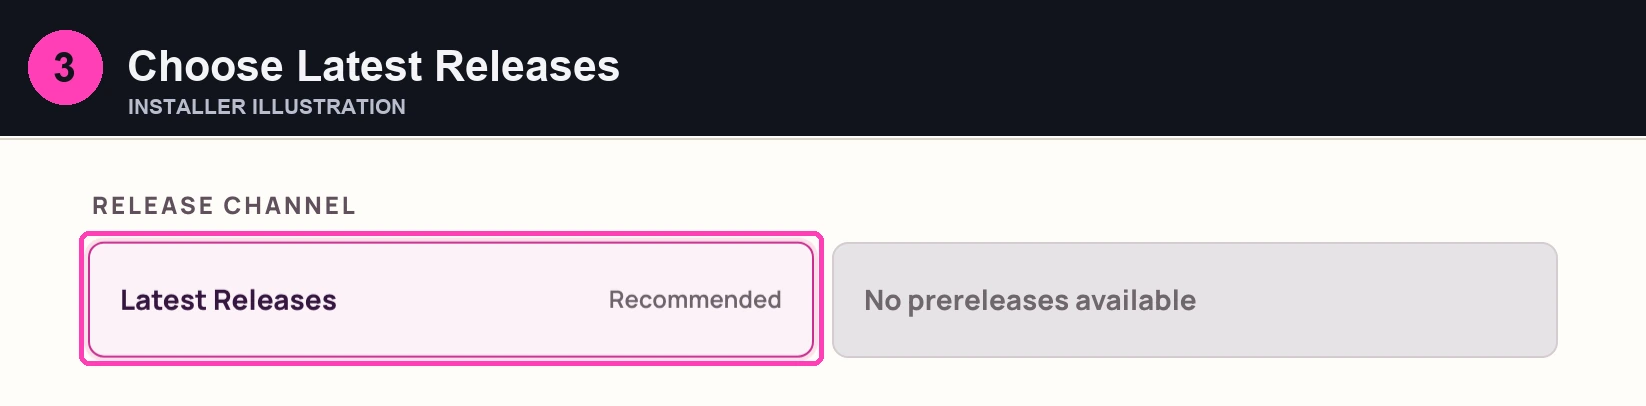
Choose the release channel. Select Latest Releases for normal stable firmware. Use Prereleases only when you intentionally want an eligible testing release and understand its recovery requirements; that option is unavailable when no eligible prerelease exists.

Installer illustration: choose Latest Releases. -
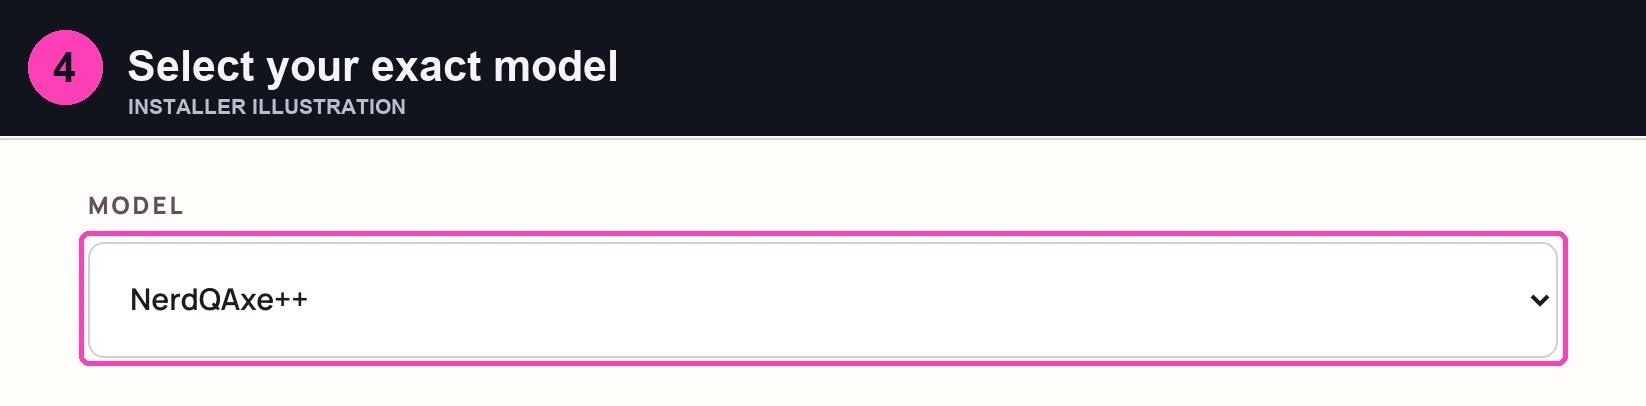
Select the exact model. Choose the model that matches your miner, such as NerdQAxe++. Similar names and different ASIC counts are not interchangeable.
Installer illustration: select your exact model. NerdQAxe++ is the example model. -
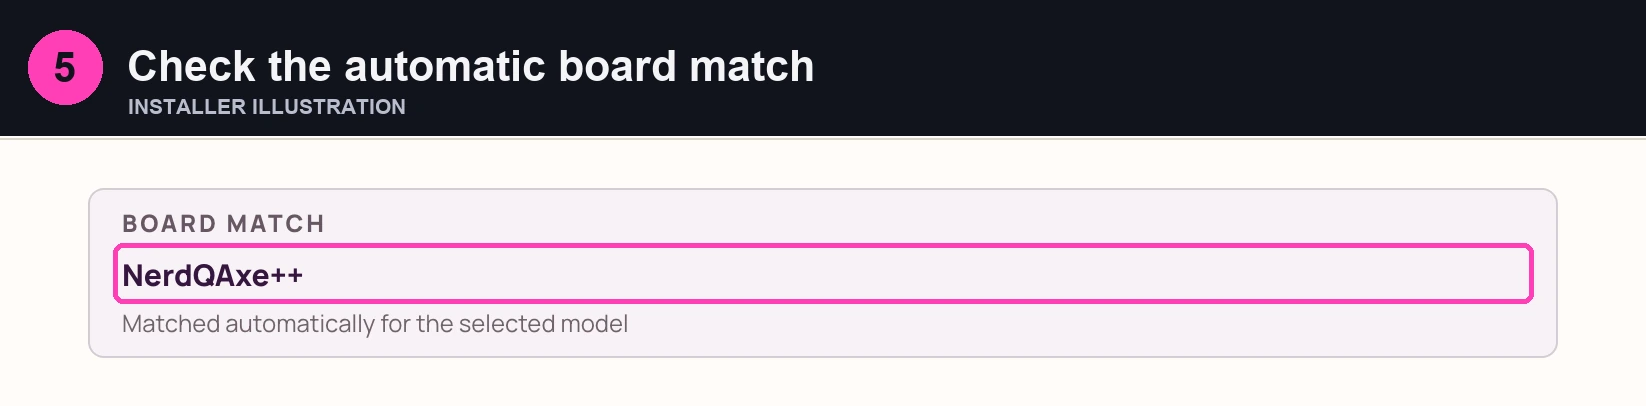
Review the board match. The flasher automatically matches the NerdAxe board identifier from the exact model. Confirm that match and review any release-specific hardware compatibility notes. Stop if the required model or image is unavailable.
Installer illustration: check the automatic board match. The board match follows the selected NerdAxe model. -
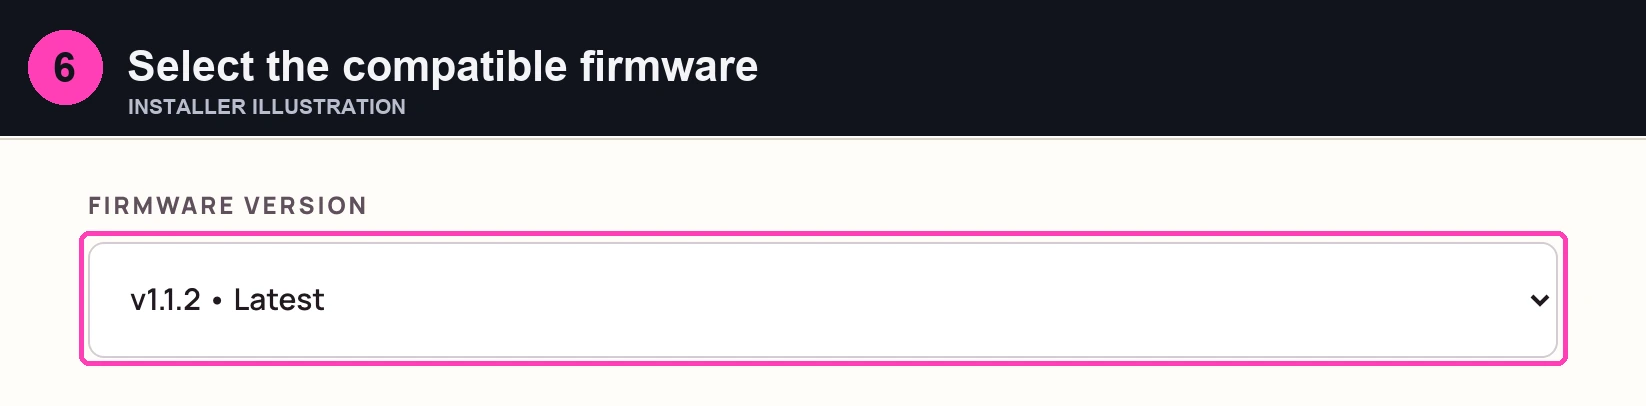
Choose the firmware version. Select the compatible version marked Latest unless you have a specific reason to use an earlier supported release. Versions without a factory image for the selected target are filtered out. Wait for the newly selected file to be prepared and verified.
Installer illustration: select the compatible firmware. Match the version to your intended release. -
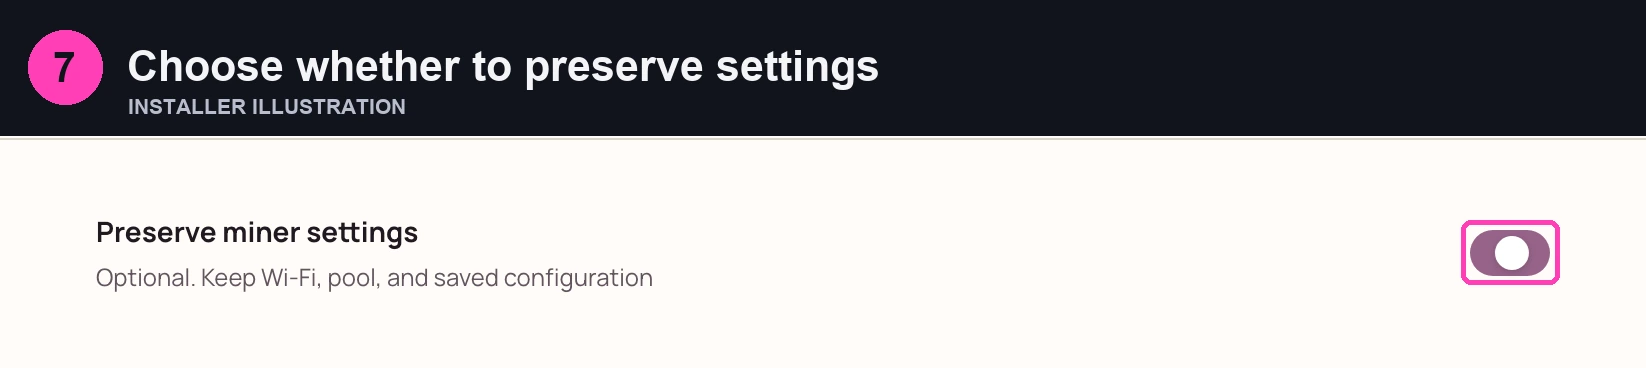
Choose the settings behavior. Leave Preserve miner settings off for a clean installation, or enable it to retain the designated Wi-Fi, pool, and configuration partition. Review compatibility before preserving settings across versions, and keep a separate private record regardless.

Installer illustration: choose whether to preserve settings. This example has preservation enabled; leave it off for a clean installation. -
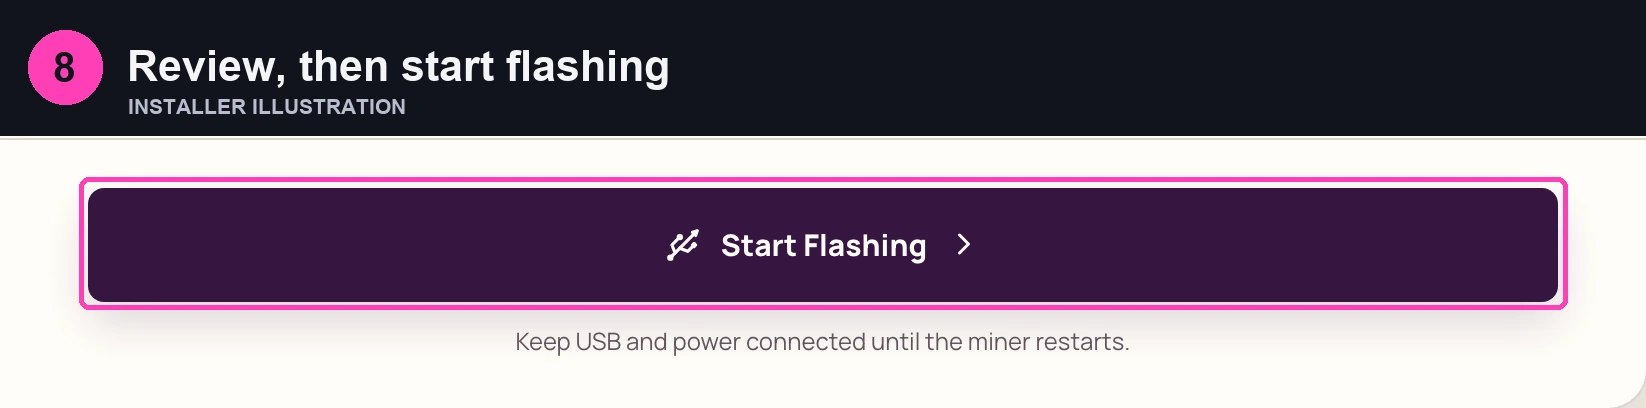
Install and wait for the full restart sequence. Check the family, model, board match, version, and preservation choice, then select Start Flashing. Keep the browser open, USB connected, and the miner powered. Wait for the flasher to finish all four post-write stages: firmware written and verified, device restarting, USB disconnect detected, and restart complete.
The USB disconnect during an automatic reset is expected. Do not unplug the cable merely because the write reaches 100%; wait for the restart sequence to finish, then reconnect to Nerd*OS and verify operation.

Installer illustration: review, then start flashing. Keep power and USB connected through verification and the full restart sequence.
If the Miner Does Not Start Flashing
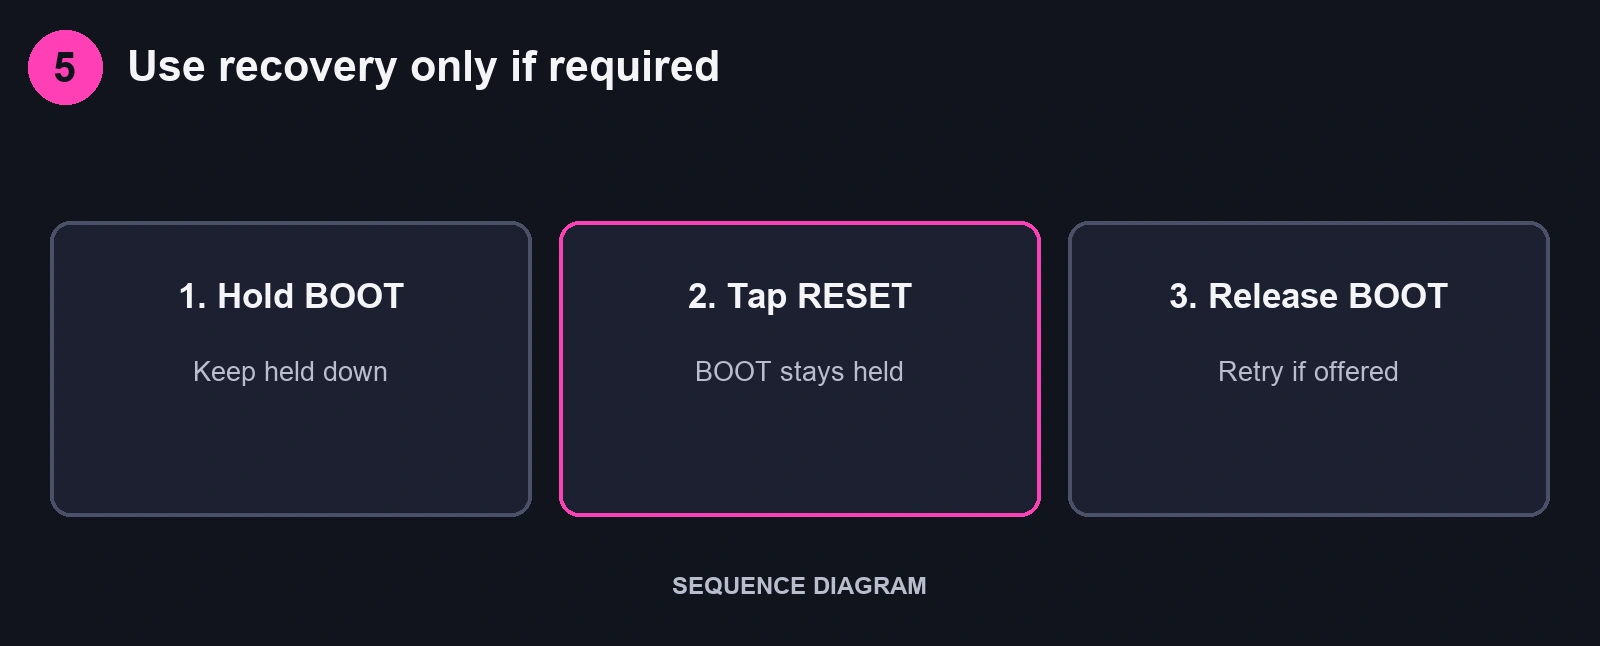
If normal flashing cannot enter the bootloader, use the board’s BOOT and RESET controls according to its hardware instructions, then retry. Check the cable, selected port, and power first.
- Hold BOOT.
Button diagram: hold the control labeled BOOT. Actual button positions depend on the board. - While holding BOOT, press and release RESET.
Button diagram: keep BOOT held while pressing and releasing RESET. - Release BOOT, then use Retry flashing if the installer offers it.
Button diagram: release BOOT after RESET, then use Retry flashing if the installer offers it.
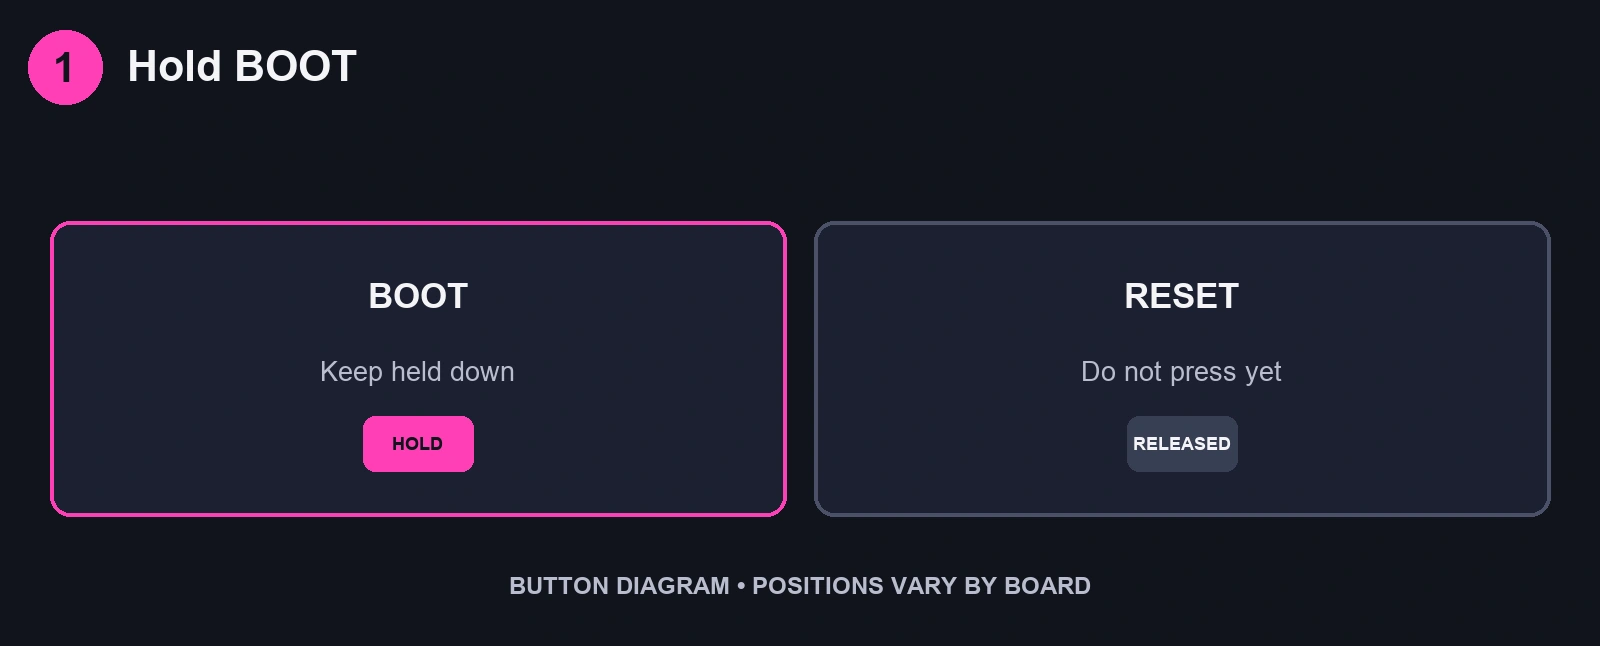
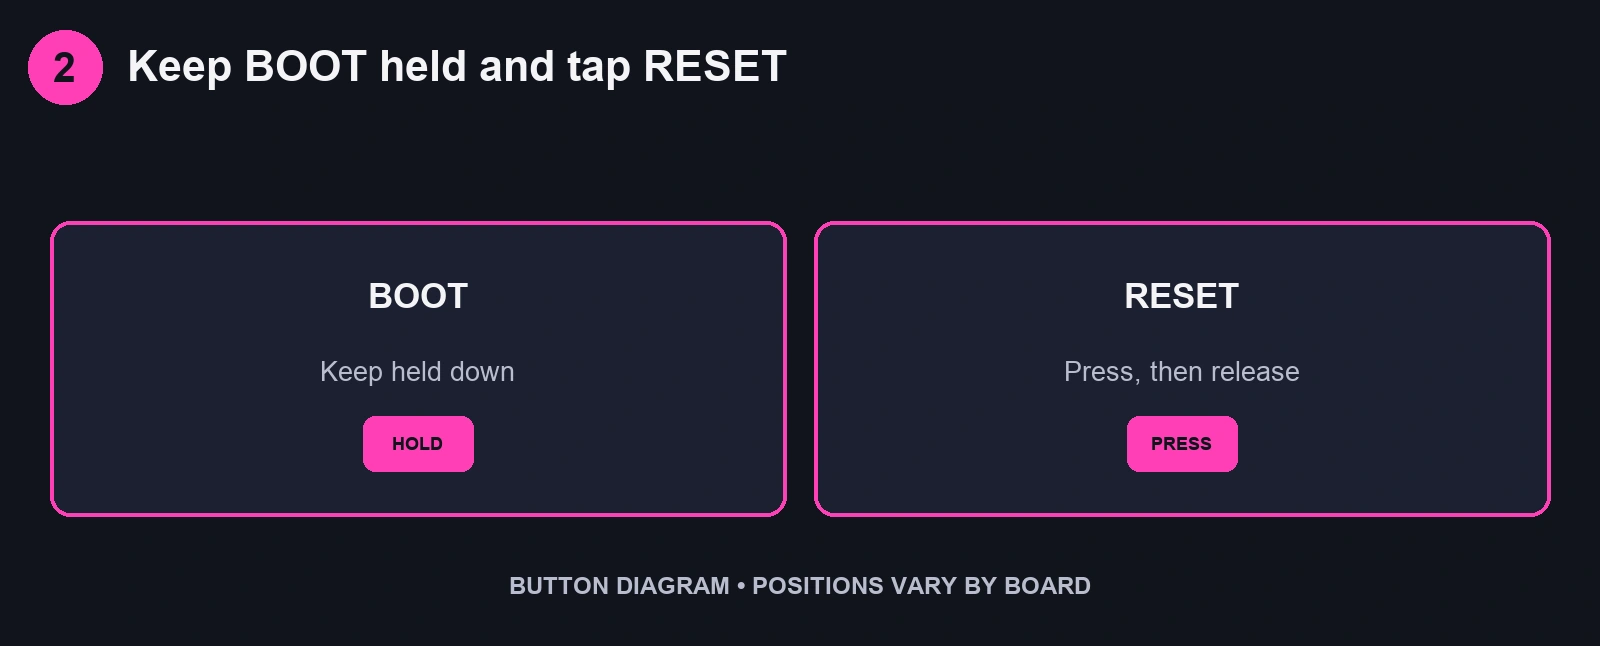
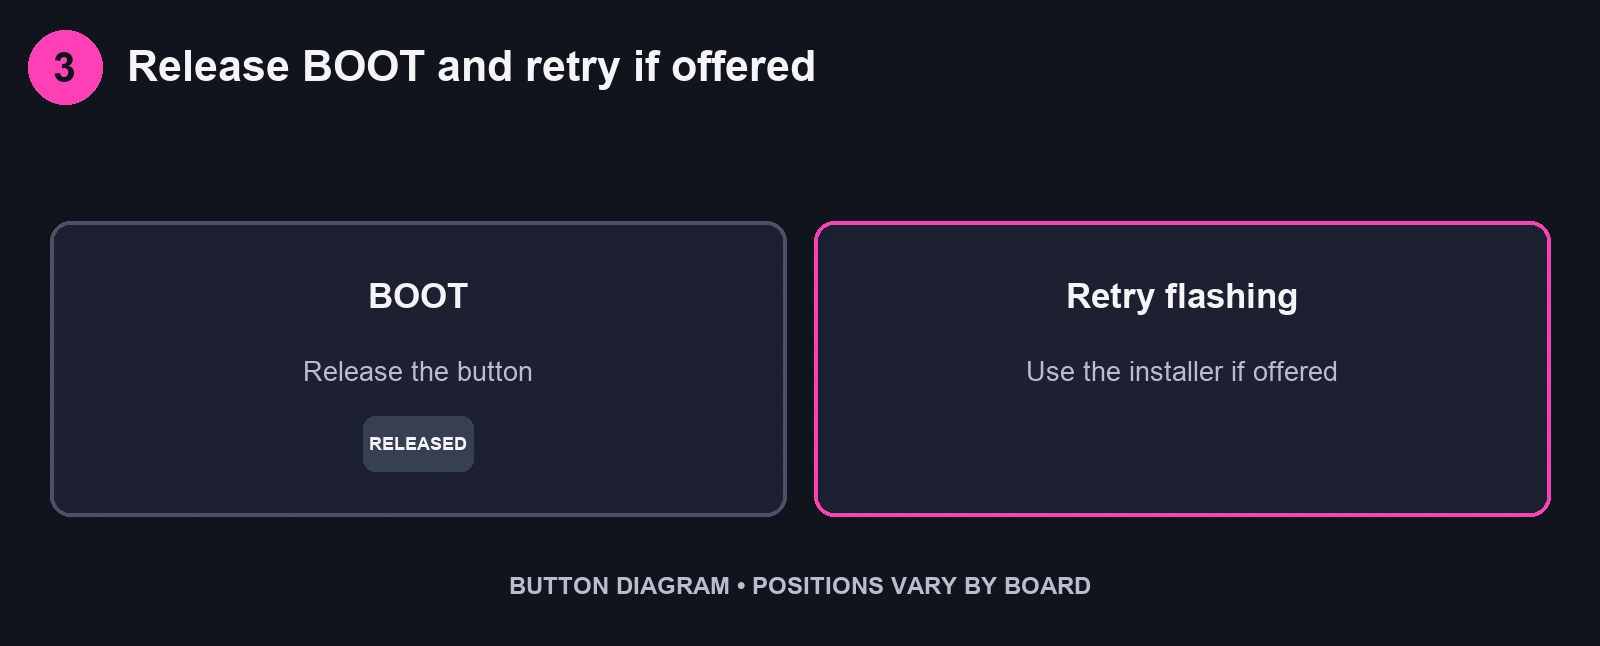
Button labels and access vary by board. If the browser’s serial device changes after bootloader entry, reconnect and approve the correct port when prompted. Avoid opening an enclosed device or pressing unidentified controls without its hardware instructions.
- No serial device: Try a known data cable, another direct USB port, and closing other software using that port. Check whether the operating system detects the controller.
- Port is busy: Close other flashers, serial monitors, or browser tabs connected to it, then reconnect.
- Firmware data is unavailable: Check the computer’s internet access and reload the flasher. Do not install an unrelated file to bypass the missing data.
- Flash completes but the device is missing: Allow restart to finish, check its address, and repeat initial Wi-Fi setup if settings were erased.
Use Report an issue in the flasher if you need help. Include the model, hardware revision, installed or selected version, exact error, and expected result. Keep passwords, private keys, seed phrases, authentication secrets, and sensitive logs out of the report.
How to Flash Custom NerdAxe Firmware
The flasher’s Advanced tool writes a local, merged, bootable ESP32-S3 image for a compatible NerdAxe controller. Use it only when you have reviewed the source, build target, partition layout, and image for the exact hardware; it does not preserve settings.
Custom files stay in the browser and are not uploaded. The tool checks the basic image structure and connected controller, but cannot authenticate the file’s author, audit its code, or establish hardware compatibility. This also applies to firmware created or modified with AI coding tools.
What You’ll Need for Custom Firmware
- The supported desktop browser, USB data cable, correct power supply, and private configuration record described above.
- A reviewed merged
.binbuilt for ESP32-S3 at address 0x0, within the flasher’s 32 MB limit and suitable for the miner’s actual flash layout. - A known recovery route and a compatible verified factory release if the custom build fails.
Flash Custom Firmware Step by Step
-
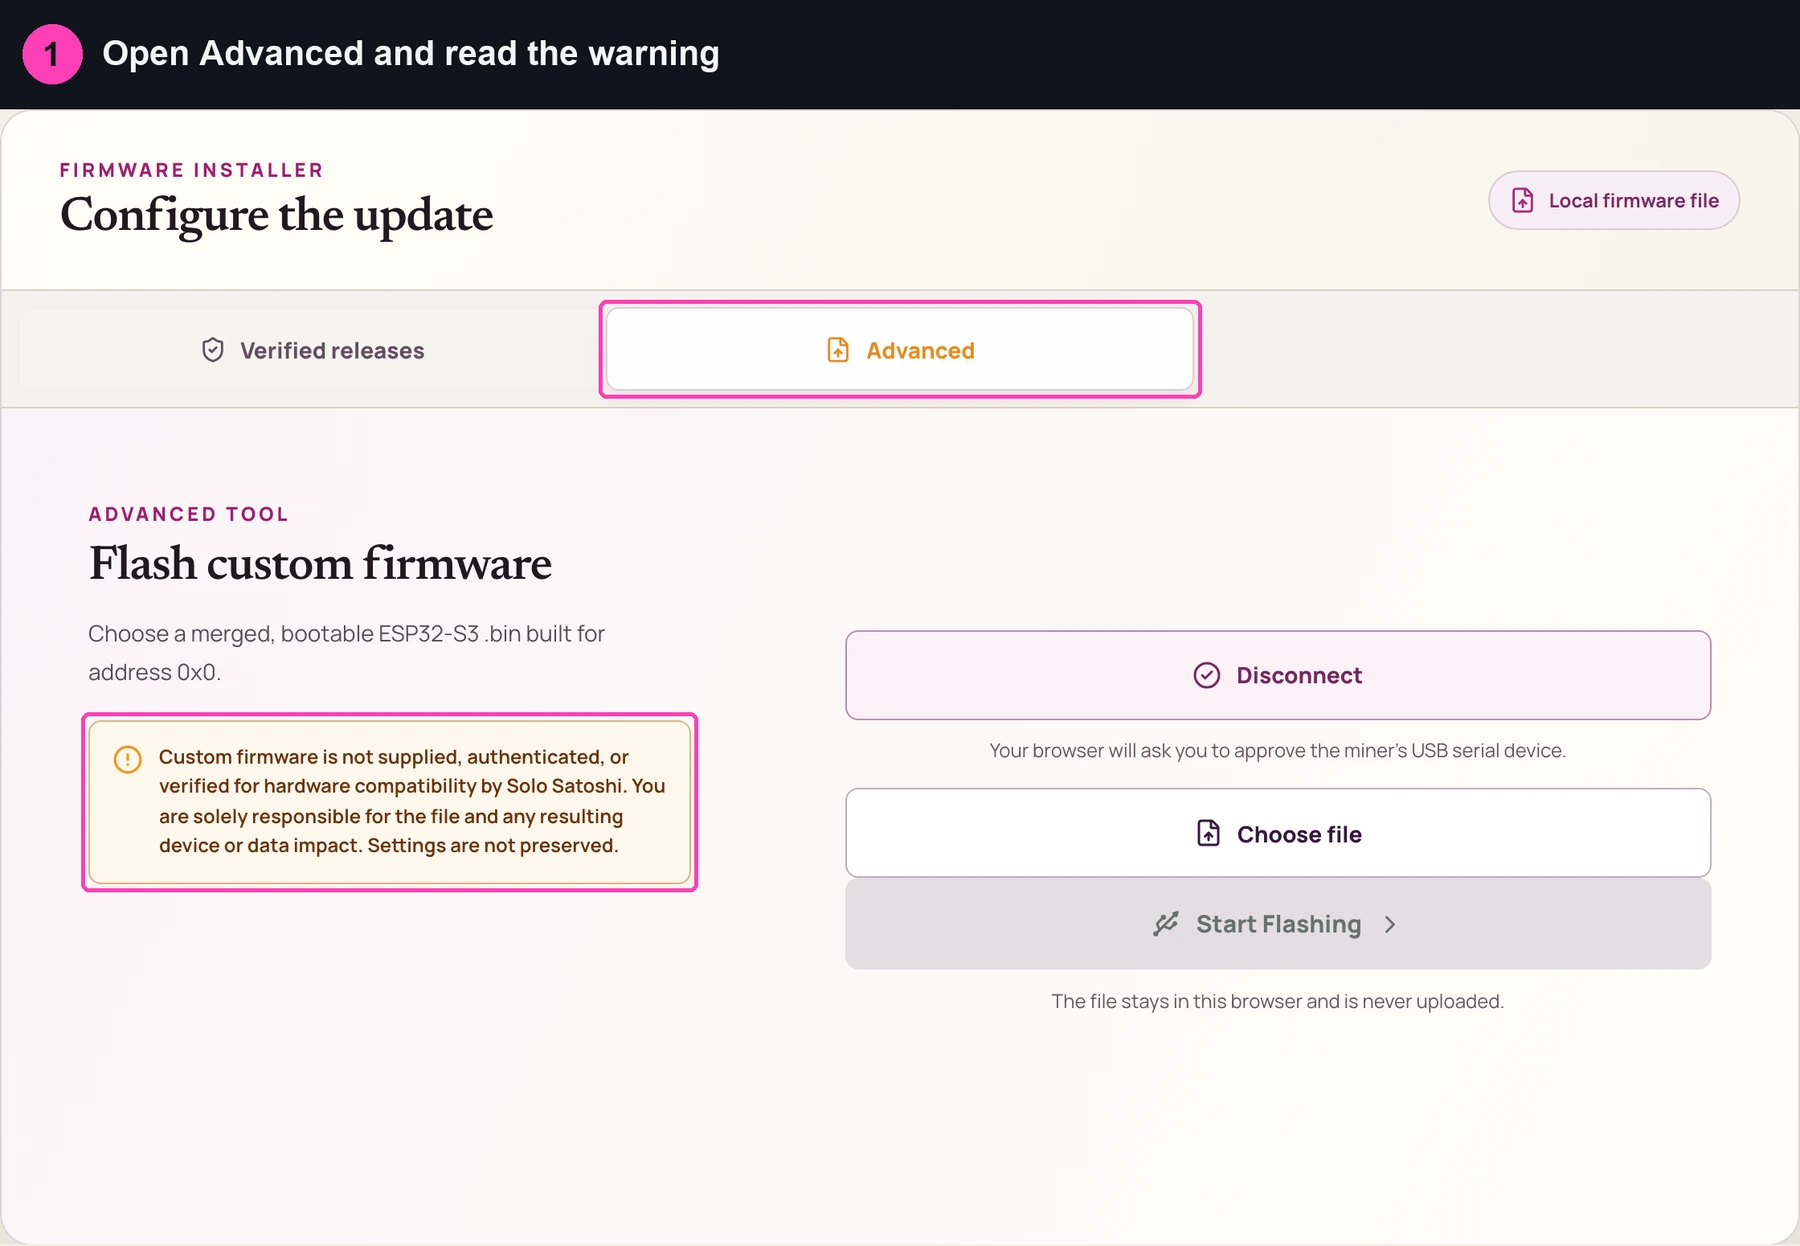
Open Advanced. Select the Advanced tab and read its custom-firmware warning.

Advanced writes a reviewed merged image and does not preserve settings. -
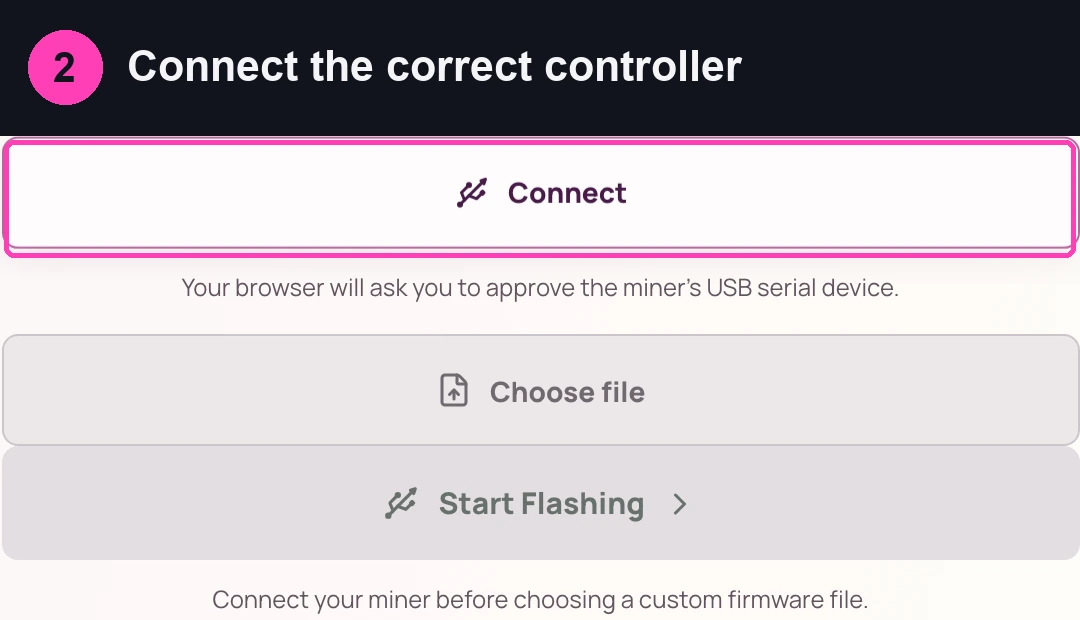
Connect the correct controller. Power the miner normally, connect its USB data port, choose Connect, and approve its serial device.

Power the miner normally, connect USB data, and approve the correct serial controller. -
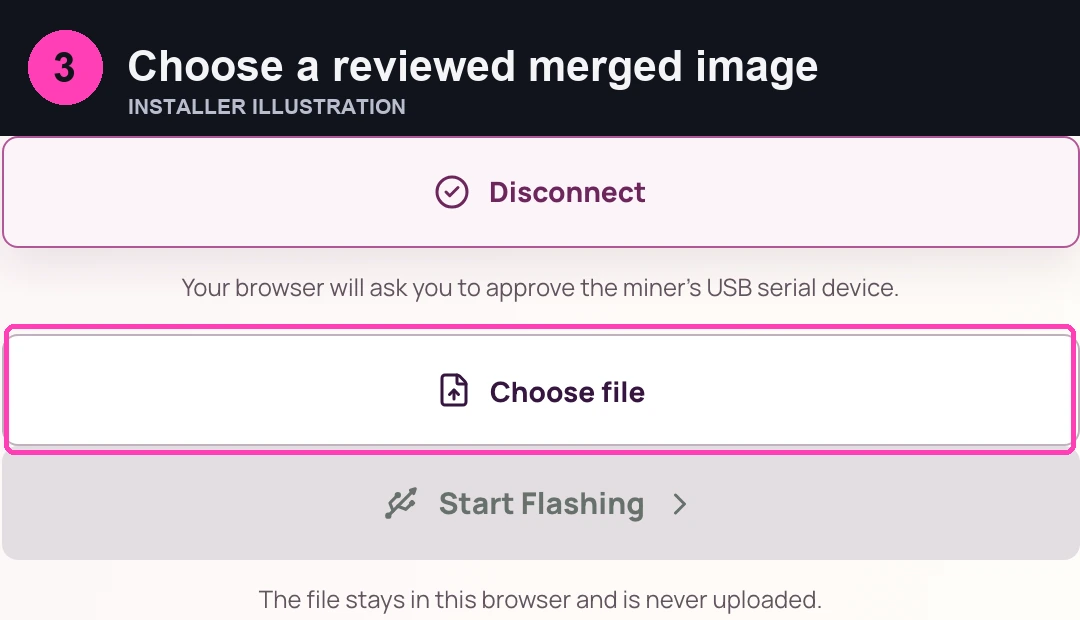
Choose the merged image. Select Choose file and open the reviewed
.bin. An OTA-only application file,www.bin, or a standalone bootloader or partition table is not a complete custom boot image.Installer illustration: choose a reviewed merged image. Use a reviewed merged ESP32-S3 image for the exact hardware. -
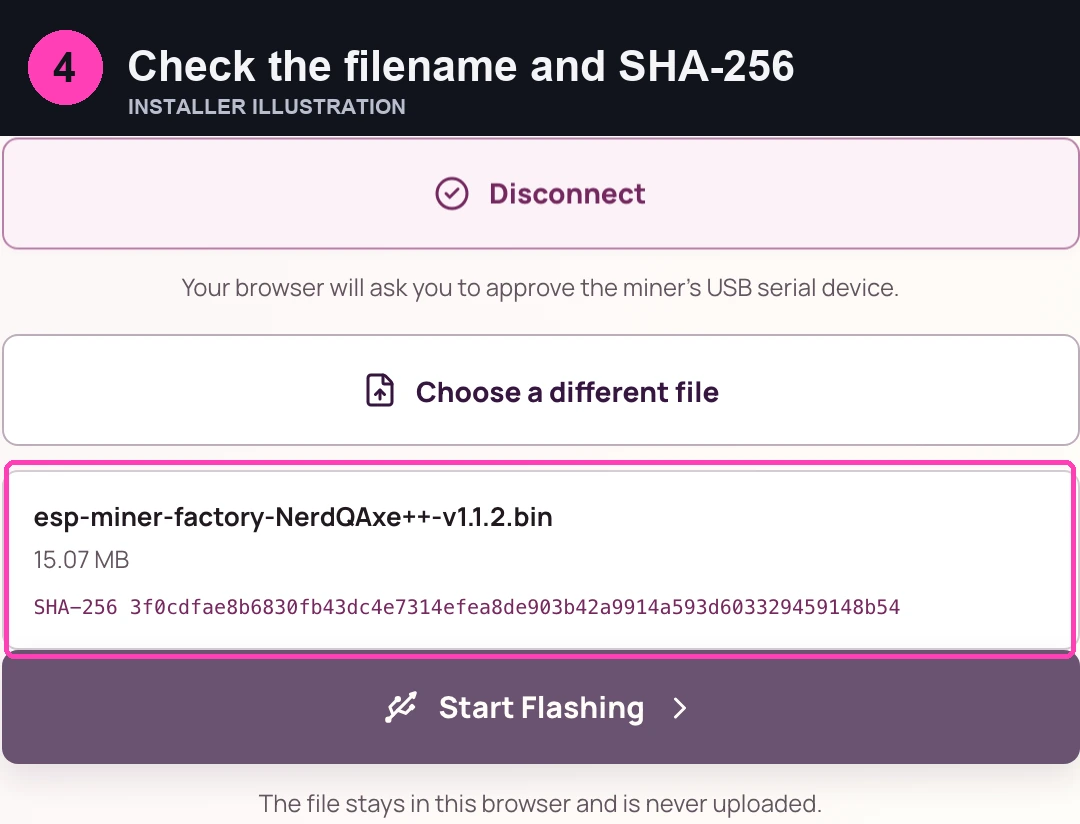
Review the local checks and checksum. Check the filename and displayed SHA-256. Compare it with a trusted publisher’s digest when one is provided. Basic structure checks do not substitute for source or hardware review.

Installer illustration: check the filename and SHA-256. The official v1.1.2 factory image demonstrates the local file and checksum display. -
Enter the bootloader if required. Use the board-specific recovery procedure above only if the normal connection cannot begin flashing.
Sequence diagram: use the board-specific BOOT and RESET procedure only when normal flashing cannot enter the bootloader. -
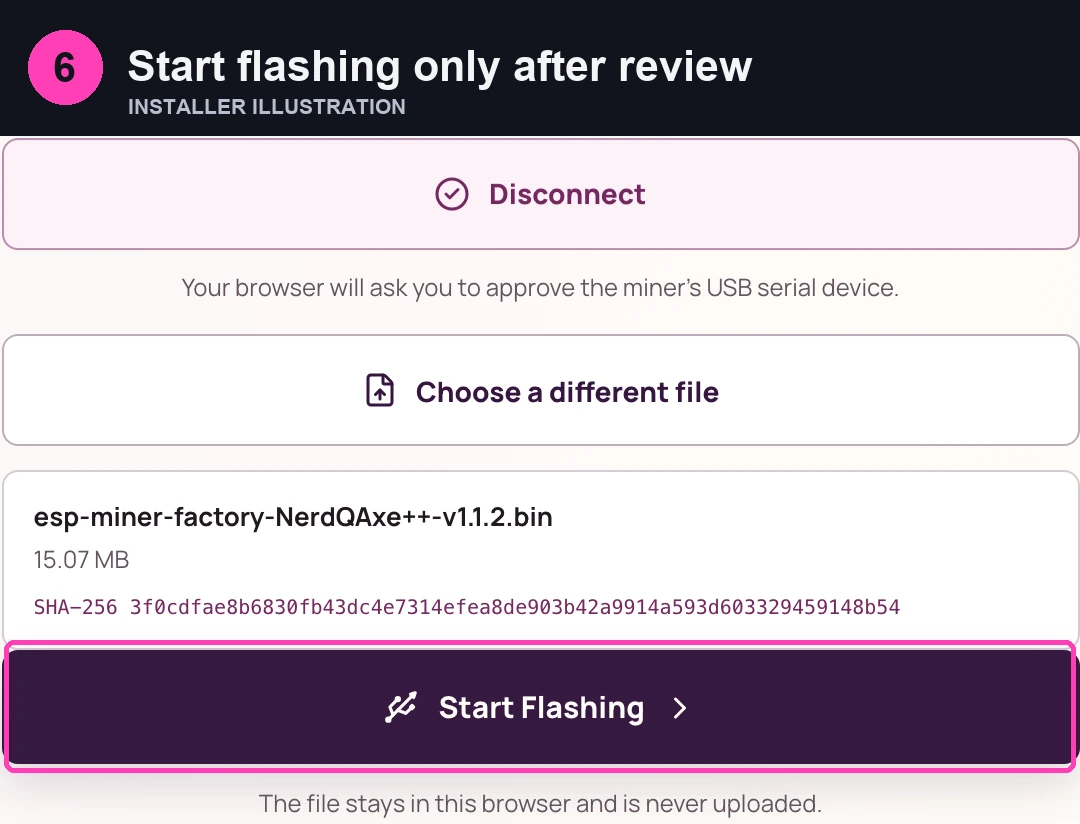
Start Flashing and wait. Keep power, USB, and the browser available until writing, verification, and the restart sequence finish.
Installer illustration: start flashing only after review. Keep power and USB connected until the complete restart sequence finishes. -
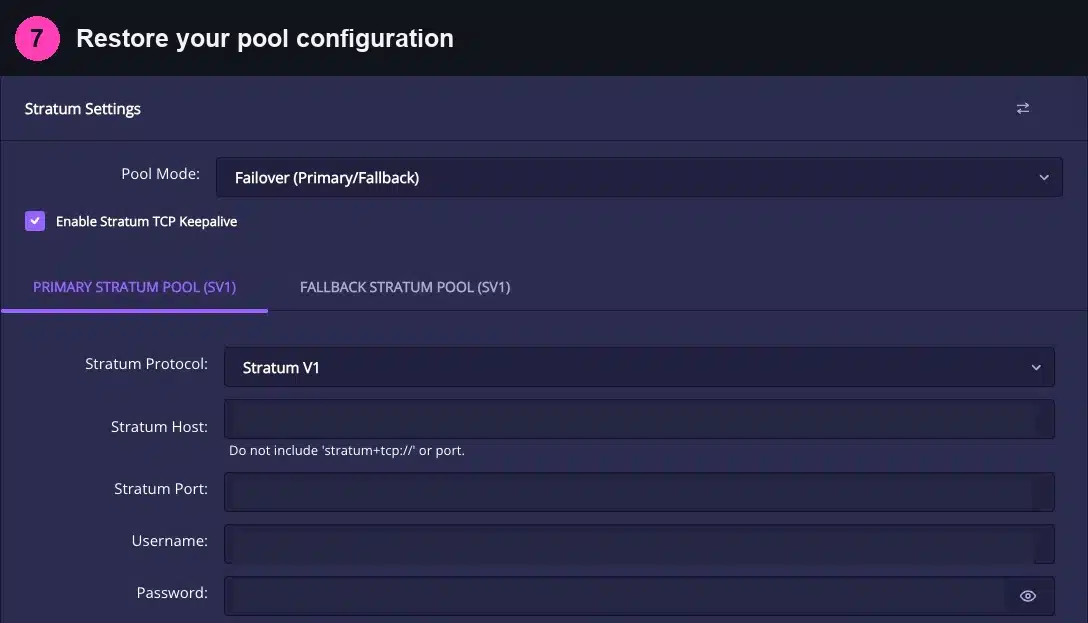
Complete setup and verify operation. Restore the required Wi-Fi and pool configuration because Advanced does not preserve it. Confirm the intended firmware version and safe operating configuration before leaving the miner unattended.

After a clean installation, restore your own pool connection and reward destination. Do not copy configuration from a screenshot.
For source transparency, the Solo Satoshi Web Flasher repository provides the public application and corresponding-source access.
Which NerdAxe Firmware File Is Which?
Use the image type required by the update method and exact model. A matching extension alone does not make different files interchangeable.
| File type | Example or purpose | Correct context |
|---|---|---|
| Model-specific factory image | esp-miner-factory-NerdQAxe++-v1.1.2.bin |
The matching release image used by the example one-click updater and verified USB workflow. |
| Application-only image | esp-miner-NerdQAxe++.bin |
Manual application updating where the installed firmware explicitly supports it. Not a complete merged boot image. |
| Web-interface image | www.bin |
The web UI from the matching release, when a documented manual UI-update method calls for it. |
| Custom merged image | A reviewed bootable ESP32-S3 image for address 0x0. |
Advanced flashing, with the correct model and partition layout. Settings are erased. |
The integrated GitHub updater and verified USB workflow do not require separate application/WWW uploads. The optional Legacy Update route does. Developer command-line flashing is another project-documented option: use the exact target, flash layout, toolchain, and merge instructions in the versioned firmware build and flashing documentation, rather than copying a command for a different board.
Final Checks After the Update
Confirm the intended firmware version and normal operation after the miner restarts. A completed flash alone does not prove that Wi-Fi, authentication, the payout configuration, or cooling is correct. Accepted work confirms a working submission path; payouts still depend on the selected service’s mining-pool reward method and thresholds.
- Version and model: Open System and confirm the expected release and device identity.
- Network and authentication: Confirm the miner reconnects to its intended network and that existing OTP access works where configured.
- Pool and receiving address: Check the actual host, port, username or receiving address, and any TLS settings against your private record.
- Submitted work: Allow the miner to reconnect and verify accepted work in its dashboard and, where available, the service’s worker view.
- Cooling and settings: Check fans, temperatures, reported power, and stability against the requirements for the exact board. Review preserved frequency and voltage settings rather than assuming every firmware version treats them identically.
- Compare like-for-like settings: If a preserved profile behaves differently, record the release, default settings, sustained hashrate, and useful work before tuning. The NerdAxe tuning guide explains a controlled comparison; an update is not a reason to raise voltage automatically.
- Investigate cooling changes: If temperatures or fan behavior differ, check the board-specific controls and airflow first. The Bitaxe and NerdAxe cooling guide covers fan, heatsink, and thermal-paste considerations.
If settings were erased, use the NerdAxe setup guide for the initial network connection, pool fields, and first accepted work. The operating reference linked above explains the remaining dashboard controls.